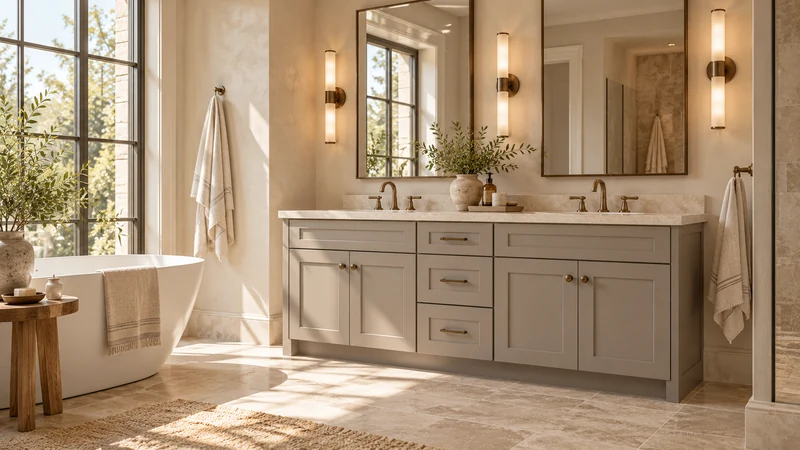
What should a cardboard vanity mockup actually test?
Use a mockup to test where the proposed assembly sits, how people approach it and how selected storage is reached. Represent the relevant projections and moving fronts from the current drawings. Treat the result as a room-use comparison, with structural, plumbing and product compatibility questions still requiring their own review.
An outline on the floor can show that a cabinet body fits against the wall. It cannot by itself explain how a top edge feels at the entrance, where a person stands beside an open drawer or how a large pouch comes out of a compartment. Build only the parts needed to answer a named question, then record what the exercise actually demonstrates.
Choose the decision before making the model
Write the uncertainty as an activity in a place: entering beside the top corner, retrieving a daily kit while another person uses the basin, or opening the end door near an adjacent fixture. A general request to see whether the vanity feels right makes it difficult to compare alternatives or explain a result.
Use the selected proposal's written dimensions and their definitions. Separate cabinet body, front, handles and top edges where they differ. Identify anything still unknown, such as the final top projection, instead of quietly choosing a convenient shape and later treating that shape as the ordered assembly.
Design study The study shows a complete vanity outline; a project mockup must use the selected assembly dimensions.
Represent the occupied shape that matters
Mark the cabinet location against the same finished wall and floor references used in the plan. Represent the front and top edge at their intended positions when height affects the question. A floor outline alone may be enough to compare a route, but it is not the same test as approaching a raised corner.
Keep the model stable and the activity ordinary; do not lean on, sit on or load cardboard as though it were furniture. If an accurate representation cannot be made without unsafe improvisation, use a supervised alternative arranged with the project professional. The mockup is an observation aid, not a temporary working fixture.
Include the opening and the object being retrieved
Represent the necessary moving front with information from the proposed cabinet, then follow the actual retrieval action. Show the opening through which the object passes and the relevant usable space; an outside drawer rectangle does not establish its interior capacity.
For example, a removable toiletry tray appears to fit the planned drawer. The useful test includes the tray's loaded shape, the opening and the place where it is set down. If the exercise only places an empty tray inside a broad cardboard box, it has not checked the obstruction created by the selected basin or the intended drawer construction.
Compare options under the same conditions
Keep nearby fixtures, door movements and the starting position consistent. Repeat the same activity with the proposed alternatives. If testing a shallower cabinet, preserve the real entrance and opposite fixture rather than allowing the participant to approach from a more convenient direction in the second trial.
Record observations in concrete terms: the pouch cannot pass the represented opening without turning, or the user must step into the other person's working position. Distinguish those findings from preferences such as a lighter visual impression. Both can inform the choice, but they describe different reasons for selecting a configuration.
Use the same everyday items throughout the comparison. Substituting a smaller empty pouch for the normal loaded kit can make a restrictive opening appear satisfactory. If more than one household member uses that storage, observe each relevant routine separately and name whose result informed the decision instead of averaging away a particular difficulty.
State what the mockup cannot establish
Cardboard does not confirm mounting strength, hardware performance, water behavior or the compatibility of independently selected components. It also cannot resolve a hidden wall condition or a plumbing relationship that has not been represented with verified information.
When a task depends on one of those details, record it as pending rather than declaring the model successful. A favorable approach test can support the room-layout decision while a separate basin-and-drawer review remains open. This keeps a useful observation from becoming an unsupported approval of the whole assembly.
Turn the observation into an ordering requirement
Photograph or sketch the tested arrangement, name the drawing revision and note the activity and participants. State which represented dimensions were confirmed and which were provisional. If a changed projection or drawer location solved the problem, ask for that change to appear in the actual proposal before relying on the result.
Retest only the relationships affected by the change, with the same original question. The final record should say what configuration supported the task and what technical checks remain, so the purchase decision follows the observed arrangement rather than a memory of a promising cardboard model.
Pure White
Cream White
Light Warm Gray
Gray
Navy
Black
Oak Tone
Dark Walnut Tone
Design study These finish studies are design references, not a list of currently orderable colors. Screens and lighting change the appearance; compare a physical sample before choosing.See all finish options →
Record each change as a specific decision, identify every affected document and confirm the revised information with the people using it. A new cabinet drawing alone does not update the basin, top, plumbing or installation information that may already be in circulation.
Keep a record of the installed components, the openings used to reach them and the items that must move first. Distinguish ordinary removal of stored belongings from any cabinet or fixture work requiring the appropriate professional. The handoff should describe the finished installation, including confirmed changes made on site.
The elevation explains the front arrangement; the plan reveals where that arrangement occupies the room. Compare them using the same cabinet position, finished surfaces and selected components, then add the movements needed for actual use. Symmetry is only part of the decision.
The sample shows the door frame, a separate center panel, the face frame and the cabinet box. Each component has its own place in this Shaker construction.
Shaker construction: door frame, center panel, face frame and cabinet box. The cutaway helps locate these parts; confirm each material in the specifications for the selected cabinet.
01 / Door frame
The Shaker door has rails and stiles around a separate center panel. The frame and center panel are different components; confirm their materials in the specifications for the selected cabinet.
02 / Face frame
The face frame surrounds the opening at the front of the cabinet box and sits behind the doors. The face frame, door frame and cabinet box are separate parts.
03 / Cabinet box
The sample exposes the cabinet sides, interior surfaces and layered edges. The image does not establish the wood species or material specification of a selected cabinet.