A scratch on a wood-look cabinet is not automatically a scratch in solid wood. Before buying a stain marker or considering sanding, identify the actual surface and the part underneath it. A repair that reduces the contrast of a line may leave a groove or interrupted grain pattern visible. Define which of those problems you need addressed, and avoid removing material to discover what the surface is made of.
Diagram Visible grain is an appearance reference, not proof of solid wood or permission to sand a scratched face.
Establish what the grain belongs to
Use the order description, manufacturer information or a supplier identification to determine whether the affected face is solid wood, natural veneer or a decorative wood-look surface. The Composite Panel Association describes natural veneer as a wood surface that can be applied to composite substrates. Real wood at the face therefore does not establish a solid-lumber panel or a sanding allowance.
The association also describes thermally fused laminate as resin-treated decorative paper fused to a substrate, with textures that can reproduce wood appearance. A convincing grain and tactile pattern do not supply a wood-repair instruction. If the product identity is uncertain, ask the supplier before using a repair technique intended for a different type of surface.
Photograph the full part and the line from a normal view and a useful closer view. Note whether it follows the grain, crosses it, exposes a contrasting color or appears beside a lifted area. Describe a visible groove if present, but do not scrape, sand or pick at the line to decide which layer is affected.
The distinction between a color change and missing material matters when requesting help. If you only say the scratch needs stain, you have already selected a treatment before identifying the problem. Instead ask what condition the supplier sees and what additional information is needed. A picture may support an initial response without establishing the scratch depth or the construction of the part.
Separate color blending from pattern restoration
A uniform brown touch-up might reduce a pale line's contrast while leaving it different from the varying grain around it. Ask whether the proposed work addresses only color, also a depression, or the visible pattern itself. A filled groove and a convincing grain appearance are separate outcomes, and neither should be assumed from the name of a repair kit.
Consider a light scratch running across several dark grain lines on a door. Making the scratch a single dark color could create another conspicuous line rather than restore the interrupted pattern. The useful question is what improvement is realistic on that specific surface. This is a reason to seek a suitable localized assessment, not an invitation to draw grain freehand on the installed door.
Compare localized treatment with replacing the part
Ask about a manufacturer-approved cosmetic treatment where the surface is intact enough for that approach. If the decorative layer is missing, lifted or widely affected, request an assessment of repair versus replacement. Do not apply a solid-wood sanding method to a veneer or printed surface merely because all of them resemble the same wood species.
Where a replacement front is considered, include the surrounding grain arrangement in the discussion. A new part may solve the damaged line but introduce a different grain appearance beside existing fronts. Request the relevant finish, pattern direction and matching expectations, without assuming a replacement can reproduce the original piece exactly. Keep the repair decision tied to the appearance of the whole visible group.
Preserve the evidence for the selected approach
Provide the identified material, part location, photographs and any product already applied. If you tested a cleaner or marker before asking, name it and describe where it was used. That history matters to the next person evaluating the surface and prevents a later result from being attributed entirely to the original scratch.
Agree on the intended improvement and review the dry result in ordinary light. Keep a record of the chosen product or replacement part. If the mark remains visible, discuss the particular remaining issue rather than repeatedly broadening the repair. A careful boundary preserves options: it separates reducing a distraction from rebuilding a decorative surface that may need a different kind of work.
Pure White
Cream White
Light Warm Gray
Gray
Navy
Black
Oak Tone
Dark Walnut Tone
Design study These finish studies are design references, not a list of currently orderable colors. Screens and lighting change the appearance; compare a physical sample before choosing.See all finish options →
Routine cleaning, a finish touch-up and a moving wood joint need different responses. Identify the surface and condition before applying a cleaner or repair product.
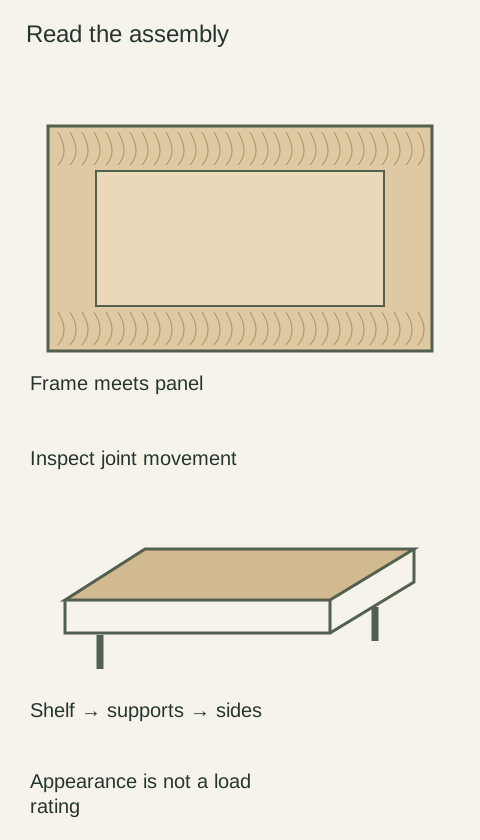
The sample shows the door frame, a separate center panel, the face frame and the cabinet box. Each component has its own place in this Shaker construction.
Shaker construction: door frame, center panel, face frame and cabinet box. The cutaway helps locate these parts; confirm each material in the specifications for the selected cabinet.
01 / Door frame
The Shaker door has rails and stiles around a separate center panel. The frame and center panel are different components; confirm their materials in the specifications for the selected cabinet.
02 / Face frame
The face frame surrounds the opening at the front of the cabinet box and sits behind the doors. The face frame, door frame and cabinet box are separate parts.
03 / Cabinet box
The sample exposes the cabinet sides, interior surfaces and layered edges. The image does not establish the wood species or material specification of a selected cabinet.