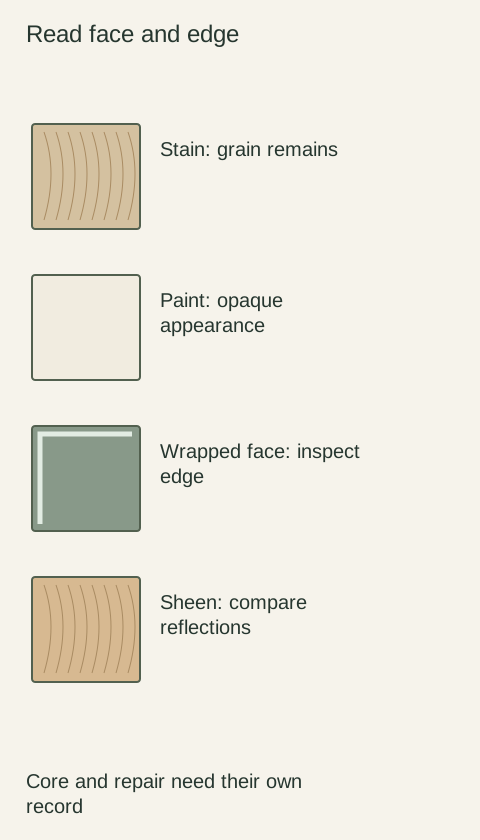
A touched-up spot can look close in color straight on and still flash differently as you walk past. That does not automatically mean the color formula is wrong. Color, reflected light and surface shape all influence what you see. Evaluate them separately before asking for more pigment or another coat. The practical goal is to describe the mismatch accurately enough that the supplier can propose the right next step without enlarging a small repair unnecessarily.
Diagram Compare the actual dry repair under everyday light; diagram colors are not a touch-up formula or match tolerance.
Start with an identified repair and a dry surface
Keep the touch-up product's label, finish designation and application record. Note the actual cabinet part being repaired and whether the surrounding face is an original finish or a previously refinished surface. A product named for the original cabinet color may be a starting reference, but the comparison must still be made with the installed surface you will see every day.
Wait for the product's specified drying process before judging the result. Use the relevant instructions rather than a universal waiting period borrowed from another coating. If the material or instructions are unknown, resolve that uncertainty with the supplier before adding another layer. A wet appearance is not a reliable approval reference for how the finished patch will look.
Look for hue and lightness in an ordinary view
Stand where the door is normally seen and compare the patch with the surrounding area under the room's usual light. Describe whether it appears warmer, cooler, lighter or darker, without immediately naming a replacement formula. Include whether the difference remains apparent when you change position slightly or is visible only in a particular reflection.
Keep photographs as a location record, but do not use a phone's processed color as the sole matching standard. If the supplier needs a physical reference, ask what sample or part information would help. Avoid removing a door just to provide a color sample unless its removal and handling are appropriately arranged; a photograph can begin the conversation without pretending to settle it.
Examine reflection as a separate question
Sherwin-Williams explains that gloss and sheen concern reflected light and can alter perceived color as viewing direction and illumination change. That is why a color comparison should include the way the patch reflects, not only whether its label matches the cabinet's finish name. This principle supplies no universal cabinet sheen tolerance.
Move through normal viewing positions and note whether the repaired area appears glossier, flatter or differently textured than its surroundings. Do not sand or polish the patch to experiment with that difference. A change that follows a reflection is useful information for the person assessing the repair, but it is not a complete diagnosis of the coating or application method.
Use a mismatch example to avoid the wrong correction
Imagine a repaired white door looks reasonably uniform from the front. From the usual approach to the room, a small shiny patch catches the light. Simply applying a darker white because the patch looks bright may trade a reflection mismatch for a color mismatch. Report both views and ask whether the remaining difference concerns color, sheen, texture or a combination.
Conversely, if the area looks noticeably warmer across the ordinary views you use, do not dismiss it just because its sheen seems similar. Separate observations help the supplier choose what to investigate. You are not expected to measure the coating in a laboratory; you are expected to explain when and where the difference is noticeable in the actual installation.
Agree on the comparison and any further work
Use consistent dry conditions and the relevant everyday lighting when reviewing a proposed correction. Include the service provider in defining an acceptable localized result and any remaining visible boundary. A separate approved trial may be useful where the product instructions permit it, but a trial on a different material is not automatic proof of the same result on the door.
If the first repair remains unsatisfactory, document the specific difference before adding material. Ask whether a revised localized treatment can address it or whether a broader professional finish assessment is appropriate. Preserve the product history so the next person knows what is already present. Good evaluation narrows the problem; repeated unrecorded applications make that conversation harder.
Pure White
Cream White
Light Warm Gray
Gray
Navy
Black
Oak Tone
Dark Walnut Tone
Design study These finish studies are design references, not a list of currently orderable colors. Screens and lighting change the appearance; compare a physical sample before choosing.See all finish options →
Routine cleaning, a finish touch-up and a moving wood joint need different responses. Identify the surface and condition before applying a cleaner or repair product.
The sample shows the door frame, a separate center panel, the face frame and the cabinet box. Each component has its own place in this Shaker construction.
Shaker construction: door frame, center panel, face frame and cabinet box. The cutaway helps locate these parts; confirm each material in the specifications for the selected cabinet.
01 / Door frame
The Shaker door has rails and stiles around a separate center panel. The frame and center panel are different components; confirm their materials in the specifications for the selected cabinet.
02 / Face frame
The face frame surrounds the opening at the front of the cabinet box and sits behind the doors. The face frame, door frame and cabinet box are separate parts.
03 / Cabinet box
The sample exposes the cabinet sides, interior surfaces and layered edges. The image does not establish the wood species or material specification of a selected cabinet.