Measure the food processor as a working collection, not just a motor base. Include the bowl, lid, feed pusher, accessory holder and the attachments you intend to keep. Then decide which parts need to be reached together. A cabinet that neatly fits the assembled machine can still leave the slicing disc or small connecting piece in a different drawer, making the appliance inconvenient to use.
Identify the set before assigning space
Use the parts list for the exact model to identify the pieces you own. Similar-looking accessories from different models are not proof of compatibility. Keep the model information with the inventory, particularly if older parts from a previous machine remain in the kitchen. Set uncertain pieces aside for identification instead of assuming they belong inside the new storage arrangement.
Separate everyday accessories from those you rarely use. The aim is not to discard useful options, but to avoid making the daily setup depend on moving a full accessory collection. Include any manufacturer-provided protective holder in the measurements. Do not plan loose storage of sharp components based only on whether their metal outline fits a gap.
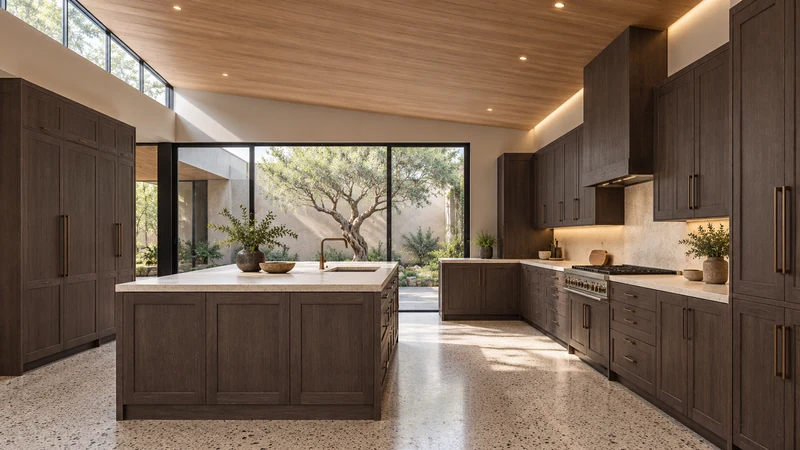
Design study The design illustrates several possible storage positions near preparation counters. It does not show the processor or an accessory holder, so their fit must be established separately.
Measure the holder as well as the parts inside it
A protective case can be wider or taller than the accessory it holds, and its opening motion may require additional room. Measure the closed case for storage and check where it will be opened according to its instructions. A tightly packed shelf may admit the closed case but leave no practical grip for removing it. Do not subtract the case from the plan merely to make a drawer calculation work.
Check the bowl with its handle, the lid with its feed tube and the pusher in the position used for storage. Follow the appliance instructions for assembly and storage rather than assuming every part can nest inside the bowl. The apparently empty bowl may be a poor location for an attachment that needs its own holder or could obstruct the way the lid is put away.
Choose a storage order around a real preparation task
Consider a hypothetical cook who usually chops vegetables with the main bowl and occasionally uses a slicing attachment. Put the daily setup where it can be removed without lifting the occasional case first. Keep the slicing set identifiable nearby, including any model-specific connecting part. The useful unit of storage is the collection needed to complete the task, not a group of objects that happen to have the same shape.
Walk through taking out the base, placing it on the work counter and retrieving the remaining parts. Then follow the reverse route after cleaning and drying as directed. If the base must sit on the floor while you reach for the bowl behind it, reconsider the order or use separate accessible positions. A cabinet can pass a dimension check and still fail this handling test.
Compare locations without losing access to the complete kit
A deep shelf may suit the assembled processor but hide a small accessory case behind it. A separate drawer can make accessories easier to see, provided its usable height, interior and holder requirements work together. Label or otherwise identify the case so it stays associated with the correct appliance. Avoid a mixed utensil drawer where essential small pieces repeatedly disappear among unrelated items.
If considering a pullout, verify the complete assembly’s dimensions and load suitability with the processor and accessories included. Storage near the preparation counter should also leave the work and cleanup route usable when the door or drawer is open. Keep operation, electrical access and appliance clearances as separate requirements governed by the selected appliance and project.
Bring a kit list to the cabinet decision
Record the base and bowl footprint, the lid height, the closed holder dimensions and the retrieval sequence. Note which accessories are daily and which can live farther away. Choose a layout that returns every part to a recognizable place. That inventory is more useful than ordering a larger appliance cabinet and hoping the pieces left over will find somewhere to go.
Pure White
Cream White
Light Warm Gray
Gray
Navy
Black
Oak Tone
Dark Walnut Tone
Design study These finish studies are design references, not a list of currently orderable colors. Screens and lighting change the appearance; compare a physical sample before choosing.See all finish options →
The sample shows the door frame, a separate center panel, the face frame and the cabinet box. Each component has its own place in this Shaker construction.
Shaker construction: door frame, center panel, face frame and cabinet box. The cutaway helps locate these parts; confirm each material in the specifications for the selected cabinet.
01 / Door frame
The Shaker door has rails and stiles around a separate center panel. The frame and center panel are different components; confirm their materials in the specifications for the selected cabinet.
02 / Face frame
The face frame surrounds the opening at the front of the cabinet box and sits behind the doors. The face frame, door frame and cabinet box are separate parts.
03 / Cabinet box
The sample exposes the cabinet sides, interior surfaces and layered edges. The image does not establish the wood species or material specification of a selected cabinet.