Store a blender assembled if the actual cabinet opening, shelf space and lifting motion accommodate it comfortably. Separate the jar and base when height is the limiting issue, but measure their combined footprint and test the additional handling. The cabinet should fit the way you will use and put away the appliance, not just the smallest arrangement it can be forced into. This is a storage comparison, not permission to operate a blender inside a cabinet.
Measure the assembled appliance and its separate parts
Record the blender’s height with the jar and normal lid in place. Include a projecting handle, controls, feet and any cord storage in its footprint. Then measure the base and jar separately in the positions permitted by the appliance instructions. The jar’s handle may make a side-by-side arrangement wider than a quick glance suggests, even though its main body appears narrow.
In a hypothetical comparison, an assembled blender is 17 inches tall and the cabinet has 16 inches of clear height. Separating a 9-inch base from an 11-inch jar resolves that particular height conflict, but the pieces now need separate floor area. Those assumed measurements do not establish an operating clearance, an actual product size or complete fit through the opening.
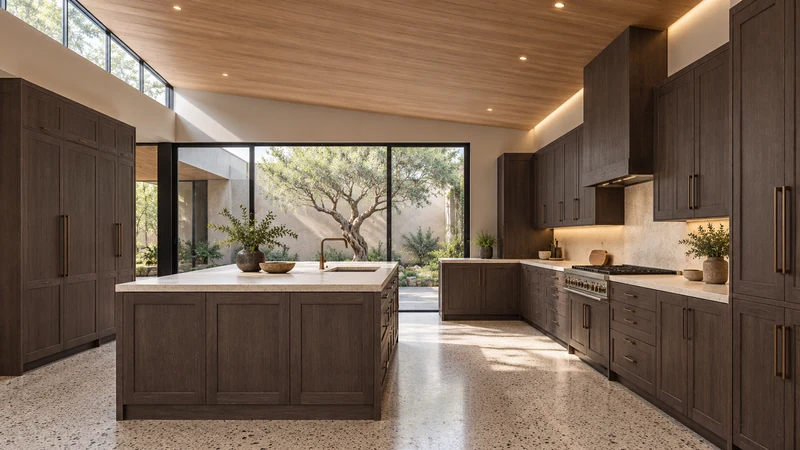
Design study This design study shows potential relationships between storage and a work counter. It does not show a blender compartment or provide appliance clearances.
Check how the appliance passes through the opening
A shelf can be wide enough behind the face frame while the opening is too narrow for the appliance to move straight through. Include hinge intrusion and the cabinet door’s actual open position. Try the motion with a lightweight size model before relying on a drawing, then assess the real appliance with the intended user. Do not assume that tilting an awkward base is an acceptable everyday workaround.
Check where you can place the appliance while retrieving the next piece. If the base must be held in one hand while reaching around it for the jar, the arrangement needs revision. A nearby clear counter surface can make the sequence simpler. Moving the same items past a busy sink or across another person’s preparation area may make a physically fitting cabinet inconvenient.
Compare a fixed shelf with a compatible pullout
A fixed shelf avoids the space taken by pullout hardware, but the appliance may sit farther back than you can comfortably reach. A pullout can bring it forward; its platform, slides and any side restraints reduce the available footprint and have their own capacity limits. Verify the complete selected assembly rather than assuming an empty display accessory will suit the appliance’s weight and shape.
An appliance lift is another product-specific choice, not a generic substitute for a shelf. Its mechanism, attachment, travel and permitted use must match the cabinet and appliance. Decide first whether the everyday difficulty is reaching, lifting or lack of counter space. Different problems do not necessarily call for the same accessory.
Keep the smaller parts in the same storage plan
A jar, lid and small accessories can lose their relationship once they are washed separately. Give the pieces a visible place that follows the appliance manufacturer’s storage and cleaning instructions. Keep the clean, dry jar accessible without burying it behind unrelated serving pieces. A deep bin for every accessory can make it harder to recognize the part you need.
For a hypothetical daily smoothie routine, compare lifting the assembled blender once with lifting the base and jar separately and assembling them on the counter. Try putting everything away again. The option with the smallest stored height may require more moves and more free counter area. For occasional use, that tradeoff might be acceptable; for a daily appliance, it may not be.
Use the complete sequence to choose the cabinet
Record both storage footprints, the clear opening, the retrieval path and the landing spot. Confirm the selected shelf or accessory’s suitability and keep operating requirements separate from storage dimensions. Choose the arrangement that lets the intended user move the appliance comfortably and return its parts to a clear home, rather than choosing a cabinet only because the assembled height is close.
Pure White
Cream White
Light Warm Gray
Gray
Navy
Black
Oak Tone
Dark Walnut Tone
Design study These finish studies are design references, not a list of currently orderable colors. Screens and lighting change the appearance; compare a physical sample before choosing.See all finish options →
Compare upright and horizontal storage with the lids attached, then test the route from washing to packing a bag. A bottle’s base diameter is only part of the fit.
The sample shows the door frame, a separate center panel, the face frame and the cabinet box. Each component has its own place in this Shaker construction.
Shaker construction: door frame, center panel, face frame and cabinet box. The cutaway helps locate these parts; confirm each material in the specifications for the selected cabinet.
01 / Door frame
The Shaker door has rails and stiles around a separate center panel. The frame and center panel are different components; confirm their materials in the specifications for the selected cabinet.
02 / Face frame
The face frame surrounds the opening at the front of the cabinet box and sits behind the doors. The face frame, door frame and cabinet box are separate parts.
03 / Cabinet box
The sample exposes the cabinet sides, interior surfaces and layered edges. The image does not establish the wood species or material specification of a selected cabinet.