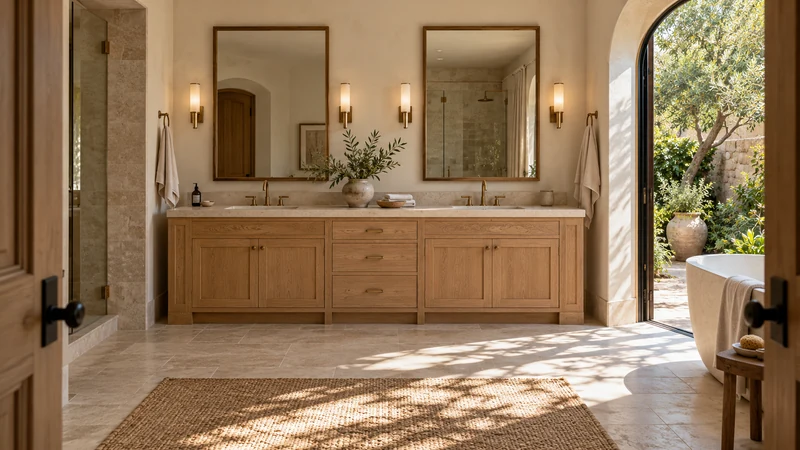
Specify grain direction on every visible end panel, filler and return, not only on the doors. Use a drawing that identifies the installed top, front edge and exposed face of each piece, then add a grain-direction arrow. A note saying “match the cabinets” is too vague to tell a supplier whether you mean color, orientation or actual continuity of the pattern.
Design study Use the room view to consider visible faces individually. It does not document a grain-matching service or the construction of an actual order.
Begin with the views people will see
Look at the cabinetry from the room entrance and from its exposed sides. Identify broad end faces, narrow filler faces, the visible edge of an applied panel and any short return around a corner. Assign each piece a location name that can also appear in the order. This is an appearance inventory, not a request to change cabinet layout.
Mark which face is outward and which edge is toward the front. A loose rectangular panel can be rotated on a bench, but its installed shape and finished edges may make that rotation impossible. If both faces will be visible, identify them separately. Do not assume the back of a decorative panel has the same finish or grain presentation as its intended show face.
Direction and continuity are different requests
Conestoga’s published collection sheet distinguishes vertical or horizontal orientation from sequential grain matching. That distinction is useful even when choosing a different product: lines running in the same direction do not necessarily continue from piece to piece. The sheet does not establish matching services or current options for your order.
Decide whether you want consistent direction, a deliberately contrasting direction or a more specific visual relationship. A vertical filler beside a vertically patterned door may still have a different figure. If continuity around an outside corner matters, describe that corner explicitly and obtain confirmation of what can be produced. Do not let a general direction arrow imply a continuous wrap that nobody has agreed to supply.
Put arrows on the installed view
Draw the front and side views using the same location names. On each visible face, mark the intended grain direction with an arrow and write “top” where needed. Include narrow strips and trim that would otherwise be listed only by length. An arrow on the front elevation alone does not resolve a side panel viewed from another direction.
Confirm which dimensions the supplier treats as width and height, and whether any site trimming will change the visible edge. If the installer expects to cut a strip from supplied stock, agree which piece and orientation are intended before cutting. A cutting plan that saves material may not preserve your preferred appearance; that is a decision to resolve, not a mistake to conceal later.
A worked check at an exposed cabinet end
Imagine choosing horizontal grain across the doors while leaving a tall exposed end panel visible from the entrance. The quote lists a matching panel and filler, but its sketch shows neither grain arrows nor finished edges. You intended the broad end to run vertically, while the narrow front filler should follow the nearby door pattern.
Adding separate arrows makes those intentions visible and reveals whether the proposed pieces can deliver them. If the supplier offers only one direction for the selected panel size, review an actual alternative before approval. Do not simply rotate a sample in the rendering and assume the physical panel, edge finish and fabrication limits have also changed.
Keep orientation attached to the part identity
Save the marked views with the item list and finish selection. Ask that any accepted change be reflected in both the drawing and the order description. For patterned laminate or another printed surface, preserve the decor code and intended direction; a wood-like picture does not establish real veneer or a particular species.
At delivery, lay out identified pieces without trimming them and check their top, show face, finished edges and grain arrows against the approved record. Photograph an unexpected direction in the installed orientation, including its location label. Resolve it before pieces lose their identity through cutting or installation. A short, precise orientation record can prevent a large visible side from becoming the overlooked part of an otherwise coordinated cabinet order.
Pure White
Cream White
Light Warm Gray
Gray
Navy
Black
Oak Tone
Dark Walnut Tone
Design study These finish studies are design references, not a list of currently orderable colors. Screens and lighting change the appearance; compare a physical sample before choosing.See all finish options →
A color name does not identify a finish system. Compare the decorative surface, the core, the edge and the repair method before choosing a cabinet front.
The sample shows the door frame, a separate center panel, the face frame and the cabinet box. Each component has its own place in this Shaker construction.
Shaker construction: door frame, center panel, face frame and cabinet box. The cutaway helps locate these parts; confirm each material in the specifications for the selected cabinet.
01 / Door frame
The Shaker door has rails and stiles around a separate center panel. The frame and center panel are different components; confirm their materials in the specifications for the selected cabinet.
02 / Face frame
The face frame surrounds the opening at the front of the cabinet box and sits behind the doors. The face frame, door frame and cabinet box are separate parts.
03 / Cabinet box
The sample exposes the cabinet sides, interior surfaces and layered edges. The image does not establish the wood species or material specification of a selected cabinet.