Place a cabinet beside a window using the finished trim outline, not the glass width or bare opening alone. The casing occupies wall space, and its projection can also affect a nearby cabinet door. Measure both conditions at the height where the cabinet will sit. A cabinet that fits between the window opening and a corner may still overlap retained trim once its side panel and complete front are included.
Trace the whole outline of the retained trim
Draw the window on the wall elevation with its casing, sill and top treatment shown separately. Identify the parts being retained. Some top treatments extend farther sideways than the vertical casing below; a shelf-like sill may project farther into the room. Do not reduce this stepped outline to a single rectangle unless the actual trim has that shape. Mark the cabinet’s proposed top and bottom positions on the same elevation.
KraftMaid’s measuring guidance uses the outside trim edges for window and door widths. Here, the same boundary principle is applied at the specific height of the adjacent cabinet.
Measure from the adjoining wall or chosen reference to the outer trim edge wherever its shape changes. Then record how far the trim projects from the finished wall face. The first set of readings describes the width available beside the window; the second helps check door and handle movement. Mixing them into one “window clearance” conceals which object is actually in the way.
Include the complete cabinet arrangement: box, finished side panel and any purposeful filler. Check whether the selected cabinet drawing already includes a visible side rather than counting a panel twice. A filler used to let a door move may consume some of the same wall span needed by the cabinet. Keep that allowance explicit on the drawing instead of assuming it can be found after the units are chosen.
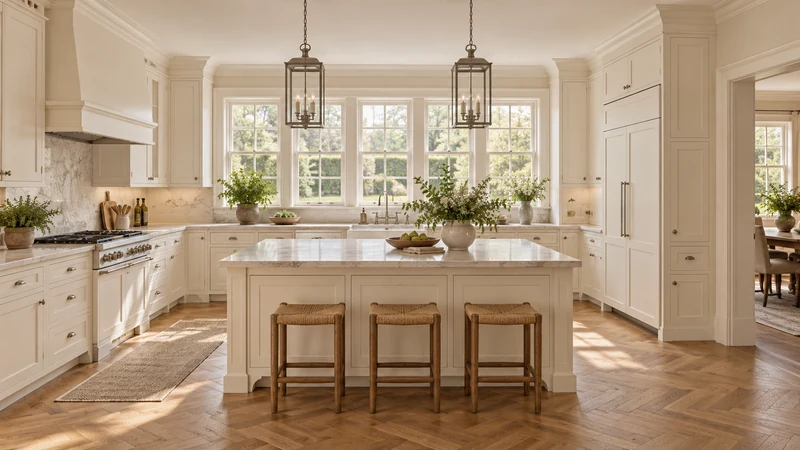
Design study The side casing and trim above the window form visible edges that differ from the glazing. This design study illustrates the measuring boundaries, not their dimensions or the operation of the neighboring doors.
A cabinet box can fit while the complete arrangement does not
In a hypothetical example, the distance from a wall corner to the bare window opening is 26 inches. Retained casing extends 2 inches into that span, leaving 24 inches outside the trim. A cabinet with an actual box width of 24 inches appears to fit, but adding a separately required 0.75-inch side panel makes the arrangement 24.75 inches wide. It exceeds the available span by 0.75 inch. These are assumed measurements, not stock cabinet specifications; the response is to revise the arrangement, not erase the panel from the drawing.
Check the moving door against the projecting trim
Use the selected hinge side, door thickness, front position and handle projection to examine the opening path. A cabinet door can clear the casing while closed and approach it as it swings. The manufacturer’s operating geometry, a reliable mock-up or an appropriate field demonstration can answer this more clearly than a front elevation alone. Do not assume reversing the hinge solves the problem without checking access from the intended standing position.
Changing retained window trim is a separate scope decision. It may alter the appearance around the whole window and still leave another projection in the door path. If the cabinet is instead moved away, check the effect on the neighboring run and on the useful cabinet width. Preserve the window’s own operation and access to any required controls while reviewing these alternatives.
Prepare a window-specific fit record
Bring the elevation with its complete trim outline, the wall-span readings, projection measurements and photographs showing the relevant corners. Add the selected cabinet’s actual box and panel dimensions, hinge side and unresolved opening question. This allows the designer to decide the boundary before a matching cabinet pair is chosen for appearance. Keep the record with the final elevation, and compare finish studies only after the physical window-to-cabinet relationship is resolved.
Pure White
Cream White
Light Warm Gray
Gray
Navy
Black
Oak Tone
Dark Walnut Tone
Design study These finish studies are design references, not a list of currently orderable colors. Screens and lighting change the appearance; compare a physical sample before choosing.See all finish options →
Build a room sketch and a cabinet-run total that include the parts between the boxes. A worked example shows why the tighter measurement changes the filler allowance.
The sample shows the door frame, a separate center panel, the face frame and the cabinet box. Each component has its own place in this Shaker construction.
Shaker construction: door frame, center panel, face frame and cabinet box. The cutaway helps locate these parts; confirm each material in the specifications for the selected cabinet.
01 / Door frame
The Shaker door has rails and stiles around a separate center panel. The frame and center panel are different components; confirm their materials in the specifications for the selected cabinet.
02 / Face frame
The face frame surrounds the opening at the front of the cabinet box and sits behind the doors. The face frame, door frame and cabinet box are separate parts.
03 / Cabinet box
The sample exposes the cabinet sides, interior surfaces and layered edges. The image does not establish the wood species or material specification of a selected cabinet.