Treat an existing soffit as a volume with an underside, a front face and end returns, rather than a line across the top of the kitchen drawing. Record where that volume begins, ends and changes depth. The information determines how upper cabinets can align beneath or beside it. A single floor-to-soffit height may be useful, but it cannot show whether the soffit face projects beyond the cabinets or stops partway through a run.
Show the soffit in plan and elevation
On the plan, draw its projection from the wall and the position of each end return. On the wall elevation, draw its underside and the ceiling above. Include steps, beams or changes in direction that intersect the proposed cabinetry. Keep decorative trim separate from the main shape so the designer can see which edge was actually measured. A photograph helps identify surfaces but does not replace the dimensions.
KraftMaid’s room-height guidance calls for both ceiling and soffit measurements. The additional plan view here explains the projection that a height reading alone leaves unresolved.
Measure at changes, not just at the convenient end
Take underside heights from the same identified reference and record the floor condition used on the drawing. Measure the soffit projection at recognizable locations along its length. A surface that appears continuous can vary in depth, and an end return may not line up with the wall below. Label the measuring positions so a later site visit can confirm the same shape. Areas hidden behind existing cabinets remain unverified.
Check whether the intended cabinet top meets the underside, leaves a deliberate gap or uses an approved trim arrangement. That decision depends on the actual selected cabinet and the unevenness present. Do not turn the smallest visible gap into a universal installation allowance. A level cabinet line beneath an uneven soffit can leave a changing gap even when the cabinet boxes themselves are correctly aligned.
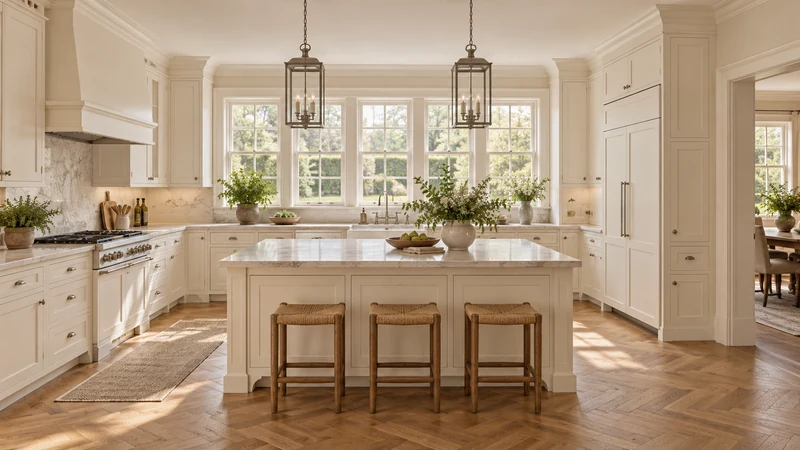
Design study Follow the upper cabinet tops and the decorative lines above them. The design study illustrates why separate edges must be named; it does not identify an existing soffit, reveal hidden contents or establish its dimensions.
Compare the front planes with the complete cabinet envelope
Suppose a hypothetical upper-cabinet assembly, including its projecting front, is 13 inches deep. The existing soffit projects 14 inches from the wall at one end and 11 inches at the other. The cabinet front would sit 1 inch behind the first soffit face and extend 2 inches beyond the second. A label saying only “soffit above cabinets” would conceal this difference. These are assumed teaching dimensions, not standard cabinet depths, acceptable overhangs or measurements of the pictured design.
Keep hidden contents separate from visible geometry
The outside shape does not establish what is inside the soffit or whether it can be removed. Record any known openings, vents or access panels and identify who will assess concealed conditions if a change is proposed. Do not plan taller cabinets on the assumption that the soffit is empty. The layout can compare a retained-soffit option with a conditional alternative, but the latter needs a verified physical boundary before dimensions are approved.
Also check equipment planned beneath or within the overhead area. A hood, refrigerator enclosure or other selected appliance can impose installation and service requirements beyond the cabinet shape. Those requirements must come from the actual model documentation. A decorative treatment that appears to close an awkward gap is incomplete if it blocks a required access point or occupies space reserved for equipment.
Choose the cabinet response with the whole run visible
Compare retaining a deliberate gap, using a suitable top treatment or selecting a different cabinet height within the verified space. Show how each approach ends at a tall cabinet, window or open wall. Keep the final front alignment and end returns on the same drawing so a local solution does not create an unexplained step elsewhere. Hand over the measured soffit profile, photographs, concealed-condition notes and selected assembly dimensions together; finish selection can follow the physical arrangement.
Pure White
Cream White
Light Warm Gray
Gray
Navy
Black
Oak Tone
Dark Walnut Tone
Design study These finish studies are design references, not a list of currently orderable colors. Screens and lighting change the appearance; compare a physical sample before choosing.See all finish options →
Build a room sketch and a cabinet-run total that include the parts between the boxes. A worked example shows why the tighter measurement changes the filler allowance.
The sample shows the door frame, a separate center panel, the face frame and the cabinet box. Each component has its own place in this Shaker construction.
Shaker construction: door frame, center panel, face frame and cabinet box. The cutaway helps locate these parts; confirm each material in the specifications for the selected cabinet.
01 / Door frame
The Shaker door has rails and stiles around a separate center panel. The frame and center panel are different components; confirm their materials in the specifications for the selected cabinet.
02 / Face frame
The face frame surrounds the opening at the front of the cabinet box and sits behind the doors. The face frame, door frame and cabinet box are separate parts.
03 / Cabinet box
The sample exposes the cabinet sides, interior surfaces and layered edges. The image does not establish the wood species or material specification of a selected cabinet.