Stemware cabinet clearance: measure the movement, not just the glass
A glass that stands on the shelf may not have room to come out. Check its widest point, lifting movement and the hand that has to pass through the opening.
The top of a stemmed glass can clear a shelf while the glass remains difficult to remove. You may need to lift it slightly, bring its wider bowl through the opening and pass your hand beside neighboring glasses. Plan around that complete movement. Standing height alone is not enough to choose shelf spacing or decide that an additional row is usable.
Measure the widest part as well as the tallest
Stand the glass in its intended storage position and identify its total height, widest bowl dimension and foot size. Different shapes can be limited by different points. A broad bowl may need separation above where the feet sit, while a wide foot can interfere at shelf level. Do not use the stem spacing alone to estimate how closely the glasses can stand.
Include the actual opening of the cabinet. The clear area behind a face frame may be larger than the path through the front. Test the largest glass you intend to keep here, but also test a smaller shape with a different bowl profile. A height-based arrangement may work for a tall narrow glass and fail for a shorter broad one.
Leave room for the way you remove it
Consider a hypothetical glass 9 inches tall under 9.25 inches of clear height. It fits while standing. If the planned motion requires lifting it 0.5 inch before moving forward, that motion reaches 9.5 inches, exceeding the space by 0.25 inch. The example shows a movement conflict, not a recommended clearance. Test the actual glass and your ordinary grip.
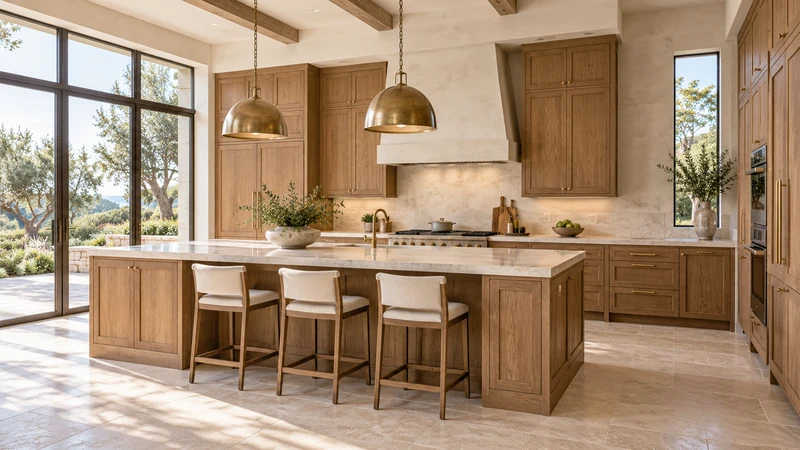
Design study Storage height should be judged with the retrieval movement. This room view does not show stemware clearances or a glass rack.
Use a secure grip appropriate to the glass rather than designing around an awkward fingertip maneuver. Check the motion with the cabinet door normally open and the neighboring glasses present. If it requires touching rims together or threading the bowl through a narrow gap, change the spacing or shelf assignment. Do not force a valuable or fragile glass through a trial fit.
Keep rear glasses reachable without rearranging the shelf
Put frequently used shapes in the easier positions and identify how the occasional glasses will be reached. A rear row is not useful simply because the empty shelf has enough depth. Test whether you can see the chosen glass, place your hand and bring it forward without relocating the front group.
If considering a hanging rack, treat it as a different storage system. Check the rack’s specifications against the glass foot, stem and removal direction, along with its mounting requirements and available clearance. Do not assume every stemmed glass suits every rack or that a shelf-based layout transfers unchanged to suspended storage. Follow the glass and rack manufacturers’ applicable storage guidance.
Choose a working collection for this cabinet
You may prefer to give the daily set comfortable space and keep occasional shapes elsewhere. Make that choice deliberately instead of gradually filling every gap. If shelf adjustment is part of the plan, confirm the useful positions and support requirements for the selected cabinet. A movable shelf can help, but only within its actual adjustment range.
Before ordering, record the largest outlines, required removal movement and proposed row or rack arrangement. Rehearse return as well as removal after the glasses have been cleaned and prepared for storage according to their instructions. The successful arrangement allows ordinary handling without contact or forced movement; maximum glass count is secondary to that repeatable routine.
Pure White
Cream White
Light Warm Gray
Gray
Navy
Black
Oak Tone
Dark Walnut Tone
Design study These finish studies are design references, not a list of currently orderable colors. Screens and lighting change the appearance; compare a physical sample before choosing.See all finish options →
The body diameter is only part of a mug’s footprint. Test handle direction, finger access and rear-row retrieval before deciding how many belong on the shelf.
Start with an agreed task and a small selected dish set. Place it outside active cooking movements and make both taking and putting away understandable.
The sample shows the door frame, a separate center panel, the face frame and the cabinet box. Each component has its own place in this Shaker construction.
Shaker construction: door frame, center panel, face frame and cabinet box. The cutaway helps locate these parts; confirm each material in the specifications for the selected cabinet.
01 / Door frame
The Shaker door has rails and stiles around a separate center panel. The frame and center panel are different components; confirm their materials in the specifications for the selected cabinet.
02 / Face frame
The face frame surrounds the opening at the front of the cabinet box and sits behind the doors. The face frame, door frame and cabinet box are separate parts.
03 / Cabinet box
The sample exposes the cabinet sides, interior surfaces and layered edges. The image does not establish the wood species or material specification of a selected cabinet.