Choose a fixed sink false front or a tip-out only after checking its actual job
A drawer-shaped panel below the sink does not promise a drawer. Compare a fixed front with a compatible tip-out by the items it would hold, the complete mechanism and the routine for taking them out and putting them back.
Keep a fixed false front unless a compatible tip-out arrangement provides a useful, verified home for specific items. The panel below a sink may resemble a drawer front while concealing the basin or its surroundings. Space visible behind it is not automatically storage: a working tray needs its own mounting, movement and access, with the actual sink still in place.
Name what the proposed tray would replace
Start with the objects currently using the sink edge or a nearby holder. Decide which belong in the proposed tray and what benefit moving them would provide. A short scrubber and a long-handled brush ask different things of the interior. Hiding everything is not a complete brief if the resulting tray cannot hold the everyday group in its normal condition.
Compare against a real alternative: a fixed front with a suitable existing holder, or another verified nearby home. Include the remaining objects in each option. If the tip-out accommodates only part of the group and the countertop holder must stay for the rest, its benefit may be smaller than the empty-counter rendering suggests.
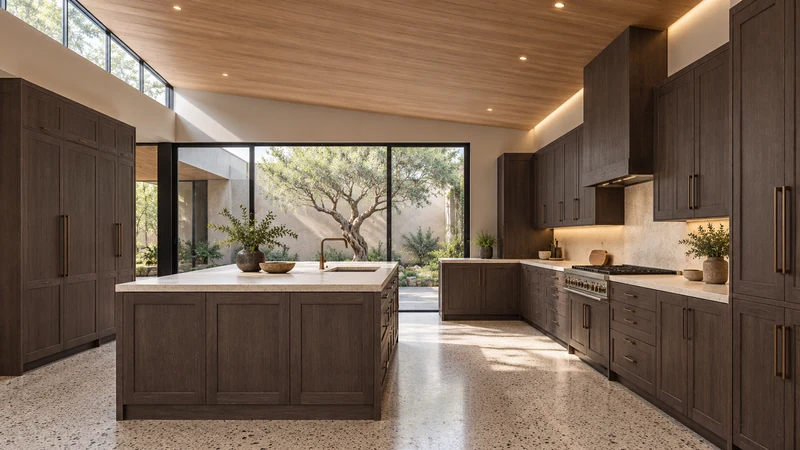
Design study The sink and surrounding cabinetry show why exterior appearance alone cannot identify usable space behind a front. The working face below the sink is not revealed here; the image does not confirm a tip-out, its mechanism or a compatible sink.
Confirm the complete front-and-tray assembly
Identify the exact cabinet, front construction, sink and selected accessory. Establish whether the front can be used with the proposed hinges and mounting arrangement according to the applicable product instructions. A shallow tray sold separately does not by itself demonstrate that the existing fixed panel is suitable for conversion. Resolve that construction question before treating the option as available.
Use a section through the actual sink location. Include the basin exterior, rim or mounting components where relevant, the back of the front and the space occupied by hinges and tray. Check the selected accessory’s requirements rather than borrowing a clearance from another model. The gap can change across the width, so a roomy spot at an end does not prove that the whole assembly fits.
Check a loaded opening and return
Follow the specified motion with the objects placed as they would normally be stored. Their handles or upper edges can project beyond the empty tray. Verify the closed state, intermediate movement and usable open position, including the user’s hand. A front that opens without a tray has not passed the same test as a completed, loaded arrangement.
Also use the sink with the tip-out closed and with it open for the intended task. Check whether the panel occupies the user’s usual standing position or requires an inconvenient change of posture. Do not leave it open in the test only because that makes the contents easier to see; the proposed routine must explain when it opens and when it returns to the closed position.
A brush can change the decision after the empty tray fits
In a hypothetical plan, a compatible empty tray clears the basin and opens correctly. The household then places its usual long-handled brush inside. The handle extends beyond the intended storage outline and interferes during closing. The empty mechanism was compatible, but the object assignment was not. Calling the front wasted space does not resolve that mismatch.
Compare a different verified arrangement for the brush, a genuinely useful smaller group in the tray, or retaining the fixed front. Do not quietly remove the brush from the inventory while claiming that all sink tools are concealed. If another holder remains necessary, show it on the countertop drawing so the alternatives represent the same household routine.
Include removal, cleaning and return in the choice
Check how the selected tray is accessed or removed for cleaning under its instructions, and where its contents go during that task. Follow the care requirements for the items placed inside; enclosure alone does not establish that a damp object is ready to store. Avoid a plan that depends on contents remaining invisible regardless of their condition.
Save the selected assembly, verified sink section, approved item group and loaded-motion result. Mark what stays elsewhere and how the tray is maintained. Revisit the choice if the basin or tools change. A fixed front can be a deliberate result when the proposed accessory adds little usable storage or makes the ordinary sink routine more complicated.
Pure White
Cream White
Light Warm Gray
Gray
Navy
Black
Oak Tone
Dark Walnut Tone
Design study These finish studies are design references, not a list of currently orderable colors. Screens and lighting change the appearance; compare a physical sample before choosing.See all finish options →
A continuous interior can sit behind divided openings. Identify the center member and verify the permitted construction before assuming a large item can enter or that the member can be removed.
A shaped drawer can bring small groups forward, but its remaining area may not form a home for a large caddy. Match objects to continuous regions and verify the complete plumbing and service arrangement.
The sample shows the door frame, a separate center panel, the face frame and the cabinet box. Each component has its own place in this Shaker construction.
Shaker construction: door frame, center panel, face frame and cabinet box. The cutaway helps locate these parts; confirm each material in the specifications for the selected cabinet.
01 / Door frame
The Shaker door has rails and stiles around a separate center panel. The frame and center panel are different components; confirm their materials in the specifications for the selected cabinet.
02 / Face frame
The face frame surrounds the opening at the front of the cabinet box and sits behind the doors. The face frame, door frame and cabinet box are separate parts.
03 / Cabinet box
The sample exposes the cabinet sides, interior surfaces and layered edges. The image does not establish the wood species or material specification of a selected cabinet.