Plan a salad spinner as a set of parts that moves between storage, food preparation and cleanup. A cabinet that fits the assembled bowl solves only the first part of that routine. You also need a workable location for the lid and basket when they are separate, plus a clear route back once the parts are ready to store. Start with the actual spinner rather than using bowl capacity as a cabinet measurement.
Measure the mechanism in its storage position
Measure the full outside diameter, handles or tabs, and the height of the lid mechanism as it will be stored. A raised pump or crank can determine the needed clearance. Check whether your specific model has a documented storage position; do not force a control downward because another brand has a collapsible feature. The parts must also pass through the cabinet opening.
For example, OXO describes a storage lock that lowers the pump on its Good Grips Glass Salad Spinner, along with a lid designed to separate for cleaning. Those are features of that product, not every spinner.
Record the chosen model and stored position on the cabinet plan. If shopping for a spinner later, keep the available interior and opening measurements with the plan. A larger advertised capacity does not tell you whether the body is wider, taller or has a different lid profile.
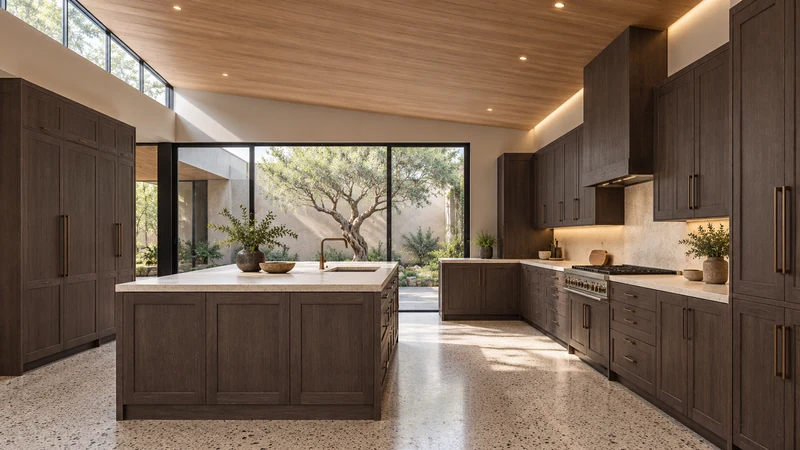
Design study The sink-to-cabinet relationship helps plan cleanup and return. This design study does not show a spinner or prove the fit of its parts.
Allow for the round footprint inside rectangular storage
A round bowl can leave small corners around it, but those corners are not automatically useful storage. Test whether a nearby tool can be removed without dragging against the bowl and whether the spinner itself can be gripped. A tight layout that requires lifting several other objects first may be worse than leaving some visible space unused.
Compare shelf storage with a drawer. On a shelf, a wide opening may permit a direct lift, while an obstructing frame can require an awkward angle. In a drawer, the whole bowl comes forward, but the mechanism must clear the lowest part above it when closed. Include the organizer or mat that will actually remain beneath the spinner.
Account for the parts after washing
Follow the spinner’s instructions for cleaning, separating and drying its components. For layout purposes, identify where the outer bowl, basket and permitted lid sections can rest without blocking the sink or the main preparation area. This is a temporary work-space question, not a reason to put damp components into a closed cabinet to make the counter look clear.
Imagine a household that washes greens during dinner preparation. The bowl is in use, the lid is set aside and another person needs the sink. After washing the equipment, the separated parts still occupy space. Walk through that sequence before deciding that a narrow landing area beside the sink is enough. The assembled storage footprint does not describe this expanded cleanup arrangement.
Be selective about nesting other items
A spinner bowl may appear to offer room for unrelated mixing bowls, but the basket and lid already belong to its own set. If you use nesting, test which piece has to come out first and whether the normal assembly remains recognizable. A household member should not have to search other cabinets for the basket because it was displaced to make room for a different bowl.
Keep detachable parts associated with the right model. Similar-looking lids or baskets are not interchangeable merely because they sit together. Avoid turning the spinner into a bin for loose kitchen tools that must be emptied every time it is needed.
Choose a location that works on the return trip
Once the pieces are ready for storage, try rebuilding and returning the set without balancing components while opening doors. Frequently used equipment deserves a convenient route; occasional equipment can live farther away if retrieval remains manageable. Record the assembled envelope, the separate-part landing needs and the opening path. Those details are more useful to a cabinet plan than simply listing “salad spinner” among the small appliances.
Pure White
Cream White
Light Warm Gray
Gray
Navy
Black
Oak Tone
Dark Walnut Tone
Design study These finish studies are design references, not a list of currently orderable colors. Screens and lighting change the appearance; compare a physical sample before choosing.See all finish options →
A lid knob and side handles can change the storage shape. Keep the matching relationship clear before deciding whether to nest, stack or separate the pieces.
The sample shows the door frame, a separate center panel, the face frame and the cabinet box. Each component has its own place in this Shaker construction.
Shaker construction: door frame, center panel, face frame and cabinet box. The cutaway helps locate these parts; confirm each material in the specifications for the selected cabinet.
01 / Door frame
The Shaker door has rails and stiles around a separate center panel. The frame and center panel are different components; confirm their materials in the specifications for the selected cabinet.
02 / Face frame
The face frame surrounds the opening at the front of the cabinet box and sits behind the doors. The face frame, door frame and cabinet box are separate parts.
03 / Cabinet box
The sample exposes the cabinet sides, interior surfaces and layered edges. The image does not establish the wood species or material specification of a selected cabinet.