How should casserole dishes and their lids share a cabinet?
A lid knob and side handles can change the storage shape. Keep the matching relationship clear before deciding whether to nest, stack or separate the pieces.
Keep covered baking dishes identifiable as complete sets, even when their lids are stored separately. Choose the arrangement by comparing the height of an assembled dish with the access needed for a nested stack and a separate lid section. The smallest stored footprint is not necessarily the easiest arrangement: a cabinet can hold the whole collection yet require several pieces to be moved before you reach the one needed for dinner.
Match each lid to its actual dish
Gather the dishes and lids before measuring the cabinet. Similar rectangular outlines do not establish that lids are interchangeable. Match the pieces using their product information and actual fit, retaining any marks or instructions that distinguish them. Separate a missing-lid dish from complete covered sets so the proposed layout does not silently assume a part you no longer have.
Distinguish a storage cover from a lid intended for cooking. Their placement in the same cabinet does not make them usable in the same way. Follow the instructions for the particular cookware and cover. The storage plan should preserve that distinction rather than grouping every same-size lid together and leaving the next user to guess.
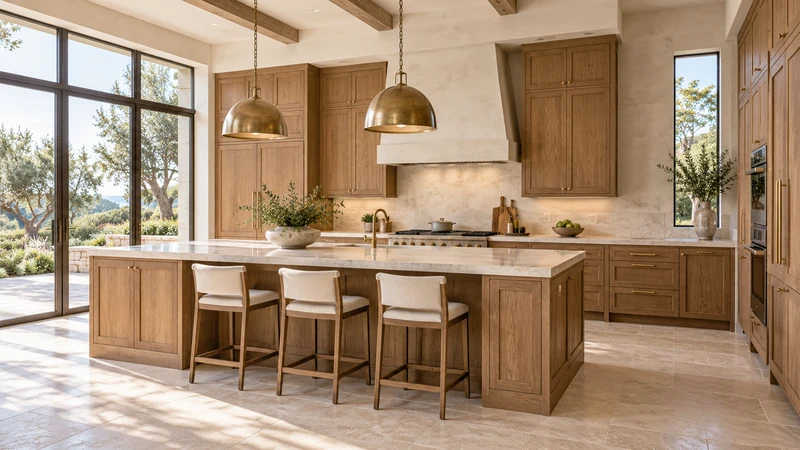
Design study A cabinet near preparation may suit covered bakeware, but this design study does not establish interior fit or the temperature limits of any cookware.
Compare an assembled set with separated lids
An assembled dish keeps the matching lid obvious, but a knob can add substantial height. Measure the complete set, not just the bowl-like body. If a lid is stored upside down, verify that this position is appropriate and stable for that item; do not assume every knob can bear against the dish interior or every glass lid can be stacked under other pieces.
Separating lids can reduce the height needed for nested dishes while creating a new storage task. A divided section should support each lid in a suitable position and allow access around its knob and rim. Check both the space occupied by the dishes and the new lid area. Moving a lid out of the stack does not make its volume disappear.
Try the entire removal sequence
Consider a hypothetical collection in which the everyday casserole dish sits beneath a larger occasional dish and several smaller pieces. The stack may use little shelf area, but selecting the daily dish requires a temporary landing place for everything above it. Reorder the group or separate the frequent piece if that sequence happens repeatedly. There is no benefit in a compact arrangement that creates countertop clutter at every meal.
A pullout can make the group visible without solving the stack itself. You still need to lift the intended dish free, and the complete assembly must be suitable for the load. Confirm the shelf or drawer system as installed rather than relying on the apparent strength of its front. Use protective separators only as appropriate for the bakeware and the storage arrangement.
Allow handles to clear the opening
Side handles often determine the widest measurement, while a tall lid determines the upper clearance. Check the path through the opening and beneath framing, not only the empty interior behind it. If the dish is rotated during removal, test the turning room with a safe mock-up or the empty item under suitable conditions. A diagonal possibility on a sketch is not a proven routine.
In a drawer, check that a handle does not catch under the framing above as the drawer closes. The item may sit below the front’s top edge and still meet a lower obstruction farther inside. Measure the actual closed path with the chosen insert or mat in place.
Keep the everyday set ready to retrieve
Give the most-used dish and its recognizable lid a direct route to the preparation area. Keep occasional sets nearby or in a clearly identified alternate cabinet, with their pieces still associated. Record the full assembled dimensions, any separated-lid requirement and the removal sequence for the cabinet plan. That is more useful than specifying a generic bakeware drawer without knowing what must come out of it.
Pure White
Cream White
Light Warm Gray
Gray
Navy
Black
Oak Tone
Dark Walnut Tone
Design study These finish studies are design references, not a list of currently orderable colors. Screens and lighting change the appearance; compare a physical sample before choosing.See all finish options →
The sample shows the door frame, a separate center panel, the face frame and the cabinet box. Each component has its own place in this Shaker construction.
Shaker construction: door frame, center panel, face frame and cabinet box. The cutaway helps locate these parts; confirm each material in the specifications for the selected cabinet.
01 / Door frame
The Shaker door has rails and stiles around a separate center panel. The frame and center panel are different components; confirm their materials in the specifications for the selected cabinet.
02 / Face frame
The face frame surrounds the opening at the front of the cabinet box and sits behind the doors. The face frame, door frame and cabinet box are separate parts.
03 / Cabinet box
The sample exposes the cabinet sides, interior surfaces and layered edges. The image does not establish the wood species or material specification of a selected cabinet.