Reusable grocery bags need a return route, not a bigger cabinet
Plan the trip from unloading groceries to the next shopping run. Separate bags ready to leave from bags waiting for care and the reserve you actually use.
The best place for reusable grocery bags may be near the exit rather than inside a kitchen cabinet. Start with what happens after unloading: the bags need appropriate care, then a reliable route back to the next shopping trip. A large drawer that collects every bag without helping that return journey can become full while the bags you need are still missing when you leave.
Follow one complete shopping trip
Observe where the loaded bags arrive, where they are emptied and where the person who shops leaves the house. Those locations may not coincide. If groceries come through a garage but shopping trips begin through the front door, choosing the nearest cabinet to the refrigerator does not automatically put the bags on the departure route.
Separate a temporary unloading position from the normal storage location. The kitchen may need somewhere to set an emptied bag during cleanup without becoming its permanent home. Write down the transfer that completes the task: after the bag is ready for reuse, who moves it to the exit or other chosen departure point? Avoid a plan that depends on someone noticing an anonymous pile.
Keep useful types without saving every duplicate
Lay out the collection by actual purpose: the everyday set, a bulky insulated carrier, a compact spare and any specialized bag still used. Decide which items genuinely need to remain together. A rigid carrier folded flat and a soft tote pushed into a corner occupy different shapes, even when their carrying capacity sounds similar.
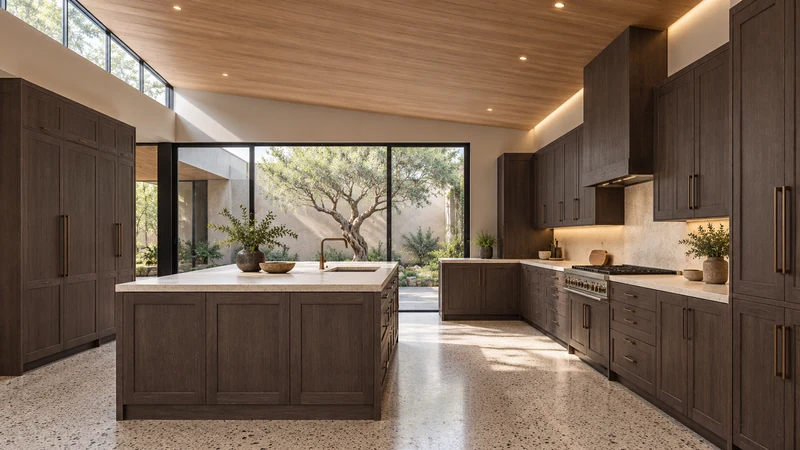
Design study This room image illustrates an unloading area. It does not show a grocery-bag compartment or establish which cabinet is suitable for the collection.
Choose a defined container or shelf area for the retained set before adding cabinet capacity. If overflow appears, check whether it comes from a real increase in shopping needs or from accumulating duplicates. The aim is not an arbitrary bag count; it is a collection whose purpose and return location you can explain.
Nested bags can hide the one you want
Putting every bag inside the largest tote is compact, but it may require unpacking the entire bundle to reach a small spare. Test the likely departure: can you take the normal shopping set without pulling out unrelated bags? Keep an occasional specialist bag separately if nesting it makes the everyday set harder to retrieve.
Use a folding method people will actually repeat. A tightly rolled arrangement that only one person can restore may deteriorate into a jammed drawer. Check the filled container after an ordinary unpacking session, not only after a careful initial setup. Handles should not hang where they catch when the drawer closes.
Keep ready-to-use bags distinct from bags awaiting care
Follow each bag’s care instructions and let the required cleaning and drying finish before returning it to enclosed storage. A waiting bag needs a temporary location appropriate to that process, not a concealed slot among the ready set. Cabinet finish and bag-care requirements both matter; the storage plan itself is not a cleaning method.
Give the cabinet planner the retained collection, its normal folded shape and the retrieval motion only if the chosen home is inside cabinetry. Also record the unloading spot, the care stage and the transfer back to the departure route. You may end up needing a small kitchen holding space and a separate ready-to-leave location instead of a large dedicated kitchen cabinet.
Pure White
Cream White
Light Warm Gray
Gray
Navy
Black
Oak Tone
Dark Walnut Tone
Design study These finish studies are design references, not a list of currently orderable colors. Screens and lighting change the appearance; compare a physical sample before choosing.See all finish options →
The sample shows the door frame, a separate center panel, the face frame and the cabinet box. Each component has its own place in this Shaker construction.
Shaker construction: door frame, center panel, face frame and cabinet box. The cutaway helps locate these parts; confirm each material in the specifications for the selected cabinet.
01 / Door frame
The Shaker door has rails and stiles around a separate center panel. The frame and center panel are different components; confirm their materials in the specifications for the selected cabinet.
02 / Face frame
The face frame surrounds the opening at the front of the cabinet box and sits behind the doors. The face frame, door frame and cabinet box are separate parts.
03 / Cabinet box
The sample exposes the cabinet sides, interior surfaces and layered edges. The image does not establish the wood species or material specification of a selected cabinet.