If the pieces of a kitchen wall do not add up to its measured total, keep both readings and locate the mismatch before sizing cabinets. Do not average the numbers or assign the unexplained difference to a filler. A filler is a designed part with a purpose; it is not a place to hide an uncertain room measurement. The useful result is a drawing in which every segment starts exactly where the previous segment ends.
Choose the same endpoints for every reading
Label the wall and mark its ends on a sketch. Decide whether the total runs between finished wall faces, between projecting trim, or between other fixed boundaries. Write that choice beside the dimension. For a wall containing a window, a useful chain is the wall end to the outside casing edge, the complete casing width, then the other casing edge to the opposite wall. Measuring the opening for glass and calling it the window width creates a different chain.
KraftMaid’s measuring guidance distinguishes full-wall readings from openings measured at the outside trim. That is the source principle here; the reconciliation procedure below is an editorial checking method. Keep an opening-center measurement as an independent location check, not an extra length to add to the chain.
Trace the sketch with a finger while looking at the actual wall. At each boundary, identify the physical edge the tape touched. Check for a stretch counted twice, a trim return omitted, or a measurement taken to the inside edge at one end and the outside edge at the other. A handwritten dimension floating beside a window is ambiguous until its extension lines show where it begins and ends.
Take the overall reading and the segments along the same horizontal line. A wall that leans, a projecting baseboard or a bowed surface can create genuinely different distances at different positions. If access forces you to measure elsewhere, label that position and retain it as a separate observation. Do not combine unlike readings simply because all of them describe the same wall.
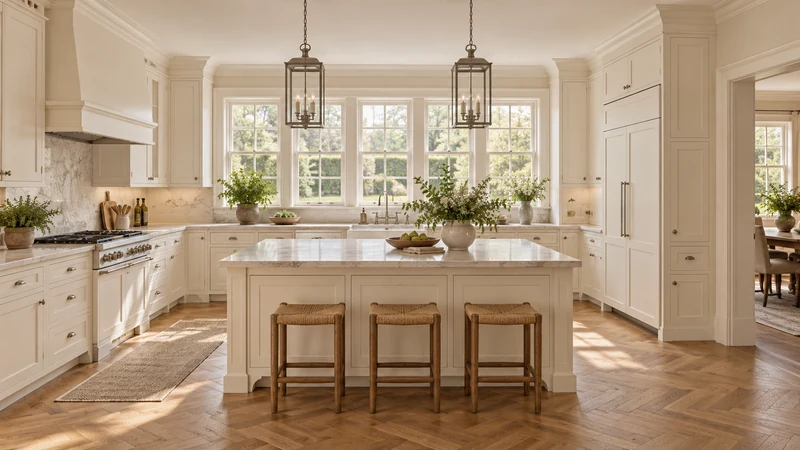
Design study The window wall makes the reference-point problem visible: the glazing, casing and adjoining wall areas are different boundaries. This design study supplies no measured wall or cabinet dimensions.
A discrepancy with an identifiable cause
In a hypothetical example, the full wall measures 148 inches. The recorded chain is 31 inches of wall, a 61-inch window width and 54 inches of wall: 31 + 61 + 54 = 146 inches. The difference is 2 inches. A return visit shows that the window reading used an inner edge. Measuring between the agreed outside casing edges gives 63 inches, so 31 + 63 + 54 = 148 inches. The correction belongs to the window measurement. It does not create extra cabinet space or justify changing a filler.
If the discrepancy remains
Repeat the total with the tape held straight and supported. Read the units aloud, and compare the original note with the copied drawing. Check whether a corner has an obstruction that changed the tape’s starting point. If the wall itself is irregular, record where each reading was taken rather than forcing the shape into a neat rectangle. There is no universal acceptable discrepancy in this article; the proposed cabinet arrangement determines which uncertain boundary could prevent a fit.
An existing cabinet may conceal the finished wall. Mark that portion as unverified and identify what must be exposed or professionally checked. A measurement of the cabinet face cannot silently substitute for the wall behind it. Likewise, a total that agrees after rounding is less useful than the original readings if a tight appliance opening depends on the lost detail.
Hand over a resolved sketch
Keep the original reading legible, add the corrected value with a date, and attach a photograph showing the reference edges. State which wall dimensions are verified and which remain inaccessible. The designer can then assign cabinets, panels and purposeful fillers to a known envelope. Save or download this record with your project notes; the local notes page does not send the measurements. Review finishes only after the room envelope is dependable. The small palette below is an appearance reference, not dimensional evidence.
Pure White
Cream White
Light Warm Gray
Gray
Navy
Black
Oak Tone
Dark Walnut Tone
Design study These finish studies are design references, not a list of currently orderable colors. Screens and lighting change the appearance; compare a physical sample before choosing.See all finish options →
Build a room sketch and a cabinet-run total that include the parts between the boxes. A worked example shows why the tighter measurement changes the filler allowance.
The sample shows the door frame, a separate center panel, the face frame and the cabinet box. Each component has its own place in this Shaker construction.
Shaker construction: door frame, center panel, face frame and cabinet box. The cutaway helps locate these parts; confirm each material in the specifications for the selected cabinet.
01 / Door frame
The Shaker door has rails and stiles around a separate center panel. The frame and center panel are different components; confirm their materials in the specifications for the selected cabinet.
02 / Face frame
The face frame surrounds the opening at the front of the cabinet box and sits behind the doors. The face frame, door frame and cabinet box are separate parts.
03 / Cabinet box
The sample exposes the cabinet sides, interior surfaces and layered edges. The image does not establish the wood species or material specification of a selected cabinet.