An out-of-square corner needs a measured layout response, not a cabinet forced into the angle. First establish whether the walls meet at the angle shown on the plan and whether the surfaces are straight enough to represent with those lines. Then let the designer resolve the cabinet-front alignment, corner space and end conditions together. A wall-length list alone cannot describe this problem: it gives lengths without proving the angle between them.
Separate the angle from a crooked surface
A wall can be straight in plan but lean vertically. It can also be vertical yet bow into the room. An angle check concerns the relationship between reference lines viewed from above; it does not establish that either wall is flat or upright. Note these conditions separately. Otherwise, a local plaster bump may be mistaken for an entire wall changing direction, and the proposed correction may create another problem farther along the run.
IKEA includes room-corner checks in its kitchen measurement scope. That supports recording the condition; it does not supply a universal tolerance or certify a homeowner’s sketch.
For an initial check, identify a shared corner and straight reference lines along the adjacent walls at the same horizontal plane. Keep trim, rounded plaster and obstructions out of the assumed geometry. If the actual intersection is concealed, record that limitation instead of guessing a point behind an existing cabinet. An installer or measuring professional can establish appropriate reference lines and confirm the condition before the cabinet plan depends on it.
Mark the measurement points on the sketch and photograph their locations. A diagonal is meaningful only when its endpoints are known. Record where along each wall the marks sit and whether the tape was supported and held straight. If a repeated reading changes when the tape is repositioned, resolve the method first. Do not treat the most convenient reading as the correct one.
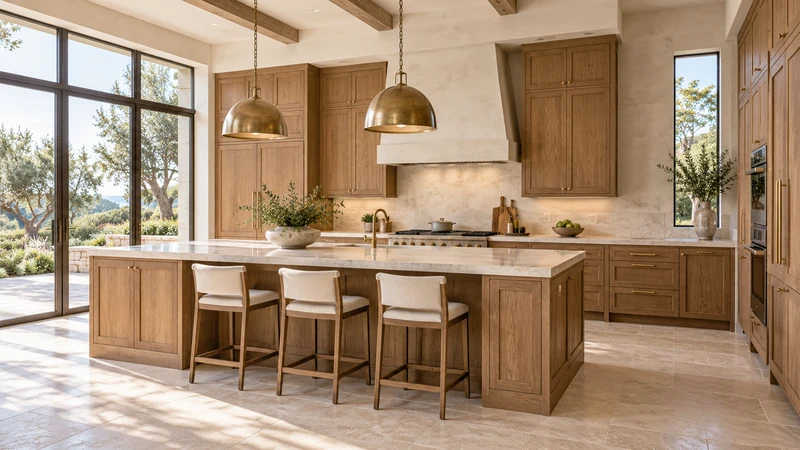
Design study The cabinet return illustrates why adjacent front lines must work together. Perspective in this design study cannot establish the wall angle, usable corner space or installation clearances.
What a simple diagonal check can tell you
In a hypothetical geometry check, marks lie 36 inches and 48 inches from the same corner on straight reference lines. At a right angle, the distance between those marks is 60 inches. Suppose repeated measurements instead give 61 inches. That result does not match the assumed right-angle geometry; the reference setup and wall condition need review. It does not mean a filler should automatically be wider by the measured difference, and no cabinet may be altered on the basis of this example. These assumed numbers are unrelated to the pictured kitchen.
Translate the finding into layout decisions
When adjacent cabinet fronts turn a corner, their alignment affects drawers, handles and the countertop shape as well as the space at the wall. A designer might hold a deliberate front line and resolve the uneven rear gap, change the corner cabinet arrangement or leave inaccessible corner space to protect useful adjacent storage. Those alternatives require actual cabinet drawings and field dimensions. The available response depends on the selected system; an attractive filler width drawn on a plan is not proof of a workable installation.
Do not pull a cabinet out of shape to follow an irregular wall or assume the counter can conceal every consequence. A wall-related gap and a door-swing allowance perform different jobs. Also avoid relying on matching room diagonals alone: equal diagonals do not prove that every possible room shape is rectangular. The individual corner references and wall positions still matter.
Record the corner before selecting the corner cabinet
Prepare a plan showing the reference lines, measured endpoints, repeated diagonal readings and any inaccessible area. Add a separate note for wall bow or vertical lean. Ask the designer to show the chosen cabinet-front lines and the treatment at both ends of the run, then check the operating doors together. Retain the field check with the approved layout so the same assumption is not reintroduced during a revision. Finish studies can follow; color cannot resolve a geometric conflict.
Pure White
Cream White
Light Warm Gray
Gray
Navy
Black
Oak Tone
Dark Walnut Tone
Design study These finish studies are design references, not a list of currently orderable colors. Screens and lighting change the appearance; compare a physical sample before choosing.See all finish options →
Build a room sketch and a cabinet-run total that include the parts between the boxes. A worked example shows why the tighter measurement changes the filler allowance.
The sample shows the door frame, a separate center panel, the face frame and the cabinet box. Each component has its own place in this Shaker construction.
Shaker construction: door frame, center panel, face frame and cabinet box. The cutaway helps locate these parts; confirm each material in the specifications for the selected cabinet.
01 / Door frame
The Shaker door has rails and stiles around a separate center panel. The frame and center panel are different components; confirm their materials in the specifications for the selected cabinet.
02 / Face frame
The face frame surrounds the opening at the front of the cabinet box and sits behind the doors. The face frame, door frame and cabinet box are separate parts.
03 / Cabinet box
The sample exposes the cabinet sides, interior surfaces and layered edges. The image does not establish the wood species or material specification of a selected cabinet.