If a retained window sill sits below the proposed counter, do not assume the counter can simply continue across it. First map the sill, lower trim, glazing and moving parts against the complete counter assembly. Then compare stopping the cabinet run, creating a deliberately lower surface or changing the window as a separate construction decision. The best response is the arrangement that preserves useful work and the window’s required functions within verified dimensions.
Identify the exact edge that conflicts
A sill, the bottom of the glass and the lower edge of an opening sash are different boundaries. Record each relevant height from the same proposed finished-floor reference. Include projections toward the room and any trim below the sill. On the elevation, show the cabinet box, its base arrangement and the full counter thickness together. A cabinet-box height alone does not identify where the finished work surface will meet the window.
IKEA’s room survey includes window sills and their height above the floor. That supports identifying the sill separately, without prescribing the work-surface height for this kitchen.
Compare the heights before drawing a continuous line
For a hypothetical example, the complete counter assembly finishes at 37 inches above the proposed floor, while the retained sill top is at 33 inches. The counter would be 4 inches above the sill. A different work surface proposed at 30 inches would sit 3 inches below it. Neither relationship alone approves a design: the first requires the conflict to be resolved, and the second still needs checks for use, support and window operation. These are assumed teaching heights, not standard or recommended cabinet dimensions.
Draw the conflicting area at a useful scale and mark what is retained. A rendering can make a counter-to-window meeting look tidy while omitting the lower frame or the sash path. If the window is not fully visible because of old cabinetry, keep the concealed portion unresolved until it can be checked. Changing the proposed floor height also changes the comparison and should trigger a fresh elevation review.
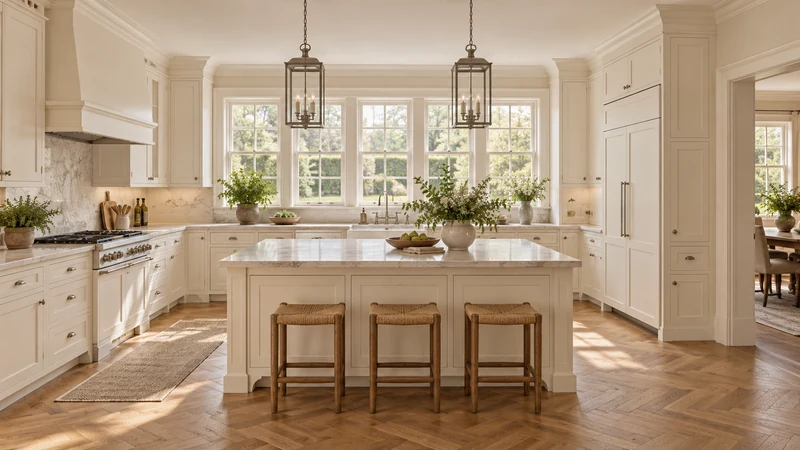
Design study The image shows a close visual relationship between work surface and window. It does not establish sill height, the hidden frame detail or whether a proposed counter could cross the opening in a real room.
Compare practical responses to the low sill
Stopping the cabinets on either side keeps the window zone separate, but breaks the continuous work surface. Decide where the preparation task will move and how the cabinet ends will be used. A lower section can create a distinct task area, provided its height, approach and storage suit the intended person. Do not add it merely to fill the gap; an uncomfortable surface can become another place to store objects rather than work.
A freestanding table or movable surface may also be considered if it has a useful position and leaves the window accessible. It is a different furniture arrangement, not a guaranteed substitute for a fixed cabinet run. Altering or replacing the window could change the boundary, but that requires a separately verified construction scope. Do not order cabinets for an assumed future opening that has not been resolved.
Test the new task area and the window together
For a lower or interrupted arrangement, walk through the intended activity with a representative tray, bowl or other object. Notice where it lands, whether the user must change posture and how the object transfers to the adjacent counter. Keep the window controls and moving sash accessible. If the plan includes a faucet or other equipment, its complete operating envelope must be checked against the actual window, rather than inferred from a design image.
Record the chosen boundary before cabinet selection
Prepare the dimensioned window elevation, finished-floor assumption and complete proposed work-surface heights. State which parts of the window remain and which response is being developed. Add a sketch of the task that will use any lower section and the unresolved construction or equipment checks. This gives the designer a defined problem to solve, instead of a request to make every cabinet top continuous. Finish references can then support the appearance of the chosen arrangement.
Pure White
Cream White
Light Warm Gray
Gray
Navy
Black
Oak Tone
Dark Walnut Tone
Design study These finish studies are design references, not a list of currently orderable colors. Screens and lighting change the appearance; compare a physical sample before choosing.See all finish options →
Build a room sketch and a cabinet-run total that include the parts between the boxes. A worked example shows why the tighter measurement changes the filler allowance.
The sample shows the door frame, a separate center panel, the face frame and the cabinet box. Each component has its own place in this Shaker construction.
Shaker construction: door frame, center panel, face frame and cabinet box. The cutaway helps locate these parts; confirm each material in the specifications for the selected cabinet.
01 / Door frame
The Shaker door has rails and stiles around a separate center panel. The frame and center panel are different components; confirm their materials in the specifications for the selected cabinet.
02 / Face frame
The face frame surrounds the opening at the front of the cabinet box and sits behind the doors. The face frame, door frame and cabinet box are separate parts.
03 / Cabinet box
The sample exposes the cabinet sides, interior surfaces and layered edges. The image does not establish the wood species or material specification of a selected cabinet.