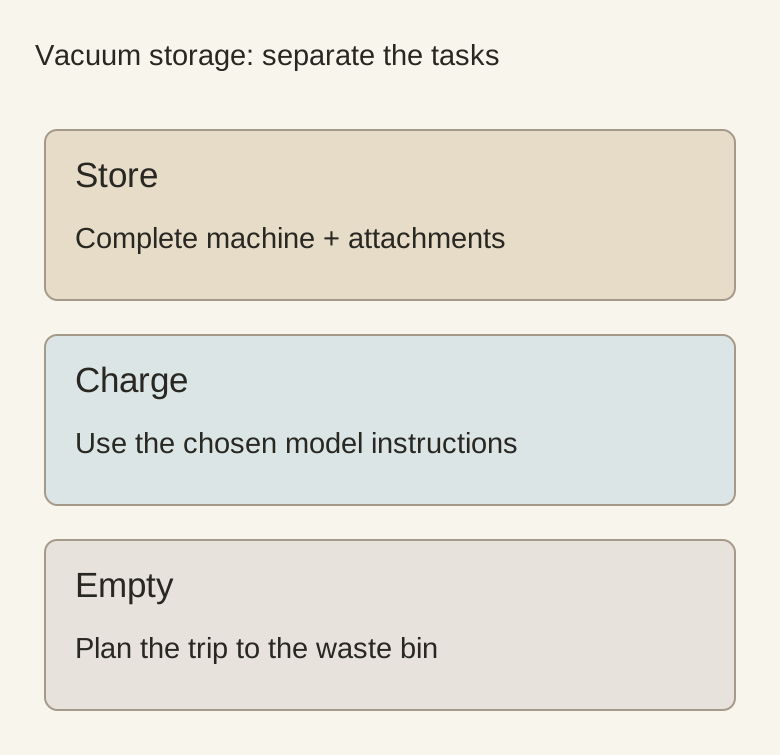
Plan vacuum storage around the machine you own, including the attachments normally left fitted. Then check charging and emptying separately. A cordless vacuum that fits inside a closed cabinet has passed only a size check; that does not establish that the cabinet is an appropriate charging location or a convenient place to maintain the machine.
Measure the storage configuration you actually use
An upright, canister and stick vacuum distribute their bulk differently. For a stick model, the motor and dust bin may project farther than the wand; for a canister, the hose may define the stored outline. Include the normal floor head and cord arrangement rather than measuring the main body alone.
Decide whether taking the machine apart is a realistic daily habit. A short compartment may accept a detached motor unit but leave the wand and head without a home. Compare that arrangement with keeping the normal assembly intact. The useful choice is the one that can be retrieved and restored without hunting for a missing attachment.
Check the dock as a separate piece of equipment
The dock occupies space and can require a specific movement to attach or release the machine. Include its plug and cable route in the drawing. Have its mounting checked against the selected cabinet construction; an available side panel is not automatically a suitable mounting surface for every docking system.
Diagram These tasks need coordinated locations. The diagram does not approve charging inside cabinetry or prescribe a vacuum maintenance procedure.
Follow the exact machine’s instructions for charging conditions. For example, the Dyson SV15 manual requires dry locations and warns against closing a door on the cord. Those model instructions illustrate why a neat closed-door arrangement needs more checking than physical fit. Do not route a live charging lead through a closing door gap.
Give dust removal a route outside clean-linen storage
Check where you will empty the dust bin according to the machine’s instructions. A vacuum hidden next to clean towels may still need to be carried elsewhere for that task. Identify the route to the waste container and the space needed to position the machine over it without laying dusty parts on a clean folding surface.
If the machine has parts requiring washing or drying, follow its care instructions and provide an appropriate temporary location. Do not assume the storage cabinet is also the drying area. Keep the ordinary retrieval space available while a part is being cared for, so the remaining machine and attachments do not migrate into the laundry walkway.
Give the frequently changed head a reachable place
Separate the attachment used every week from accessories kept for rare jobs. A deep pile behind the vacuum encourages people to leave the useful head on the floor. Choose visible, stable positions that suit the actual accessory shapes and do not obstruct the machine’s release from its holder.
Before assigning a cabinet, supply the assembled outline, dock information, cable requirements and retained attachments. Add where charging is permitted and where emptying and care occur. If the proposed compartment meets storage needs but not the charging requirements, resolve that location separately instead of concealing an unsuitable arrangement behind a matching laundry door.
Pure White
Cream White
Light Warm Gray
Gray
Navy
Black
Oak Tone
Dark Walnut Tone
Design study These finish studies are design references, not a list of currently orderable colors. Screens and lighting change the appearance; compare a physical sample before choosing.See all finish options →
Nested empty baskets hide the space needed during a busy laundry session. Assign temporary places for loaded baskets without blocking machines or the route out.
Start with the sink task and the exact basin, then coordinate cabinet fit, plumbing and remaining storage. A deeper bowl changes more than the appearance.
The sample shows the door frame, a separate center panel, the face frame and the cabinet box. Each component has its own place in this Shaker construction.
Shaker construction: door frame, center panel, face frame and cabinet box. The cutaway helps locate these parts; confirm each material in the specifications for the selected cabinet.
01 / Door frame
The Shaker door has rails and stiles around a separate center panel. The frame and center panel are different components; confirm their materials in the specifications for the selected cabinet.
02 / Face frame
The face frame surrounds the opening at the front of the cabinet box and sits behind the doors. The face frame, door frame and cabinet box are separate parts.
03 / Cabinet box
The sample exposes the cabinet sides, interior surfaces and layered edges. The image does not establish the wood species or material specification of a selected cabinet.