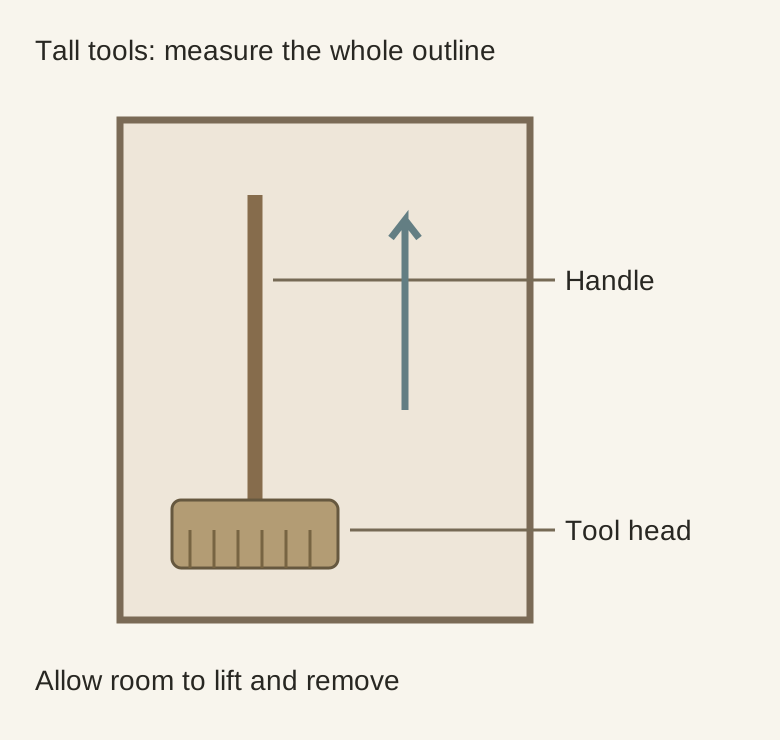
A useful broom cabinet holds the complete tools and lets you remove one without emptying the compartment. Measure heads and handles together, then include the movement required by any holder. A tall empty box may store a broom comfortably while leaving too little room to lift it off a hook or turn its head through the opening.
The widest part may be at the bottom
Set out the broom, dustpan, mop and other tools you actually keep. Include attached handles and any normally fitted head. A group of narrow shafts can conceal a much wider collection of heads, especially when the tools face different directions. Mark those outlines rather than allocating equal slots from handle diameter alone.
Decide whether detachable parts will really be removed after every use. Taking a head off can reduce storage size, but it adds a repeated task and creates another loose part. Base the cabinet plan on the routine people will maintain, not the smallest possible arrangement you can assemble for a measurement.
Allow the movement that frees a tool from its holder
Consider a hypothetical tool whose top rests 58 inches above the cabinet floor, with a clear ceiling at 59 inches. That leaves 1 inch overhead. If its chosen holder needs a 2-inch upward movement to release, the top would need to reach 60 inches. It fits while hanging but cannot complete that release. These are example measurements, not a mounting specification.
Diagram Measure the complete tool and the actual holder movement. The sketch does not specify a mounting system or load capacity.
Other holders release sideways or forward, so use the selected mechanism rather than applying the example to every tool. Ask how the holder attaches and whether that installation suits the cabinet construction. Do not treat a thin back panel or a decorative door as an approved mounting surface without confirmation.
Check the tool at the doorway of the cabinet
After release, the tool still has to pass the hinges, door and nearby items. A broad broom head may need to turn as it comes out. Try retrieving it while a bucket and the neighboring mop remain in their normal positions. If they must all be removed first, change the grouping or the storage positions.
Consider the direction of the cabinet door in the room as well. A tool can clear the cabinet interior and immediately strike a washing-machine door or the opposite wall. The trial should end with the person able to carry the tool away, not with its head stranded just outside the compartment.
Give damp equipment a separate care stage
Follow the tool’s cleaning and drying instructions before enclosing it. A cabinet should not become the default resting place for equipment that is still wet merely because it has a tall slot. Keep the cabinet finish’s care requirements in mind and give any waiting equipment an appropriate temporary location.
Record each complete outline, the holder type, release movement and removal direction. Plan household supplies separately according to their storage instructions, instead of assuming every remaining gap can hold a bottle. A successful broom cabinet preserves an easy return path after an ordinary cleaning task as well as an orderly appearance when everything is put away.
Pure White
Cream White
Light Warm Gray
Gray
Navy
Black
Oak Tone
Dark Walnut Tone
Design study These finish studies are design references, not a list of currently orderable colors. Screens and lighting change the appearance; compare a physical sample before choosing.See all finish options →
Start with the sink task and the exact basin, then coordinate cabinet fit, plumbing and remaining storage. A deeper bowl changes more than the appearance.
Check the stored shape, the deployment path and the position used for ironing. A board hidden neatly in a cabinet can still block the room when opened.
The sample shows the door frame, a separate center panel, the face frame and the cabinet box. Each component has its own place in this Shaker construction.
Shaker construction: door frame, center panel, face frame and cabinet box. The cutaway helps locate these parts; confirm each material in the specifications for the selected cabinet.
01 / Door frame
The Shaker door has rails and stiles around a separate center panel. The frame and center panel are different components; confirm their materials in the specifications for the selected cabinet.
02 / Face frame
The face frame surrounds the opening at the front of the cabinet box and sits behind the doors. The face frame, door frame and cabinet box are separate parts.
03 / Cabinet box
The sample exposes the cabinet sides, interior surfaces and layered edges. The image does not establish the wood species or material specification of a selected cabinet.