Keep laundry shutoffs and service connections accessible after cabinets go in
Seeing a connection is not the same as reaching or servicing it. Review the finished cabinet arrangement with the people responsible for the equipment and utilities.
Laundry cabinets should not conceal a required control or connection behind a barrier that was never considered in the equipment plan. Confirm the locations and access requirements with the people responsible for the installation. This is a cabinet coordination task: the article does not tell you how to disconnect, relocate or operate unfamiliar electrical, gas or water equipment.
Name the connection before assigning a panel to cover it
Collect the selected appliance installation information and the actual utility layout. Identify what belongs to the washer, dryer and any other equipment sharing the room. A photograph of pipes or a wall box is not enough if nobody has recorded which control serves which appliance.
Use labels and records that can remain understandable after the cabinetry is finished. A description such as “behind the tall cabinet” becomes unreliable if the cabinet layout changes. Tie the location to the final drawing and have the responsible installer confirm the identification; do not test unknown controls just to discover what they operate.
Visible, reachable and serviceable are different conditions
A connection may be visible through a narrow gap yet impossible to approach safely with the intended tool or hand position. Another may be reachable but covered by stored supplies whenever the laundry room is in ordinary use. Review the required access against the loaded cabinet arrangement, not only an empty installation photograph.
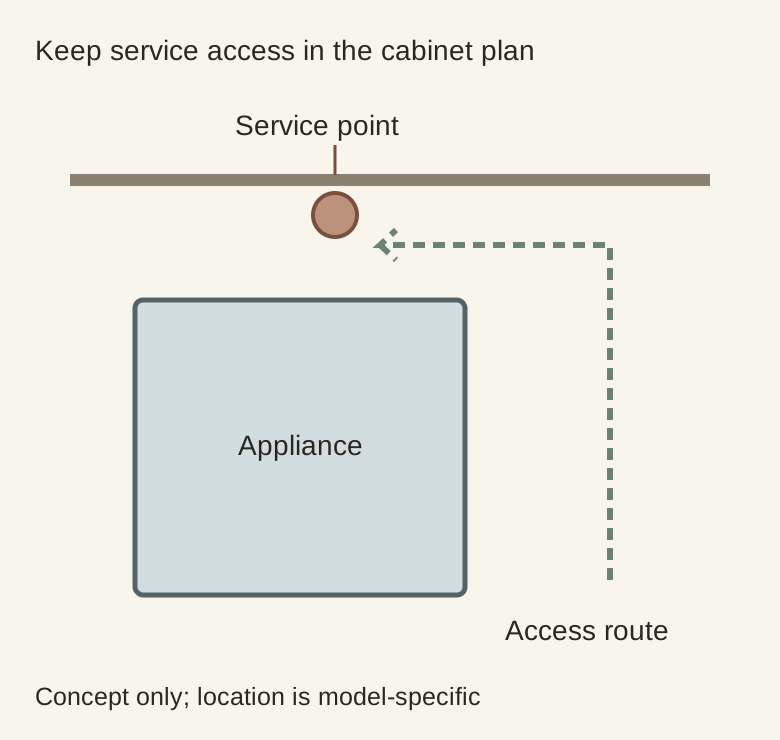
Diagram The path shows why access belongs in the layout. It does not specify actual utility locations, required clearances or an approved service procedure.
Ask the installer to distinguish routine user access from service work requiring trained personnel and equipment removal. Those tasks can need different approaches. Do not assume a small access hole satisfies all of them, and do not make standing on a cabinet or moving an unsecured appliance the assumed way to reach a control.
Consider a proposal with a control the installer identifies as needing routine user access behind a removable side panel. The panel’s screws face into the appliance bay and become hidden after the machine is installed. Calling the panel removable does not solve the required task: the planned first step already depends on moving equipment. Compare a properly detailed access arrangement from an adjacent storage compartment with changing the cabinet position, while retaining all equipment requirements. The choice is about which cabinet arrangement preserves the confirmed access, not about improvising a utility relocation. Show the installer the finished counter, trim and occupied shelves when reviewing it; otherwise the same contradiction can survive in a different-looking detail.
Specify what “removable” actually means
If a panel is intended to provide access, record how its fasteners are reached and what comes off before it. Consider whether the door can open far enough with nearby machines and room doors in their normal positions. A cover that was easy to remove before the counter went on may not be accessible afterward.
Coordinate finishes around the access detail so routine removal does not depend on breaking an unplanned sealed joint or damaging trim. Any required separation, mounting and utility conditions must remain intact. The cabinet installer and the responsible service professional should agree on that arrangement before the detail is closed in.
Check the completed room and keep the instructions nearby
At handoff, have the responsible installer show the intended access using the finished room, with normal storage present. Record which parts are user-accessible and which require professional service. Photographs can identify the location and panel sequence, but they do not replace the appliance instructions or authorize an unfamiliar repair.
Keep the final connection locations, equipment models and access notes with the cabinet and appliance documents. If supplies later begin to occupy the reserved approach, move their storage assignment rather than letting the access route disappear. This makes the cabinet plan useful after installation, when someone needs the information instead of a tidy rendering.
Pure White
Cream White
Light Warm Gray
Gray
Navy
Black
Oak Tone
Dark Walnut Tone
Design study These finish studies are design references, not a list of currently orderable colors. Screens and lighting change the appearance; compare a physical sample before choosing.See all finish options →
The route used to install appliances may disappear after counters, trim and cabinets are finished. Plan removal before making the surrounding work permanent.
A laundry closet can have cabinet doors, appliance doors and supply drawers competing for the same opening. Test a complete load transfer before selecting the enclosure.
Nested empty baskets hide the space needed during a busy laundry session. Assign temporary places for loaded baskets without blocking machines or the route out.
The sample shows the door frame, a separate center panel, the face frame and the cabinet box. Each component has its own place in this Shaker construction.
Shaker construction: door frame, center panel, face frame and cabinet box. The cutaway helps locate these parts; confirm each material in the specifications for the selected cabinet.
01 / Door frame
The Shaker door has rails and stiles around a separate center panel. The frame and center panel are different components; confirm their materials in the specifications for the selected cabinet.
02 / Face frame
The face frame surrounds the opening at the front of the cabinet box and sits behind the doors. The face frame, door frame and cabinet box are separate parts.
03 / Cabinet box
The sample exposes the cabinet sides, interior surfaces and layered edges. The image does not establish the wood species or material specification of a selected cabinet.