Will laundry cabinets let the washer and dryer come out later?
The route used to install appliances may disappear after counters, trim and cabinets are finished. Plan removal before making the surrounding work permanent.
Laundry cabinetry should allow the appliances to be serviced and eventually replaced without unnecessary demolition. Check the route after all surrounding work is installed. A machine that was rolled into an unfinished room can become trapped by a later counter, end panel, doorway trim or change in floor level.
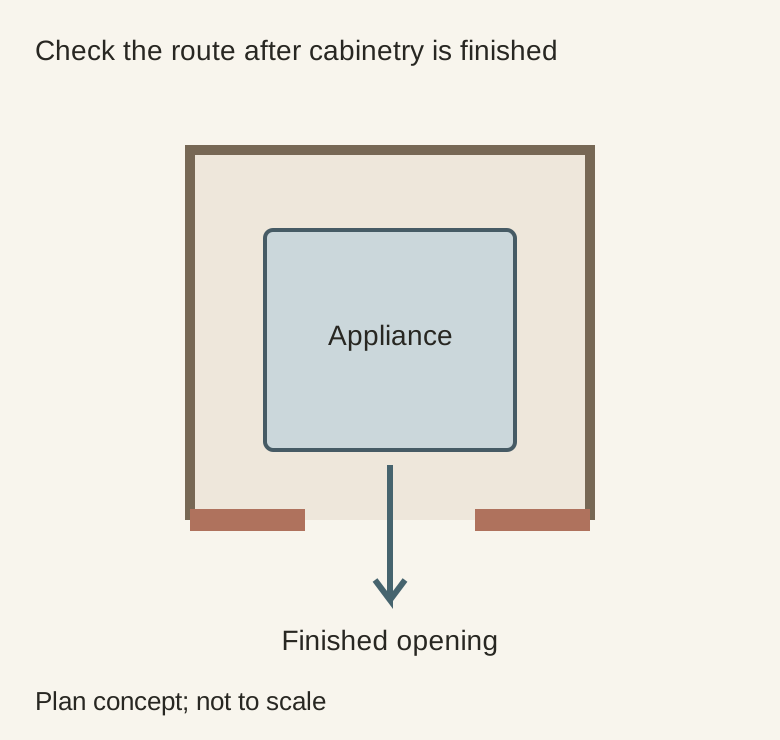
Measure the finished opening, not the original empty bay
Identify every part added after the appliances arrive: counter, filler, side panel, plinth and adjacent cabinet hardware. Some details may be removable, but that needs to be planned and documented. A seam in a rendering does not tell a service person whether the piece can come off without damaging another component.
In a hypothetical layout, a machine body is 27 inches wide and sits in a 28-inch bay. Later trim leaves a 26-inch front opening. The body can occupy the bay yet cannot pass straight through that finished opening. These numbers illustrate the removal problem only; they are not suitable installation clearances or standard appliance dimensions.
Ask what supports the counter when the appliance leaves
Have the counter support and appliance arrangement coordinated by the responsible professionals. If a support must be removed for access, the plan needs to explain how the counter remains supported during that work. Do not assume the appliances can act as permanent structural supports or that a service technician will redesign the cabinetry during a repair.
Diagram The drawing illustrates a trapped removal path and is not to scale. Confirm actual installation and service requirements for the selected equipment.
Record which panels are intended to come off, who can remove them and where their fixings are accessed. A removable panel that can only be unscrewed from behind the trapped machine does not provide the expected access. Resolve that sequence before finishes cover the attachment points.
Continue the check beyond the cabinet face
Trace the appliance from its bay through the laundry doorway and the rest of the removal route. Include turns, projecting handles, thresholds and the space needed by the people and equipment doing the work. A clear cabinet opening is not enough if the machine cannot turn out of the room.
For stacked appliances, obtain the actual separation, handling and approved stacking requirements for the chosen models. Do not assume a future machine will use the existing kit or that the upper unit can remain in place while every lower-unit repair occurs. The service sequence is model-specific and should inform the surrounding cabinet layout.
Allow an identified replacement, not an imaginary universal fit
Keeping an access route does not guarantee that every future washer or dryer will fit. Replacement models can change the door projection, connections and installation requirements. Preserve the current drawings and model details so a future selection can be checked before purchase, rather than relying on a room label such as “standard laundry space.”
Ask for the final proposal to show the installed envelope, the removable details and the removal route. Keep that information with the appliance manuals and cabinet order. The useful outcome is an understandable sequence for taking the current equipment out, plus enough accurate information to evaluate its replacement when the time comes.
Pure White
Cream White
Light Warm Gray
Gray
Navy
Black
Oak Tone
Dark Walnut Tone
Design study These finish studies are design references, not a list of currently orderable colors. Screens and lighting change the appearance; compare a physical sample before choosing.See all finish options →
Nested empty baskets hide the space needed during a busy laundry session. Assign temporary places for loaded baskets without blocking machines or the route out.
Seeing a connection is not the same as reaching or servicing it. Review the finished cabinet arrangement with the people responsible for the equipment and utilities.
The sample shows the door frame, a separate center panel, the face frame and the cabinet box. Each component has its own place in this Shaker construction.
Shaker construction: door frame, center panel, face frame and cabinet box. The cutaway helps locate these parts; confirm each material in the specifications for the selected cabinet.
01 / Door frame
The Shaker door has rails and stiles around a separate center panel. The frame and center panel are different components; confirm their materials in the specifications for the selected cabinet.
02 / Face frame
The face frame surrounds the opening at the front of the cabinet box and sits behind the doors. The face frame, door frame and cabinet box are separate parts.
03 / Cabinet box
The sample exposes the cabinet sides, interior surfaces and layered edges. The image does not establish the wood species or material specification of a selected cabinet.