Combining laundry and mudroom cabinets without mixing every task
Entry gear and clean laundry can share a room without sharing every surface. Assign the arrival, washing and departure tasks before choosing one continuous cabinet run.
A combined laundry and mudroom works best when each task has a recognizable place. Arriving with shoes, coats and bags is different from handling clean laundry. Matching cabinet fronts can make the room look unified, but they should not erase those functional differences or leave every activity competing for the same bench.
Start at the entrance with what people carry
Watch the first actions after someone comes in. A bag needs to be set down, shoes may come off and a coat may need a temporary place. Those items arrive together, so counting separate storage capacities does not prove the landing surface works. The person must be able to complete the sequence while holding the remaining items.
Identify the gear that leaves again soon and the gear stored for occasional use. Everyday entry items need a short return route; seasonal items can use a different position if it suits their storage requirements. Do not make the daily arrival area the default destination for everything that lacks another home.
Reserve a clean task area while the entry is active
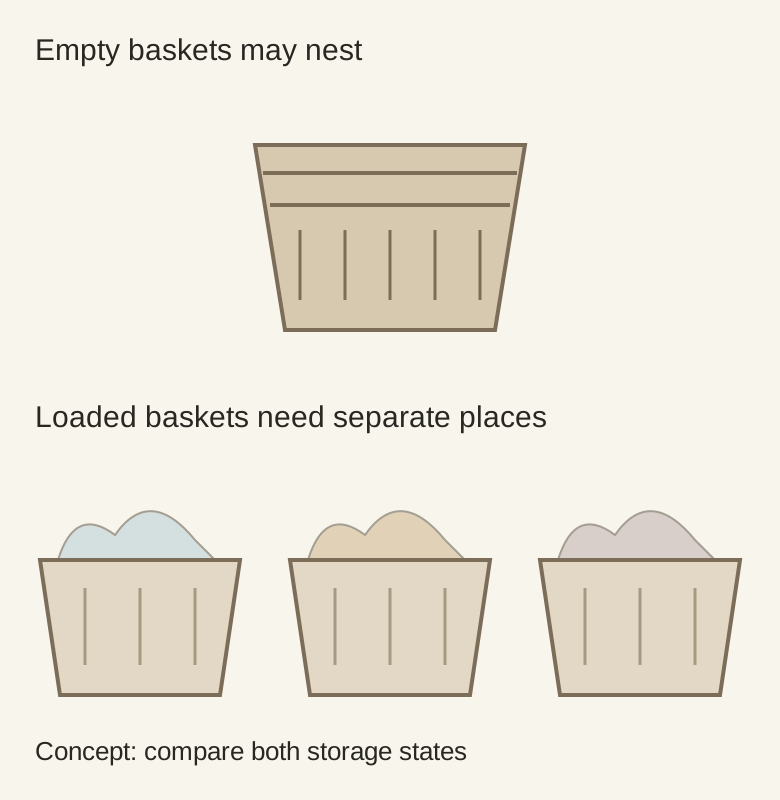
Plan laundry with an active load present. A finished basket may wait to leave while another basket receives clothes from the dryer. Empty baskets that nest neatly do not represent this working condition. The clean-laundry landing should remain identifiable even when someone arrives with outdoor gear.
Diagram Active laundry already requires space beyond the empty basket stack. Entry bags and clothing add further tasks; they are not shown in this diagram.
For example, a proposed bench between the garage door and the dryer may be assigned both shoe-changing and clean-basket parking. During a busy arrival, the basket is moved to the floor so someone can sit, then blocks the dryer. Giving that same bench a more durable-looking finish does not solve the conflicting assignment. Compare a properly designed entry seat near the arrival point with a separate clean-basket position beside the laundry task, or a clearly defined transfer elsewhere if the room cannot hold both. The tradeoff is specific: the household may give up a long display bench to keep both routines usable.
Specify a seat rather than assuming a cabinet becomes one
If the room needs seating, identify a bench or cabinet assembly designed and installed for that use. Confirm the seat support, attachment and intended loading with the supplier and installer. A countertop-height storage unit or a shelf with a cushion is not automatically an appropriate seat merely because it appears in a rendering.
Review access below and above the seat with someone in the seated position. A door that must open through their legs cannot be used at that moment. A hook placed where a long coat lands on the seat may remove the very sitting space the design was meant to provide. Use the actual garments and bags to review those conflicts.
Let the shared cabinet run contain distinct destinations
Within a coordinated finish, separate the contents by use: entry gear returns near the arrival point, laundry supplies go where the washing task needs them under their storage directions, and clean textiles have their own suitable position. These assignments can be adjacent without all being interchangeable.
Include the care stage for wet or dirty items according to the item and cabinet-finish instructions. Do not immediately enclose damp gear simply to restore the room’s tidy appearance. A temporary location and a later return step may be needed, and should not take over the clean folding surface.
Give the planner an arrival sequence and an active laundry sequence, then show when they overlap. Record where the bag, coat, person, clean basket and supplies go at that time. Choose the cabinet run only after this simultaneous arrangement works. Visual consistency can come from the doors and finishes; the organization underneath should continue to reflect the different jobs.
Pure White
Cream White
Light Warm Gray
Gray
Navy
Black
Oak Tone
Dark Walnut Tone
Design study These finish studies are design references, not a list of currently orderable colors. Screens and lighting change the appearance; compare a physical sample before choosing.See all finish options →
A laundry closet can have cabinet doors, appliance doors and supply drawers competing for the same opening. Test a complete load transfer before selecting the enclosure.
The sample shows the door frame, a separate center panel, the face frame and the cabinet box. Each component has its own place in this Shaker construction.
Shaker construction: door frame, center panel, face frame and cabinet box. The cutaway helps locate these parts; confirm each material in the specifications for the selected cabinet.
01 / Door frame
The Shaker door has rails and stiles around a separate center panel. The frame and center panel are different components; confirm their materials in the specifications for the selected cabinet.
02 / Face frame
The face frame surrounds the opening at the front of the cabinet box and sits behind the doors. The face frame, door frame and cabinet box are separate parts.
03 / Cabinet box
The sample exposes the cabinet sides, interior surfaces and layered edges. The image does not establish the wood species or material specification of a selected cabinet.