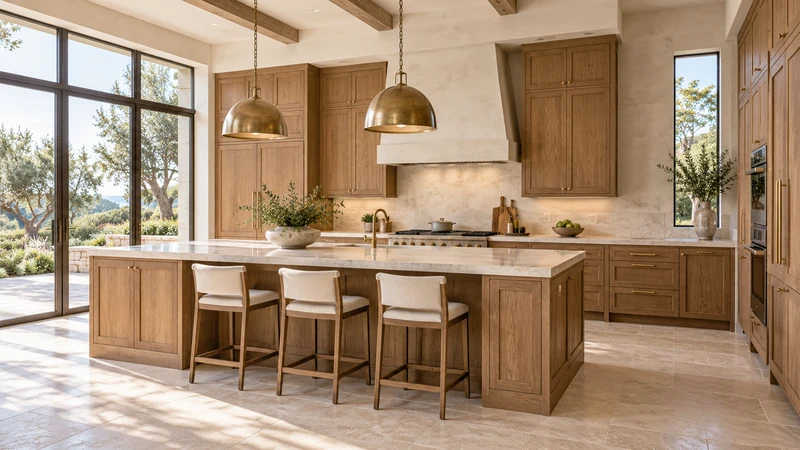
Do not average a laser reading and a tape reading simply because both appear to describe the kitchen width. First confirm that they measure the same physical span. Name the starting face, the target face, the height and the direction of measurement. Then check each tool’s reference and setup. A precise-looking display can still describe a different distance from the one the cabinet drawing needs.
Describe the span before repeating it
Choose identifiable finished faces and draw the measurement line on the room sketch. A reading between baseboards is different from a reading between the walls above them. A laser aimed at a cabinet end is not checking the wall behind it. Record where the beam lands and where the tape ends touch. If either endpoint is hidden, mark that limitation rather than assigning both results the same wall-to-wall label.
Check whether the intended line is horizontal, vertical or diagonal. A tape crossing between different heights measures a sloping line. A laser aimed away from the intended target can also measure a longer or otherwise different span. Repeat along the defined line instead of adjusting a result to fit the cabinet layout already drawn. The room may also change width with height or depth, so a valid difference is possible.
Confirm which part of the laser tool starts the measurement
Laser tools can have selectable reference positions. Bosch’s referenced online manual, for example, distinguishes the rear edge, front edge and a deployed stop plate. Use the instructions for the actual instrument and confirm its displayed setting. The example establishes that reference selection matters; it does not mean every model uses the same controls or remembers the same setting.
Design study In a room with returns and multiple cabinet faces, name the exact faces before comparing measurements. This perspective study cannot supply dimensions or prove that a tape and laser used the same endpoints.
A reference mismatch can look like a room-size error
In a hypothetical setup, the walls are 120 inches apart. The tool’s rear touches the starting wall, but its selected front reference lies 4 inches forward, producing a 116-inch reading to the opposite wall. Here 116 + 4 = 120 explains the difference. Averaging the readings gives 118 inches, which describes neither intended endpoint pair. The tool offset is fictional, not a Bosch dimension. Confirm the real setup and remeasure; do not apply this correction to another instrument by habit.
Check the tape setup and the laser target
Keep the tape straight along the chosen line, with a clearly seated end and readable scale. Record whether it is hooked over an edge or pressed against a face, and inspect any obvious damage or looseness that makes the result uncertain. Avoid reading a bend around an obstruction as though it were a straight distance. If the line cannot be reached properly, record that the tape check is incomplete.
For the laser, verify that the visible spot is on the intended surface rather than trim, a reflective object or a nearer obstruction. Follow the instrument’s instructions for unsuitable targets and accuracy checks. A changing reading calls for a controlled setup, not selecting whichever value fits the available cabinets. Do not infer a universal tolerance or rank the tools by their displayed decimal places.
Resolve the cause and preserve the original readings
Record the original readings with units, tool reference, endpoint description and a photograph of the setup. Repeat after correcting the identified difference, and label the new result instead of silently replacing the old one. If equivalent setups still disagree beyond what the actual tool checks can explain, leave the dimension unresolved for a competent field check before using it for fabrication or ordering. A clear unresolved span is more useful than an unjustified average. Finish decisions can proceed independently while that physical boundary is confirmed.
Pure White
Cream White
Light Warm Gray
Gray
Navy
Black
Oak Tone
Dark Walnut Tone
Design study These finish studies are design references, not a list of currently orderable colors. Screens and lighting change the appearance; compare a physical sample before choosing.See all finish options →
Build a room sketch and a cabinet-run total that include the parts between the boxes. A worked example shows why the tighter measurement changes the filler allowance.
A useful photo record shows which wall, edge and measuring direction belong to each note. It does not turn a perspective photograph into a scaled drawing.
The sample shows the door frame, a separate center panel, the face frame and the cabinet box. Each component has its own place in this Shaker construction.
Shaker construction: door frame, center panel, face frame and cabinet box. The cutaway helps locate these parts; confirm each material in the specifications for the selected cabinet.
01 / Door frame
The Shaker door has rails and stiles around a separate center panel. The frame and center panel are different components; confirm their materials in the specifications for the selected cabinet.
02 / Face frame
The face frame surrounds the opening at the front of the cabinet box and sits behind the doors. The face frame, door frame and cabinet box are separate parts.
03 / Cabinet box
The sample exposes the cabinet sides, interior surfaces and layered edges. The image does not establish the wood species or material specification of a selected cabinet.