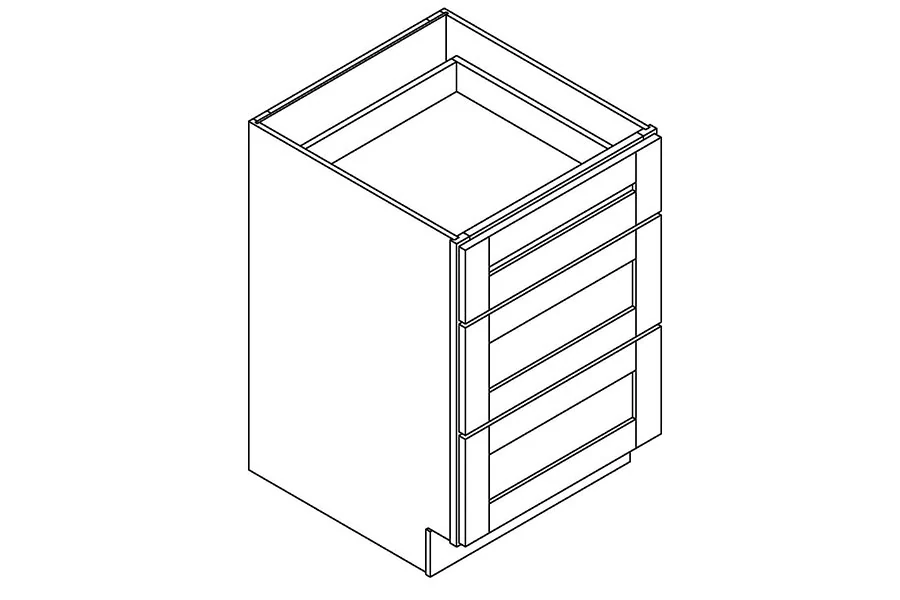
Choose the knife insert and drawer together. An insert can fit the empty drawer while failing to hold a broad blade or leaving the handles too high to close. Conversely, an organizer that suits every knife may occupy more floor space than the selected drawer provides. Resolve both kinds of fit before treating a knife drawer as part of the cabinet order.
Inventory blade shapes, not just the number of knives
Identify the knives that will live here, including the longest blade, widest blade and most bulky handle. A slender carving knife and a broad cleaver can challenge different parts of an insert. Follow the organizer’s stated compatibility and loading direction. A slot count does not establish that every shape in your collection will seat properly.
OXO’s Compact Knife Drawer Organizer separates small-knife and large-knife positions and includes a removable tray. Those are model-specific features worth checking when comparing accessories; they do not establish compatibility with every knife or cabinet.
For example, consider a collection with a long bread knife and a broad cooking knife. The bread knife may challenge supported blade length while the cooking knife challenges slot shape. A holder that accepts the bread knife does not settle the other fit. Record each exception separately; leaving an incompatible knife loose beside a full insert defeats the planned arrangement.
Compare the insert footprint with the clear drawer floor
Use the interior width and front-to-back depth at the level where the organizer rests. Include liners, existing dividers and any interference at the corners. Do not compare the insert dimensions with the decorative drawer front. Ask for the actual box dimensions when choosing cabinetry before you have the drawer available to measure.
Diagram The front layout helps identify a potential utensil drawer. Insert fit and loaded height require the dimensions of the actual box.
Then evaluate the loaded assembly. Handles may stand above the empty insert, and the tallest point must pass beneath whatever bounds the closed drawer. Check access with the drawer at its normal extension. An organizer placed far back can leave its handles under the counter, even when the floor dimensions appear generous.
Keep each intended grip clear
A useful arrangement lets you identify the knife and take its handle without reaching across loose blades or lifting other knives first. Check the maker’s intended orientation and retain the support the insert provides. Do not cut slots or remove supports to force a larger blade into a holder that was not designed for it.
Start the fit check with the empty organizer and manufacturer dimensions; use a paper outline for awkward shapes where practical. For any loaded check, handle the knives deliberately and according to their storage instructions. If the intended grip is obstructed, change the arrangement instead of treating careful maneuvering as a substitute for suitable access.
Plan for cleaning and controlled access
Check whether the insert can be removed for cleaning and what preparation its maker requires. It should be possible to empty the organizer and clean the drawer without overturning a loaded holder. Follow the separate care instructions for knives, insert and cabinet finish, including preparing them for storage rather than putting damp items away by habit.
The organizer is not a child lock. Choose the location and any needed access controls for the household independently of how neatly the knives fit. Keep the selected insert model and knife compatibility notes with the cabinet plan. The completed decision should identify the drawer, the supported collection and a workable cleaning routine, rather than simply promise a drawer with enough slots.
Pure White
Cream White
Light Warm Gray
Gray
Navy
Black
Oak Tone
Dark Walnut Tone
Design study These finish studies are design references, not a list of currently orderable colors. Screens and lighting change the appearance; compare a physical sample before choosing.See all finish options →
The corner-to-corner measurement is only a first check. A spoon, whisk or spatula also needs room for its head, your hand and the movement that brings it out.
The best layout exposes the label while leaving room to grasp the container. Test the collection from your normal cooking position before choosing a rack.
The sample shows the door frame, a separate center panel, the face frame and the cabinet box. Each component has its own place in this Shaker construction.
Shaker construction: door frame, center panel, face frame and cabinet box. The cutaway helps locate these parts; confirm each material in the specifications for the selected cabinet.
01 / Door frame
The Shaker door has rails and stiles around a separate center panel. The frame and center panel are different components; confirm their materials in the specifications for the selected cabinet.
02 / Face frame
The face frame surrounds the opening at the front of the cabinet box and sits behind the doors. The face frame, door frame and cabinet box are separate parts.
03 / Cabinet box
The sample exposes the cabinet sides, interior surfaces and layered edges. The image does not establish the wood species or material specification of a selected cabinet.