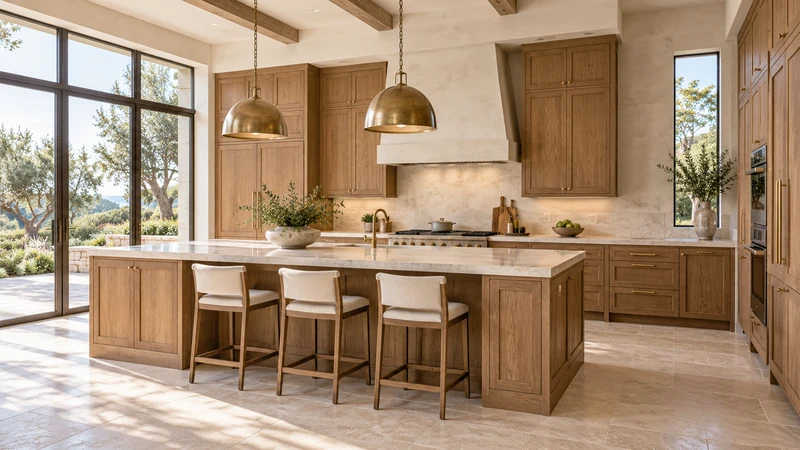
Give a holiday roasting pan an accessible, clearly identified location that accepts the complete set you keep with it. That location does not always need to be a prime kitchen drawer. If the pan is used only occasionally, compare a suitable secondary cabinet with the everyday storage you would give up. The best answer preserves a manageable retrieval route without designing the whole kitchen around the largest seasonal object.
Measure handles, lid and rack as a set
Set out the roasting pan exactly as it will be stored. Include a raised lid, fixed handles and the roasting rack if it nests inside. Do not assume a retail size describes the outside span. Measure the widest part and the total height, then record whether the lid sits normally, is inverted or is stored separately. Only use arrangements suitable for the cookware.
In a hypothetical example, the body is 18 inches wide but the complete handle span is 21 inches. An intended straight-through opening measuring 19 inches accepts the body measurement but not the complete pan in that orientation. Diagonal entry is not an automatic solution: it would need a separate physical test of the opening, interior and turning space. These are assumed measurements, not dimensions of the cabinetry pictured.
Design study Tall and base cabinets offer possible storage locations. The design image does not reveal their shelf spacing, opening sizes or a roasting-pan fit.
Decide what needs to remain with the pan
A rack that belongs to the pan is easy to misplace when stored with unrelated baking equipment. If it nests securely without obstructing the lid, keeping the set together may reduce searching. If the lid makes the package too tall, compare separate labeled storage rather than assuming it must be forced into the pan. Record the complete arrangement so the cabinet is selected for the version you will actually use.
Resist filling the empty pan with miscellaneous utensils merely because there is unused volume. That creates a tray of objects to empty before cooking and can hide missing parts. If another compatible occasional item nests inside, test how the group comes apart and where the removed item goes. A nesting arrangement works only when retrieval remains straightforward.
Compare the kitchen with a secondary storage location
A nearby pantry or other suitable indoor cabinet may be reasonable for infrequent use. Check that the path is manageable for the intended user and that the pan stays easy to identify and retrieve. A location reached only by moving a stack of unrelated boxes is not equivalent to usable storage, even if the shelf itself is large enough.
For a high shelf, test the full movement with appropriate care rather than judging by empty-cabinet reach. For low storage, consider the bend and lift as well as the door opening. The point is not to prescribe one universal height. It is to avoid solving a kitchen-space problem by placing a bulky object where the person using it cannot comfortably control it.
Walk through the day it is needed
Imagine retrieving the cold, empty pan before a holiday meal. Find the rack and lid, bring the set to the preparation area and identify where unused pieces will wait. After cleaning and drying according to the cookware instructions, reverse that route. A storage decision that works only when counters are completely empty may become frustrating during a busy meal.
This test concerns storage and handling of the empty cookware. It does not establish where a hot pan may be placed or how an oven should be operated. Keep those decisions tied to the appliance, cookware and surface instructions rather than treating a convenient cabinet as proof of a safe cooking arrangement.
Do not buy a larger cabinet solely to hide an occasional pan
Compare the proposed location with what it displaces: daily pots, dishes or preparation tools may deserve the easier opening. Document the complete pan dimensions and a viable alternate location before adding cabinetry for it. A reliable seasonal home can be a better result than an oversized everyday cabinet whose main purpose is to hold something used rarely.
Pure White
Cream White
Light Warm Gray
Gray
Navy
Black
Oak Tone
Dark Walnut Tone
Design study These finish studies are design references, not a list of currently orderable colors. Screens and lighting change the appearance; compare a physical sample before choosing.See all finish options →
A lid knob and side handles can change the storage shape. Keep the matching relationship clear before deciding whether to nest, stack or separate the pieces.
The sample shows the door frame, a separate center panel, the face frame and the cabinet box. Each component has its own place in this Shaker construction.
Shaker construction: door frame, center panel, face frame and cabinet box. The cutaway helps locate these parts; confirm each material in the specifications for the selected cabinet.
01 / Door frame
The Shaker door has rails and stiles around a separate center panel. The frame and center panel are different components; confirm their materials in the specifications for the selected cabinet.
02 / Face frame
The face frame surrounds the opening at the front of the cabinet box and sits behind the doors. The face frame, door frame and cabinet box are separate parts.
03 / Cabinet box
The sample exposes the cabinet sides, interior surfaces and layered edges. The image does not establish the wood species or material specification of a selected cabinet.