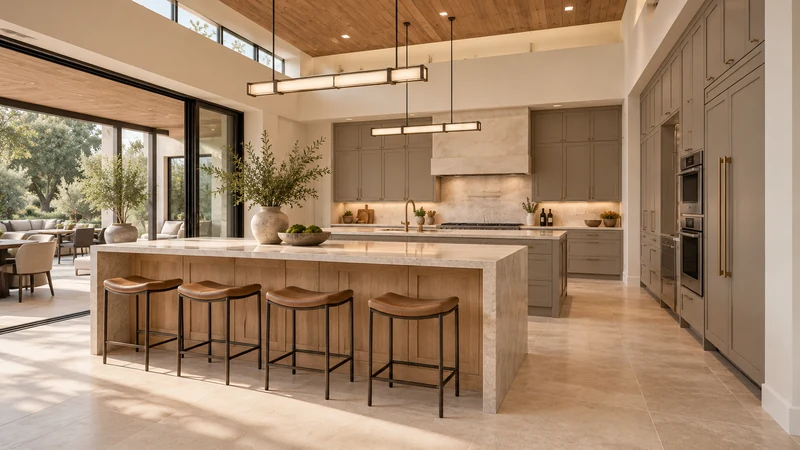
When a tall cabinet ends beside a doorway, draw the complete door-casing outline and cabinet assembly together before deciding the cabinet width. A projecting head trim can occupy space that appears available beside the vertical casing. The cabinet’s finished side also creates a visible boundary at the room entrance. Resolve that junction deliberately so the order reflects the actual retained frame and the way the kitchen is entered.
Identify the trim that will remain
On the wall elevation, show the vertical casing, head trim, any blocks or stepped details and the floor trim near the cabinet base. Mark which pieces remain. Different parts may extend different distances toward the proposed cabinet. If the doorway finish is being changed, obtain the intended outline rather than measuring the old trim and assuming the new one will match. The opening itself and the outside of its casing are separate boundaries.
KraftMaid’s room-measuring guidance records doors at the outside trim edges. For a tall unit, this boundary needs to be checked across its full height.
Compare the outline at the heights the cabinet occupies
Measure the lateral span to the casing at each change in its shape. Do not let a convenient reading beside the door stand for the wider head treatment above. Add the complete cabinet side, including any separately specified finished panel and top treatment. Check the actual component drawings so already included pieces are not counted twice. The result should describe the whole installed envelope, not just the width printed beside a door front.
Use a plan or small section to compare projection from the wall as well. A tall cabinet typically creates a deeper surface than the trim, but the actual relationship depends on the selected assembly and its placement. Show the intended cabinet-front line and the nearby doorway face. This makes a proposed gap understandable as a physical space rather than a vague request for the cabinet to “line up” with the trim.
Design study The tall cabinet’s exposed side and the adjoining wall edge create a visible entrance boundary. This design study illustrates that junction but does not specify a door frame, trim profile or usable passage width.
The head trim can be the limiting edge
In a hypothetical example, the lateral span available beside the vertical door casing is 40 inches, but the projecting head trim leaves only 38 inches at the height crossed by the tall assembly. The complete cabinet arrangement is 39 inches wide. It has 1 inch to spare beside the casing and is short of space by 1 inch at the head. The lower reading cannot approve the arrangement. These numbers are teaching assumptions, not stock cabinet sizes or recommended gaps.
Review appearance and use as separate questions
A deliberate separation, a revised cabinet width or an agreed change to the doorway finish can each produce a different junction. Compare them on the elevation before selecting a treatment. Cutting a small notch into a cabinet or trimming the casing on site is not an automatic finishing step; it can change the selected assembly or the intended doorway appearance. Confirm any alteration within the actual product and project scope.
Then check how the completed cabinet affects entering the room and reaching the door handle. This is a separate operating review from whether the casing and cabinet occupy the same wall area. Include the room door and the tall cabinet door in their intended positions. A neat closed elevation can conceal a handle conflict or make the entry feel constrained. Do not claim a compliant passage from a photograph or a decorative alignment alone.
Test arrival through the doorway, not just the trim junction
Follow an ordinary arrival with a lightweight representation of a grocery bag. Keep the room door in the position the person normally uses and identify how they reach its handle after stepping into the kitchen. Add the projecting tall-cabinet end and the intended pantry-door movement. The casing outline describes fixed contact; this trial describes the person, carried object and changing doors at the entrance. A gap that separates the trim from the cabinet does not automatically resolve those moving relationships.
In a hypothetical arrangement, the casing and cabinet do not overlap anywhere, but opening the pantry while the room door remains open interrupts the arrival route. The household must choose a workable door sequence or revise the supported door or cabinet arrangement. If putting groceries away is the recurring task, test it directly rather than approving each door independently in an empty entrance. Record any necessary wait or closure as part of the actual use decision.
Specify a defined junction rather than a field improvisation
Keep the doorway elevation, casing projections, proposed cabinet-front line and full assembly dimensions together. State which trim remains, which side panel is included and what gap or termination the design actually intends. Attach photographs that show the head and base details, not only the middle of the doorway. With the junction resolved, the finish reference below can help coordinate visible surfaces without being used to justify a dimensional compromise.
Pure White
Cream White
Light Warm Gray
Gray
Navy
Black
Oak Tone
Dark Walnut Tone
Design study These finish studies are design references, not a list of currently orderable colors. Screens and lighting change the appearance; compare a physical sample before choosing.See all finish options →
Build a room sketch and a cabinet-run total that include the parts between the boxes. A worked example shows why the tighter measurement changes the filler allowance.
The sample shows the door frame, a separate center panel, the face frame and the cabinet box. Each component has its own place in this Shaker construction.
Shaker construction: door frame, center panel, face frame and cabinet box. The cutaway helps locate these parts; confirm each material in the specifications for the selected cabinet.
01 / Door frame
The Shaker door has rails and stiles around a separate center panel. The frame and center panel are different components; confirm their materials in the specifications for the selected cabinet.
02 / Face frame
The face frame surrounds the opening at the front of the cabinet box and sits behind the doors. The face frame, door frame and cabinet box are separate parts.
03 / Cabinet box
The sample exposes the cabinet sides, interior surfaces and layered edges. The image does not establish the wood species or material specification of a selected cabinet.