A narrow upright slot looks like an efficient home for cutting boards until the largest board settles out of reach. The right location lets you take a secure grip before lifting or sliding the board. That is a different requirement from merely fitting its outline between dividers. Start with the boards you actually use, then test the hand position and route to the preparation surface.
Sort boards by how you handle them
Place the regular prep board, smaller task boards and any large carving board together. Notice which have a handle, a finger opening or only a smooth edge. Also identify flexible mats that behave differently from rigid boards. A slot arranged for a handled board may leave a smooth heavy board with nothing convenient to grasp.
Keep a frequently used board in a position where its grasping point is available without moving the whole group. A larger board used occasionally can occupy another suitable location, but occasional use does not make an awkward lift acceptable. If a board needs both hands, test how both hands reach it while the door and neighboring boards remain in place.
Choose a grip before choosing slot width
Try the proposed arrangement with the actual board outside the cabinet first, using stable temporary boundaries to represent the divider positions. Decide whether you would pull forward, lift upward or use a combination. Keep fingers clear of pinch points. Do not make the final method depend on squeezing the board’s face with fingertips after it has dropped below the opening.
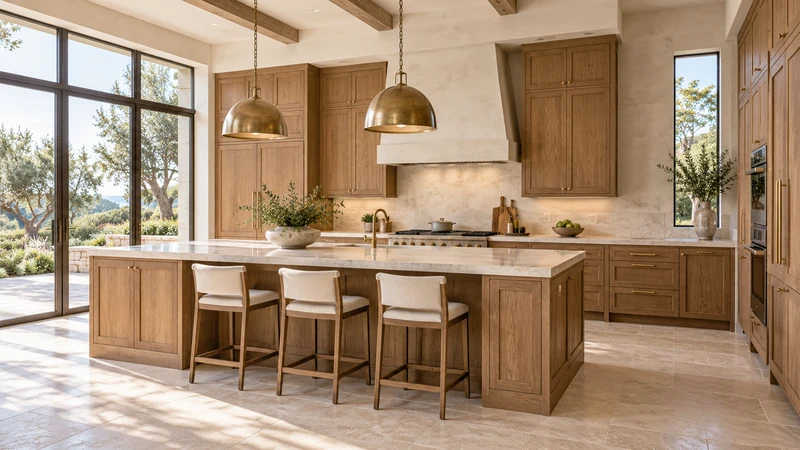
Design study Locate everyday boards in relation to the preparation surface. This image does not show a fitted cutting-board organizer or its internal dimensions.
In the cabinet, repeat the movement through the real opening. Check whether the door, hinge or frame blocks the grasping point. If the board must rise before it comes forward, measure the available lifting space as part of the fit. A taller cabinet interior does not help if a rail at the opening prevents that movement.
Give unlike boards appropriate support
A thin flexible mat can slump into a space that holds a rigid board neatly. A thick board can crowd a divider intended for lighter items. Avoid assuming one narrow slot works equally well for all of them. Use an organizer intended for the objects and follow its attachment and loading information; the surrounding cabinet must also suit the installation.
Test the group when the daily board is absent. Do the remaining boards stay accessible, or do they lean across its space and make return difficult? A good arrangement does not collapse into a pile whenever you remove one item. Keep the intended slot recognizable so the board can go back without rearranging the whole cabinet.
Connect the slot to washing and preparation
Follow the board’s own cleaning and drying directions before putting it away. Do not treat an enclosed slot as a substitute for the required drying process or assume a particular board can be stored damp. Plan a practical intermediate place if drying happens outside the cabinet, then keep the final return route simple.
Walk the whole sequence: get the board, place it on the prep surface, clean it, complete the required drying and return it. If the cabinet is convenient only for the first step, reconsider its location. The most useful cutting-board storage combines a reachable grip, suitable support and an ordinary return routine. When ordering cabinets, communicate those needs along with the largest board’s dimensions rather than requesting an unspecified tray slot.
Pure White
Cream White
Light Warm Gray
Gray
Navy
Black
Oak Tone
Dark Walnut Tone
Design study These finish studies are design references, not a list of currently orderable colors. Screens and lighting change the appearance; compare a physical sample before choosing.See all finish options →
The useful orientation is the one that lets the pan come out. Check its rim, the cabinet opening and the withdrawal path before choosing divider spacing.
A stack can fit in a drawer and still be hard to grasp. Separate everyday access, extra place settings and the organizer space before choosing the drawer.
The sample shows the door frame, a separate center panel, the face frame and the cabinet box. Each component has its own place in this Shaker construction.
Shaker construction: door frame, center panel, face frame and cabinet box. The cutaway helps locate these parts; confirm each material in the specifications for the selected cabinet.
01 / Door frame
The Shaker door has rails and stiles around a separate center panel. The frame and center panel are different components; confirm their materials in the specifications for the selected cabinet.
02 / Face frame
The face frame surrounds the opening at the front of the cabinet box and sits behind the doors. The face frame, door frame and cabinet box are separate parts.
03 / Cabinet box
The sample exposes the cabinet sides, interior surfaces and layered edges. The image does not establish the wood species or material specification of a selected cabinet.