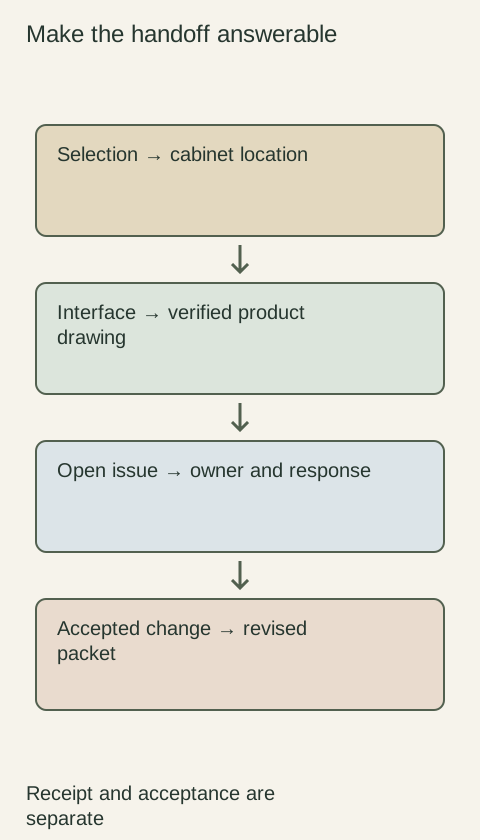
A storage label should answer two different questions: what product is this, and where can the crew find it now? Keep the supplier's original identity and add a clear project reference linked to the accepted cabinet schedule. If cartons move or parts are separated, update that relationship. The aim is to locate the correct item without opening similar boxes repeatedly or relying on somebody remembering which cabinet was placed behind the door.
Diagram Keep supplier references connected to the project and current storage index; the diagram does not show actual carton labels.
Link the original identity to the project location
Use the exact identifiers from the accepted order and drawing. Add the room or project area and cabinet-position reference when those are not already clear on the carton. Keep original labels, barcodes and handling marks readable. A project label supplements the supplier identity; it should not replace a model code with an informal description such as the small white cabinet.
GarageCabinets.com's instructions provide an example in which a part label points to a product identifier and an order-specific parts list. That illustrates the useful connection between an individual piece and its intended unit. Your supplier may label differently, so establish the equivalent link from your actual documents rather than copying that company's labeling system.
Separate intended destination from current storage position
Keep both fields when cabinets are stored away from their final project location. The intended destination might remain unchanged while the carton moves to another storage zone. Record the new position without renaming the cabinet itself. Otherwise, a label based only on the temporary room can send the crew looking in the wrong place after the shipment is rearranged.
Use location descriptions that another person can interpret without you present. A marked storage zone or a simple annotated room sketch can be clearer than beside the other boxes. Do not use color alone to distinguish rooms or units. Text identifiers remain useful when photographs are viewed in poor light, labels fade or different people interpret a colored sticker differently.
Preserve relationships when one unit has several packages
Associate each separate carton or parts container with the same intended unit while retaining its own component identity. Identify whether it contains the cabinet assembly, fronts, fittings or another item. Do not mark a cabinet complete merely because its largest box is labeled correctly; the label's purpose is retrieval, while completeness still requires checking the relevant parts list.
For a shared accessory carton, keep an inventory of the component groups and their destinations. If parts are removed for installation, record what remains and where the removed parts went. Avoid emptying small fittings into an unmarked common container. A shared carton can be easy to store but difficult to use if its relationship to individual units disappears as soon as it is opened.
Make labels usable during ordinary handling
Place added labels on suitable packaging where they can be read in the approved storage arrangement. Do not put unverified adhesives directly on finished cabinet faces or obscure supplier instructions. If packaging must be replaced or a piece is separated for inspection, carry its identity forward with an appropriate tag or protected record that stays associated with the item.
Imagine similar-looking cabinets are assigned to different project areas, with their fronts packed separately. A generic room label on the largest cartons will not identify the loose fronts after inspection. Linking each front's package to the cabinet reference and recording its storage position lets the installer retrieve the intended set without assuming that appearance proves interchangeability.
Update the index when cartons move or leave storage
Maintain a short master list connecting product reference, project location, current storage position and any separate companion packages. Mark moves when they happen and note who has taken an item for installation. If a carton cannot be found at the recorded position, investigate the movement before changing the purchase inventory to missing or ordering another product.
Give the arriving crew the current index and explain the naming convention. Keep installation status and unresolved condition notes distinct from the location label so an easy-to-find item is not mistaken for an approved-to-install item. A useful labeling system survives a handoff: a person unfamiliar with the delivery should be able to locate the right product, identify related packages and recognize when clarification is still needed.
Pure White
Cream White
Light Warm Gray
Gray
Navy
Black
Oak Tone
Dark Walnut Tone
Design study These finish studies are design references, not a list of currently orderable colors. Screens and lighting change the appearance; compare a physical sample before choosing.See all finish options →
The sample shows the door frame, a separate center panel, the face frame and the cabinet box. Each component has its own place in this Shaker construction.
Shaker construction: door frame, center panel, face frame and cabinet box. The cutaway helps locate these parts; confirm each material in the specifications for the selected cabinet.
01 / Door frame
The Shaker door has rails and stiles around a separate center panel. The frame and center panel are different components; confirm their materials in the specifications for the selected cabinet.
02 / Face frame
The face frame surrounds the opening at the front of the cabinet box and sits behind the doors. The face frame, door frame and cabinet box are separate parts.
03 / Cabinet box
The sample exposes the cabinet sides, interior surfaces and layered edges. The image does not establish the wood species or material specification of a selected cabinet.