For an ordinary small spill on a cabinet, remove the liquid promptly with a clean soft cloth and dry the affected surfaces using the product's care guidance. Include the edges and accessible seams the spill reached, rather than stopping when the broad face looks clean. Then check whether moisture reappears or the material has changed. This routine addresses a small surface incident; a continuing leak or a visibly damaged panel needs a separate assessment.
Diagram Routine spill care includes accessible edges; the illustration does not diagnose moisture inside a panel or prescribe a repair.
Start by removing the source of the spill
Move the leaking cup or container if it can be handled normally, and keep it from wetting the cabinet again. Use a clean cloth suited to the finish to take up the accessible liquid. Do not delay a simple cleanup to stage photographs, and do not use the same saturated cloth to spread the spill across neighboring fronts. Keep the action proportionate to an ordinary household spill.
KraftMaid's care guidance recommends prompt spill cleanup, gentle cleaning and thorough drying with a soft cloth. Follow the corresponding instructions for your own finish, especially when the spill leaves a residue. A cabinet's appearance or a water-resistant description does not tell you which cleaning chemical is compatible with its surface.
Look at the path of the spill. Check the front edge, the lower edge it ran toward and accessible adjoining surfaces, including the inside face if liquid passed around a door. A broad panel can look dry while a small amount remains at an edge. Open ordinary accessible doors or drawers only as appropriate to inspect the affected area; do not dismantle the cabinet to search for hidden moisture.
Use the permitted damp-cleaning method for any remaining residue, then dry the accessible area. Avoid flooding a seam to rinse it or pushing tools, paper or cloth into a joint. If liquid has entered a place that cannot be reached with normal care, describe that to the supplier or installer. An inaccessible wet area is not an invitation to pry the joint open or force cleaning fluid farther inside.
Distinguish a finished cleanup from a continuing problem
After the visible spill is removed, note whether the surface remains dry during normal use or whether new liquid appears. If moisture returns without another spill, look for an obvious ongoing source and arrange appropriate help when it is not clear. Repeatedly wiping the same wet edge does not establish that the underlying source has stopped, and it should not become the entire response.
Observe any changed edge profile, lifted surface, discoloration or altered operation without pressing the material to test its strength. Record the location and what changed. A dark line may have several explanations; do not diagnose internal damage solely from a photograph or declare the panel restored because its face no longer feels wet. The observations should guide a product-specific inquiry.
Keep cleaning separate from repair
Imagine a drink runs down a door and collects along its bottom edge. The broad face is wiped, but the lower edge is overlooked. A complete routine includes checking that accessible edge and removing remaining liquid, then watching for any visible change. It does not involve adding sealant or touch-up paint over a line whose cause has not been established.
Do not use a hair dryer, heat gun, abrasive pad or improvised solvent to make a questionable area look normal quickly. Those actions are outside ordinary spill cleanup and may change the finish or the condition being evaluated. If swelling, lifting or another persistent change is visible, stop experimenting and ask the supplier what assessment is appropriate for the actual material and finish.
Reduce repetition and keep a useful record if needed
When the same everyday activity repeatedly wets an edge, change that activity's contact with the cabinet. Keep damp cloths from resting over a door and address a dripping container rather than accepting regular wetting as unavoidable. This is about reducing repeated exposure at the affected place, not redesigning the room or adding an unverified coating to the cabinet.
If a question remains after cleanup, provide the product identity, spill location, what was spilled, the care method used and any observed change. Include clear photos where helpful. Ordinary spills do not all require a service case, but accurate information matters when drying and permitted cleaning have not resolved what you can see. Keep the next step tied to the actual condition instead of trying progressively harsher remedies.
Pure White
Cream White
Light Warm Gray
Gray
Navy
Black
Oak Tone
Dark Walnut Tone
Design study These finish studies are design references, not a list of currently orderable colors. Screens and lighting change the appearance; compare a physical sample before choosing.See all finish options →
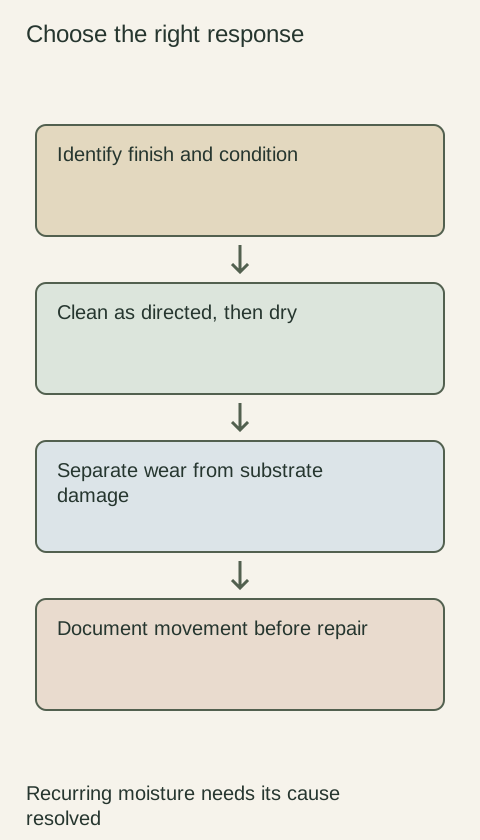
Routine cleaning, a finish touch-up and a moving wood joint need different responses. Identify the surface and condition before applying a cleaner or repair product.
The sample shows the door frame, a separate center panel, the face frame and the cabinet box. Each component has its own place in this Shaker construction.
Shaker construction: door frame, center panel, face frame and cabinet box. The cutaway helps locate these parts; confirm each material in the specifications for the selected cabinet.
01 / Door frame
The Shaker door has rails and stiles around a separate center panel. The frame and center panel are different components; confirm their materials in the specifications for the selected cabinet.
02 / Face frame
The face frame surrounds the opening at the front of the cabinet box and sits behind the doors. The face frame, door frame and cabinet box are separate parts.
03 / Cabinet box
The sample exposes the cabinet sides, interior surfaces and layered edges. The image does not establish the wood species or material specification of a selected cabinet.