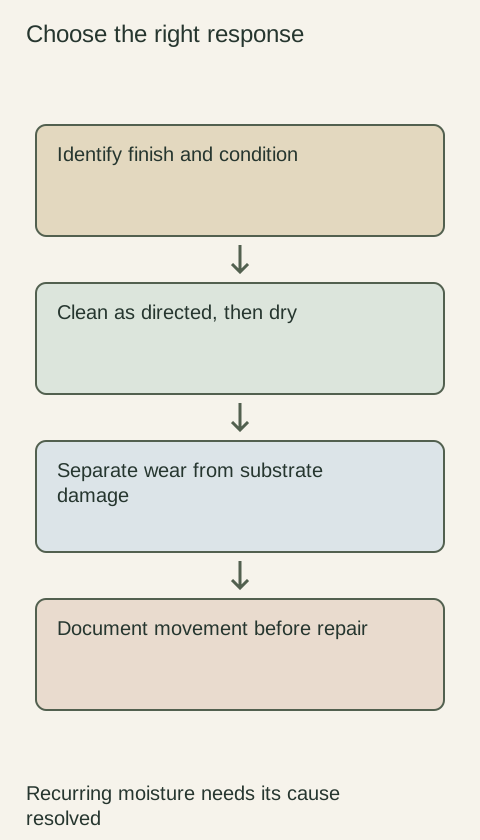
A cabinet front that feels greasy or shows a dull smear usually calls for a careful cleaning review before a stronger product or rougher pad. Identify the finish and use its approved routine for ordinary cooking residue. Work with a clean soft cloth, limit moisture and check the result after drying. If the surface itself appears to be changing, stop treating the problem as stubborn dirt. More force is not a reliable way to distinguish a residue from a finish issue.
Diagram Use the actual finish’s care method and assess the dry result; the diagram does not identify a cleaner or diagnose a surface mark.
Match the method to the cabinet surface
Find the care information for the installed product, including any refinishing performed later. A painted-looking door may have a different surface system from a neighboring panel, and a name such as wood cleaner does not establish compatibility. If the finish is unknown, ask the supplier or refinisher before introducing a new cleaning agent to the visible front.
Merillat's care guidance distinguishes wood finishes from laminate, melamine and vinyl care, and describes gentle cleaning and drying rather than abrasive treatment. Use the method permitted for your particular product. Its advice for a named finish should not be generalized into a rule that every cabinet accepts the same soap, polish or solvent.
Lift the film with controlled moisture and a clean cloth
Begin with the permitted gentle method on a manageable area, using a soft cloth that is clean and free of residue from other household tasks. Where the product allows a mild cleaning solution, follow its instructions for use. Keep liquid controlled rather than spraying a broad area until it runs into profiles, seams or hardware openings that will be harder to dry.
As the cloth picks up residue, use a clean section or replace it so you are removing the film instead of redistributing it. Avoid increasing pressure simply because the first pass leaves a smear. Check the cloth and the permitted cleaning process first. A dirty cloth or leftover cleaner can make an area look unfinished even when the original cooking residue has already been reduced.
Remove permitted cleaner residue and inspect after drying
Follow the product directions for removing cleaning residue, using controlled dampness as allowed, then dry with a clean soft cloth. Do not leave a seam wet while repeatedly working on the broad face. Assess the result when the surface is dry under the room's ordinary lighting, rather than interpreting the shine of a wet patch as the final finish.
Compare the cleaned area with a nearby unaffected area without expecting every wood figure or reflection to be identical. Ask whether the greasy smear has gone, whether streaks remain and whether the surface now shows an unexpected change. These observations help decide between completing the permitted routine and contacting the supplier. They are not a laboratory test of the finish or proof that a darker area is dirt.
Stop when continued cleaning changes the surface
If you see coating transfer to the cloth, lifting, persistent tackiness or an altered sheen that does not resolve with the permitted method, stop experimenting. Record the cleaner used and the appearance before trying another approach. Do not move automatically to abrasive pads, powdered cleaners, scrapers or solvent mixtures because a gentler routine did not produce the expected result.
Imagine a greasy hand mark near a pull disappears after the approved cleaning and drying, but a nearby shiny patch remains. Repeatedly scrubbing the shiny patch assumes it is still grease. That assumption needs review: the remaining appearance may require a different assessment. Ask the supplier about the specific finish and observation instead of trying to make the entire door match by abrading the surrounding area.
Adjust the routine to actual use
Notice where film returns and when it becomes visible, then clean those areas under the product's routine before the buildup prompts an aggressive cleanup. Keep cleaning cloths and any approved cleaner available with the care information so another household member does not substitute a scouring pad for convenience. There is no universal interval that suits every kitchen or finish.
If you need help, provide the cabinet identity, finish information, location of the film, products already used and what happened after drying. A close image and a wider view can show where the mark sits on the door. The goal is a clean surface with its intended finish preserved, not a sequence of increasingly strong experiments whose effects become impossible to separate from the original residue.
Pure White
Cream White
Light Warm Gray
Gray
Navy
Black
Oak Tone
Dark Walnut Tone
Design study These finish studies are design references, not a list of currently orderable colors. Screens and lighting change the appearance; compare a physical sample before choosing.See all finish options →
Routine cleaning, a finish touch-up and a moving wood joint need different responses. Identify the surface and condition before applying a cleaner or repair product.
The sample shows the door frame, a separate center panel, the face frame and the cabinet box. Each component has its own place in this Shaker construction.
Shaker construction: door frame, center panel, face frame and cabinet box. The cutaway helps locate these parts; confirm each material in the specifications for the selected cabinet.
01 / Door frame
The Shaker door has rails and stiles around a separate center panel. The frame and center panel are different components; confirm their materials in the specifications for the selected cabinet.
02 / Face frame
The face frame surrounds the opening at the front of the cabinet box and sits behind the doors. The face frame, door frame and cabinet box are separate parts.
03 / Cabinet box
The sample exposes the cabinet sides, interior surfaces and layered edges. The image does not establish the wood species or material specification of a selected cabinet.