A small-area test can reveal an unwanted change before a new cleaner is used across a visible cabinet front. It is useful only after checking that the cleaner and method are appropriate for the actual finish. A hidden location does not make a prohibited chemical acceptable, and a successful test does not prove compatibility under every future use. Treat the test as a controlled observation, with the product identity and result recorded for the next person who cleans the cabinets.
Diagram Evaluate a permitted cleaner on the actual finish after drying; the diagram does not certify chemical compatibility.
Identify the finish before selecting the test
Find the cabinet's care information and any record of later repainting or refinishing. Compare the cleaner's intended surfaces and directions with that information. If the instructions exclude the product or conflict, ask the cabinet supplier or refinisher instead of experimenting to decide whose guidance is correct. Preserve the exact cleaner name and version; similar packaging or a familiar brand can cover different formulations.
Dura Supreme advises testing a new cleaner in a small inconspicuous area and letting it dry before evaluating the effect. Its general guide also distinguishes the finishes to which its instructions apply. Use that approach within your product's permitted care, rather than as a universal test that overrides specific restrictions.
Ask the supplier about a suitable location if it is unclear. An unfinished back, a differently coated interior or a separate wood offcut may not represent the visible front. A supplied spare or sample can be useful only if its finish corresponds to the installed surface and the supplier considers it relevant. Do not assume every hidden cabinet surface shares the same coating.
Keep the test area small and identifiable without marking the finished face with an unverified adhesive or sharp tool. Note its position in a photograph or written description. Look at it before cleaning under useful lighting, and record existing marks or differences. Without that baseline, a pre-existing sheen variation can later be mistaken for a new reaction.
Use the method you actually intend to repeat
Follow the permitted product directions, including any specified dilution, application and removal. Use a clean appropriate cloth and control the liquid. Do not make the test unusually weak, brief or gentle and then apply a stronger method to the rest of the door. The observation is meaningful only for the conditions you actually used, not for every possible concentration or dwell time.
Change only the cleaner being evaluated within the approved method rather than adding a new pad, polish and technique at the same time. If several things change together, a difference will be harder to explain. Record the cloth type and relevant application details without inventing a universal recipe. Never mix cleaning products to create an improvised test solution.
Compare the result after the surface dries
Complete the permitted removal and drying steps, then inspect the test area alongside its baseline and the neighboring surface. Look for discoloration, haze, changed sheen, tackiness or coating transfer observed during cleaning. Consider ordinary and angled light where useful. A wet patch may look darker or shinier, so do not judge the final appearance while moisture is still affecting the comparison.
Imagine a cleaner seems fine on an interior shelf, but that shelf has a different surface from the painted door. The test did not answer the door's compatibility question. In another case, a discreet spot on the correct finish looks unchanged while damp but shows a dull patch after drying. That dry observation is the reason to stop, not an invitation to apply the cleaner across the door to make the difference less obvious.
Keep the result with the cabinet's care record
If an unwanted change appears, stop using the product and ask the supplier about the observation before trying to remove it with another chemical. Keep the container information, test location, method and photographs available. Report what you saw rather than claiming a particular chemical reaction from appearance alone. The supplier needs the actual sequence to offer relevant guidance.
If the limited test shows no visible change, keep using only the permitted method and continue observing normal cleaning results. Record what was tested so another person does not substitute a different formulation under the same brand name. Update the care record after refinishing or a cleaner change. A useful test reduces uncertainty about a specific surface and method; it is not a permanent approval of all products that look similar.
Pure White
Cream White
Light Warm Gray
Gray
Navy
Black
Oak Tone
Dark Walnut Tone
Design study These finish studies are design references, not a list of currently orderable colors. Screens and lighting change the appearance; compare a physical sample before choosing.See all finish options →
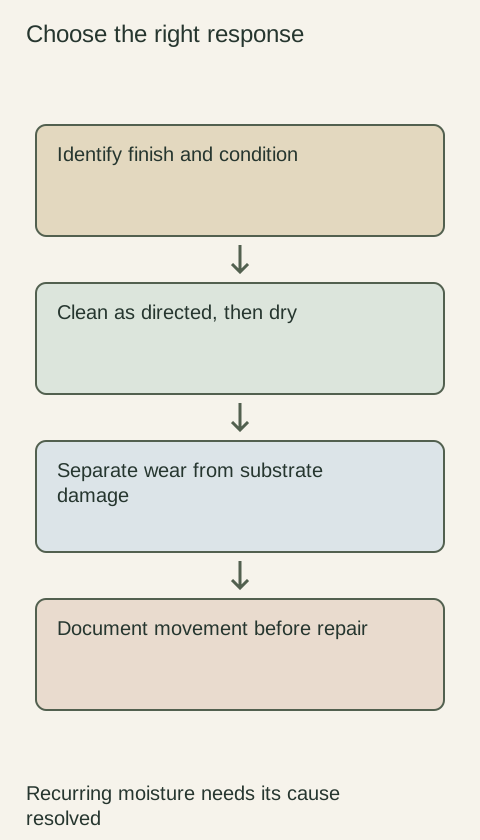
Routine cleaning, a finish touch-up and a moving wood joint need different responses. Identify the surface and condition before applying a cleaner or repair product.
The sample shows the door frame, a separate center panel, the face frame and the cabinet box. Each component has its own place in this Shaker construction.
Shaker construction: door frame, center panel, face frame and cabinet box. The cutaway helps locate these parts; confirm each material in the specifications for the selected cabinet.
01 / Door frame
The Shaker door has rails and stiles around a separate center panel. The frame and center panel are different components; confirm their materials in the specifications for the selected cabinet.
02 / Face frame
The face frame surrounds the opening at the front of the cabinet box and sits behind the doors. The face frame, door frame and cabinet box are separate parts.
03 / Cabinet box
The sample exposes the cabinet sides, interior surfaces and layered edges. The image does not establish the wood species or material specification of a selected cabinet.