Finished cabinets beside continuing work need a deliberate protection plan. Decide who will cover them, what materials may contact the finish and how the coverings will be removed before cleaning. A sheet thrown over a cabinet is not a complete arrangement if dusty debris will later be dragged across the surface or tape is attached without confirming compatibility. Coordinate protection with the contractor and the actual cabinet care instructions before the adjacent work begins.
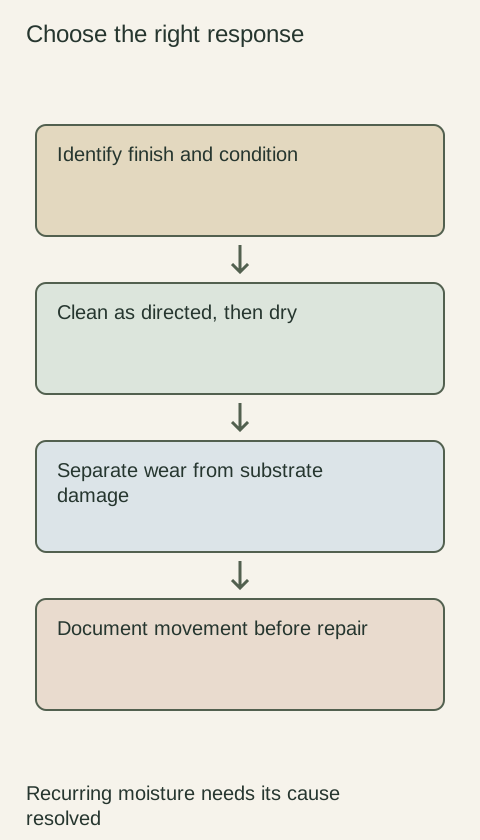
Diagram Use finish-specific care after the work-area cleanup; this diagram is not a hazardous-dust or covering-material specification.
Record the starting condition and work exposure
Photograph visible cabinet faces and identify existing marks before coverings hide them. Describe the nearby work and which surfaces are exposed to ordinary construction dust, handling or falling small debris. This record helps distinguish an existing condition from a new observation after the work, without presuming responsibility from a mark's appearance alone.
Ask the contractor to manage the work area and select appropriate protection for the activity. A cabinet care note is not a procedure for controlling or cleaning hazardous construction material. Where the dust source requires specialist handling, that work needs its own qualified response. Keep the cabinet's surface-protection plan connected to the actual job rather than assuming a household wipe can address every kind of residue.
Choose contact materials before fastening a cover
Confirm which covering and fastening methods are suitable for the finish. Do not assume a tape described as gentle is compatible with every cabinet or safe for any length of time. Ask the cabinet supplier or finish provider about direct contact where uncertain, and arrange a method that does not depend on guessing how an adhesive will behave on that surface.
Use clean contact surfaces and prevent hard debris from being trapped beneath a cover that may move. Do not turn a protected cabinet into a workbench for tools or materials. A covering intended for dust does not automatically protect against impact or weight. State the work restriction clearly to the people using the area instead of relying on the presence of a sheet to communicate it.
Plan checks while the covering remains in place
Assign who checks that protection stays in position and responds if it becomes wet, damaged or loaded with debris. A cover that has shifted can leave an edge exposed while appearing protective from across the room. Do not let the plan end at installation; the protection has to remain appropriate as the work and access pattern change.
Keep necessary cabinet access and nearby equipment requirements in view. If workers must open a protected front, explain how they should restore the agreed protection afterward. Do not seal a problem out of sight: known water entry or an unstable component still needs attention. Covering a cabinet is not a reason to postpone an existing service issue until the renovation is finished.
Remove debris without dragging it across the finish
Before uncovering, arrange for loose material on the protection to be handled by the contractor's appropriate cleanup method. Remove coverings in a controlled way that avoids drawing contaminated contact surfaces across cabinet faces. If fastening material resists removal or leaves residue, pause and obtain the finish-specific method rather than scraping or adding a strong solvent immediately.
Imagine a covered cabinet remains clean during sanding nearby, but the dusty sheet is later pulled along the doors. The protection phase may have worked while the removal phase introduced a new problem. Plan both phases together and retain a clear view of the surface after removal. A visible change should be documented before attempts to polish it away.
Finish with the cabinet’s approved care and a handoff
Dura Supreme's guidance for its stained and painted finishes addresses construction dust using a clean, soft, lint-free cloth and avoids abrasive cleaning. Its scope matters: use the appropriate instructions for the actual finish rather than treating every surface as painted wood. Follow the permitted cleaning and drying method once the work-area cleanup is complete.
Inspect exposed faces, edges and normal door or drawer operation after the protection is removed. Record new observations and any areas still awaiting service, then hand over the current care reference. The finished result should be an accessible, appropriately cleaned cabinet with a clear condition record, not merely a room where the protective sheets have been taken away.
Pure White
Cream White
Light Warm Gray
Gray
Navy
Black
Oak Tone
Dark Walnut Tone
Design study These finish studies are design references, not a list of currently orderable colors. Screens and lighting change the appearance; compare a physical sample before choosing.See all finish options →
Routine cleaning, a finish touch-up and a moving wood joint need different responses. Identify the surface and condition before applying a cleaner or repair product.
The sample shows the door frame, a separate center panel, the face frame and the cabinet box. Each component has its own place in this Shaker construction.
Shaker construction: door frame, center panel, face frame and cabinet box. The cutaway helps locate these parts; confirm each material in the specifications for the selected cabinet.
01 / Door frame
The Shaker door has rails and stiles around a separate center panel. The frame and center panel are different components; confirm their materials in the specifications for the selected cabinet.
02 / Face frame
The face frame surrounds the opening at the front of the cabinet box and sits behind the doors. The face frame, door frame and cabinet box are separate parts.
03 / Cabinet box
The sample exposes the cabinet sides, interior surfaces and layered edges. The image does not establish the wood species or material specification of a selected cabinet.