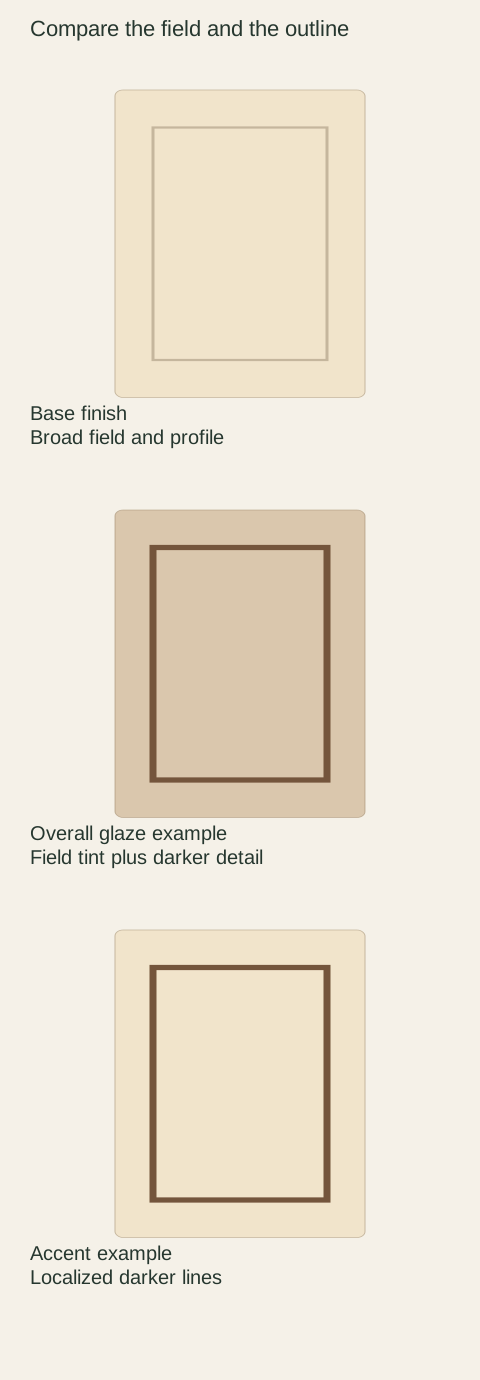
When choosing a glazed cabinet finish, decide whether you want the broad face to change color or only the profile to gain a darker outline. Those results can look similar in a small photograph and different across a kitchen. Ask to see the base finish and the complete glazed version on the intended door style before approving either one.
Separate the color wash from the accent
Dura Supreme distinguishes an overall glaze that tints the broad painted surface from an accent glaze concentrated along profiles and edges. It describes hand-applied variation in these treatments. That distinction illustrates why a glaze name needs its own finished sample; another supplier's terminology may differ.
Ask the seller to point out what changes on the actual sample. Look at the flat center first, then the inside profile, corners and outside edge. Write down whether the treatment intentionally affects all those areas. A request for a lightly antiqued appearance is too open-ended if one person imagines a pale field and another expects an overall darker wash.
Review the underlying color on its own
If possible, place an unglazed version beside the glazed sample in the same material and profile. This makes it easier to see which part of the color comes from the base and which part comes from the decorative treatment. If such a comparison is unavailable, record that limitation. Do not treat a wall-paint chip with a similar name as proof of the factory base finish.
Diagram Conceptual finish effects, deliberately simplified. Actual colors, application and variation must be reviewed on the selected manufacturer's finished samples.
Look at the samples beside the fixed materials in the room. A warmer overall wash may affect the relationship with a pale countertop or an existing floor even if the dark profile lines are what first caught your attention. Change one decision at a time: base color, treatment or profile. Otherwise a succession of new samples can hide the reason a combination keeps failing.
Evaluate the treatment at the scale of a cabinet group
A detailed outline may look delicate around a single door and much more prominent when repeated across drawers and neighboring doors. Sketch or arrange representative fronts as a group. Include a narrow drawer and a large door, because their ratio of flat field to profile can differ. The amount of dark outlining visible in the room depends on that composition.
Use the intended hardware in the comparison. A dark pull, dark glazing and closely spaced frame lines can create more contrast than the color sample suggested. You may like that result, but it should be deliberate. Temporarily covering the hardware outline can help identify whether the concern comes from the finish detail or the combined pattern.
Hand-applied does not mean undefined
Ask what variation the selected treatment normally includes and what the supplied sample represents. If the seller can show several representative pieces, compare where the accent starts, stops or becomes stronger. Do not demand mechanical identicality from a process described as hand detailed. Also do not accept the phrase hand applied as a substitute for discussing an obviously unexpected appearance.
Record the characteristics you are approving in plain language: a light overall tint, visible but restrained profile accents, or a deliberately varied aged appearance. The supplier must confirm the language fits the offered product. A photograph of the most even sample should not silently become a promise that every door will reproduce that exact application.
Panels and trim may change the balance
An exposed plain end has less profile than a framed door. Ask whether it receives an overall wash, edge accents or a different approved treatment. A plain panel and a detailed door can look different even when their finish codes belong to the same family. Put them next to each other during review if they will meet at a prominent corner.
Include crown, light rail, decorative feet and any furniture-like end in the finish schedule when they are present in the design. Small carved details can become visually strong when accented. Do not assume the treatment on a door describes every molding. Confirm which pieces receive it and what happens at a joint between treated and untreated components.
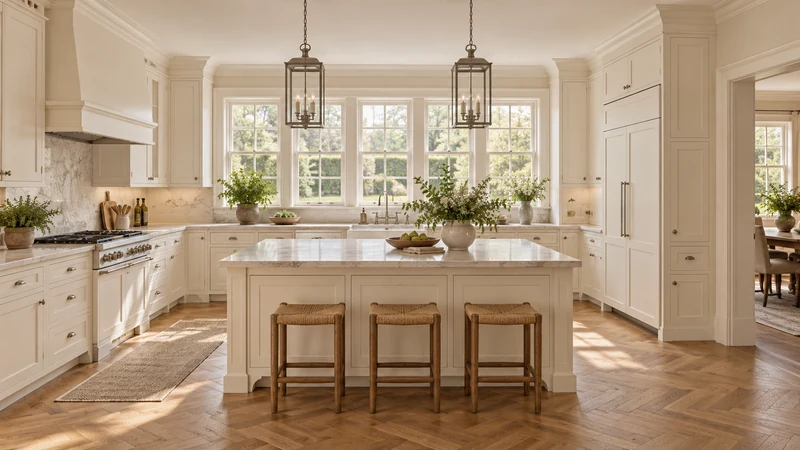
Design study The study shows where repeated profiles and trim occur. It does not verify glaze application, a specific paint color or an actual supplied kitchen.
A worked example with a pale cabinet palette
Imagine a homeowner who likes a pale painted door but wants its inner border slightly more defined. An overall glazed sample adds the desired darker border and also makes the flat center noticeably warmer. Beside the retained countertop, that broader change is less appealing. Rejecting the entire color family would be premature.
The useful follow-up is to ask whether an accent-only option exists in the selected line and to compare its complete sample. If it does not exist, the choice may be between the unglazed finish and the offered overall glaze, or a different door family. Do not describe a local accent treatment on the order unless the supplier actually accepts it. The design preference does not create a production option.
Keep decorative aging separate from later damage
Where the approved finish includes intentional worn-looking areas, document their general character before installation. That record helps distinguish the selected appearance from later scratches or coating loss without declaring every mark intentional. Retain the manufacturer's care and touch-up guidance for the exact finish system. A generic repair paint may not reproduce both the base and the decorative layer.
Do not clean a dark accent aggressively to see whether it is dirt. First compare its location with the sample and finish description. If an unexpected mark needs investigation, take a whole-door photograph and a close view before applying anything. The point is to preserve evidence of the original condition, not to diagnose the coating through an improvised cleaning test.
Put the combined finish on the order
Record the door style, material, base color, glaze or accent designation, sheen and affected components together. Keep a labeled finished sample and the written explanation of its expected variation. If the door profile changes later, review the finish again: the new arrangement of recesses and edges may change where the accents appear.
At delivery, compare representative fronts, exposed panels and trim in consistent lighting before installation. Report the actual difference, such as an overall tint where only profile accents were approved, rather than simply asking for a less busy kitchen. A precise finish record gives the supplier a usable basis for assessing the order and any proposed correction.
Pure White
Cream White
Light Warm Gray
Gray
Navy
Black
Oak Tone
Dark Walnut Tone
Design study These finish studies are design references, not a list of currently orderable colors. Screens and lighting change the appearance; compare a physical sample before choosing.See all finish options →
A color name does not identify a finish system. Compare the decorative surface, the core, the edge and the repair method before choosing a cabinet front.
The sample shows the door frame, a separate center panel, the face frame and the cabinet box. Each component has its own place in this Shaker construction.
Shaker construction: door frame, center panel, face frame and cabinet box. The cutaway helps locate these parts; confirm each material in the specifications for the selected cabinet.
01 / Door frame
The Shaker door has rails and stiles around a separate center panel. The frame and center panel are different components; confirm their materials in the specifications for the selected cabinet.
02 / Face frame
The face frame surrounds the opening at the front of the cabinet box and sits behind the doors. The face frame, door frame and cabinet box are separate parts.
03 / Cabinet box
The sample exposes the cabinet sides, interior surfaces and layered edges. The image does not establish the wood species or material specification of a selected cabinet.