Where should water bottles, lids and straws go in a new kitchen?
Compare upright and horizontal storage with the lids attached, then test the route from washing to packing a bag. A bottle’s base diameter is only part of the fit.
Choose water-bottle storage by measuring the bottle as you normally put it away, including its lid, handle and any outer sleeve. Decide separately where loose lids and straws belong. Upright storage makes bottles easy to identify, while a divided horizontal arrangement may suit a shallow opening. Neither works well if clean pieces cannot dry before storage or if assembling a bottle requires searching across the kitchen.
Measure the complete bottle, not just the cylinder
Gather the bottles that are actually used for school, work, exercise and travel. Include the largest handle or carry loop in the footprint. A cup-shaped bottle with a narrow base can be much wider at the top, and a flexible handle may settle differently each time it is put away. Measure the height with the normal lid attached as well as the body alone.
In a hypothetical drawer, there are 10 inches of clear vertical space. A bottle measuring 10.5 inches with its lid does not fit upright, even though its body is only 8.75 inches without the lid. Removing the lid changes the storage routine and creates a separate part to locate. Those assumed dimensions explain the tradeoff; they are not standard bottle sizes or measurements of a cabinet shown here.
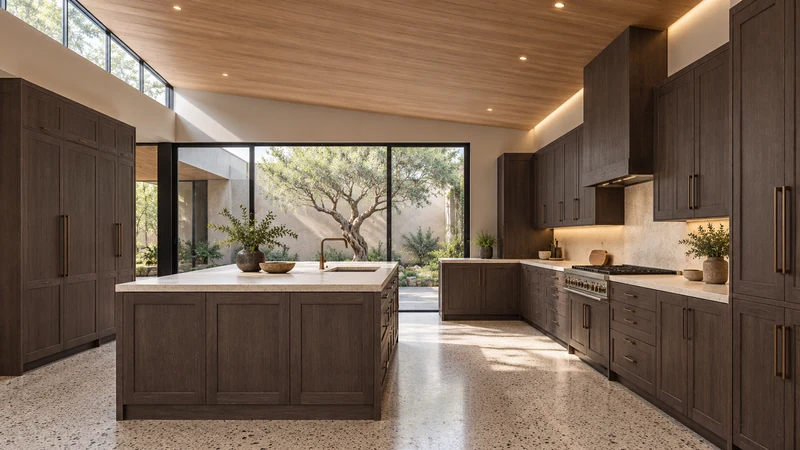
Design study A nearby drawer can reduce the distance between washing and packing. This design study does not show a bottle organizer or establish its fit.
Compare visibility with the space the arrangement consumes
For upright storage, test whether you can grip the bottle without lifting neighboring pieces. Check the clearance through the cabinet opening, not only the height behind it. For horizontal storage, use a compatible organizer that keeps bottles from rolling into one another and verify that the longest bottle fits with its handle. An organizer’s advertised bottle count is not a promise that your mixed collection will fit.
A fixed shelf may use available height efficiently, but bottles behind the front row can become difficult to see. A pullout brings them forward while taking up some interior space itself. Compare the real retrieval motion before choosing additional hardware. Keep the frequently carried bottles accessible and move occasional oversized pieces elsewhere if they force the whole group into an awkward arrangement.
Give compatible lids and small parts a clear location
Different bottles can have lids that look alike without being interchangeable. Keep loose lids beside their bottle family and separate the parts that otherwise become difficult to identify. Follow the bottle manufacturer’s instructions for cleaning, drying and reassembly. This cabinet plan does not decide which small components can be removed or how a specific drinking valve should be cleaned.
Choose a tray or divider that lets you see the small parts and lift them out for cleaning. A deep open bin may simply replace a countertop pile with a hidden pile. If the household prefers storing bottles fully assembled, prioritize the clear height that supports that habit rather than requiring everyone to change it merely to use a particular drawer.
Try the route from clean bottle to packed bag
Imagine a school morning: the intended user takes a bottle, finds the matching lid, fills it and returns any spare parts. Then try putting the washed pieces away after they are ready for storage. Check whether an open drawer blocks the sink or the person preparing food. If younger users will retrieve their own bottles, let them try the proposed height and grip without assuming that a shelf convenient for an adult works for them.
Specify a routine, then select the cabinet
Record the tallest assembled bottle, widest handle, longest horizontal piece and the preferred lid arrangement. Compare those measurements with the selected drawer or shelf and its organizer, including the opening and access path. Allow the collection to change without filling every gap with permanent partitions. A useful bottle station is the place where a complete, clean bottle can be found and returned with little effort.
Pure White
Cream White
Light Warm Gray
Gray
Navy
Black
Oak Tone
Dark Walnut Tone
Design study These finish studies are design references, not a list of currently orderable colors. Screens and lighting change the appearance; compare a physical sample before choosing.See all finish options →
A compact nested stack can still be heavy and awkward to separate. Check lifting, usable height and the complete drawer assembly before assigning the storage.
The sample shows the door frame, a separate center panel, the face frame and the cabinet box. Each component has its own place in this Shaker construction.
Shaker construction: door frame, center panel, face frame and cabinet box. The cutaway helps locate these parts; confirm each material in the specifications for the selected cabinet.
01 / Door frame
The Shaker door has rails and stiles around a separate center panel. The frame and center panel are different components; confirm their materials in the specifications for the selected cabinet.
02 / Face frame
The face frame surrounds the opening at the front of the cabinet box and sits behind the doors. The face frame, door frame and cabinet box are separate parts.
03 / Cabinet box
The sample exposes the cabinet sides, interior surfaces and layered edges. The image does not establish the wood species or material specification of a selected cabinet.