Start with the room, not the countertop
Before deciding how long the island should be, draw the room as it exists. Mark windows, doors, columns, ceiling changes and the routes people take through it. Include the dining room and the path to the garden. A kitchen may look balanced in a straight-on image while the everyday route from the garage passes directly through its cooking area.
Use the island to organize those routes. Its working side can face the refrigerator, sink and cooking wall; its social side can face the room where people gather. That separation gives the cabinetry a clear purpose. It also helps you decide which face deserves the strongest architectural treatment, since the side seen from the living room may be visible all day.
Test the working side with everything open
On the plan, show appliance doors and cabinet drawers in their open positions. Think through unloading the dishwasher, taking a hot pan out of the oven and putting groceries away. The useful question is whether those actions can happen without trapping another person or blocking the only route through the kitchen.
Have the designer or installer confirm clearances using the actual appliances, cabinet sizes and local requirements. A standard cabinet depth does not settle the question: handles, countertop projections and appliance doors occupy space too. Resolve the sink and its plumbing before assigning drawers beneath it. Keep the cooking surface and ventilation arrangement coordinated on both the plan and the wall elevation.
Give each part of the island a job
List what you want to store before drawing the fronts. Wide drawers might hold everyday dishes or cookware; a door cabinet might suit a taller item. Place the storage near the activity it serves. A beautiful run of identical doors becomes less useful if every meal requires crossing the room to reach the things inside.
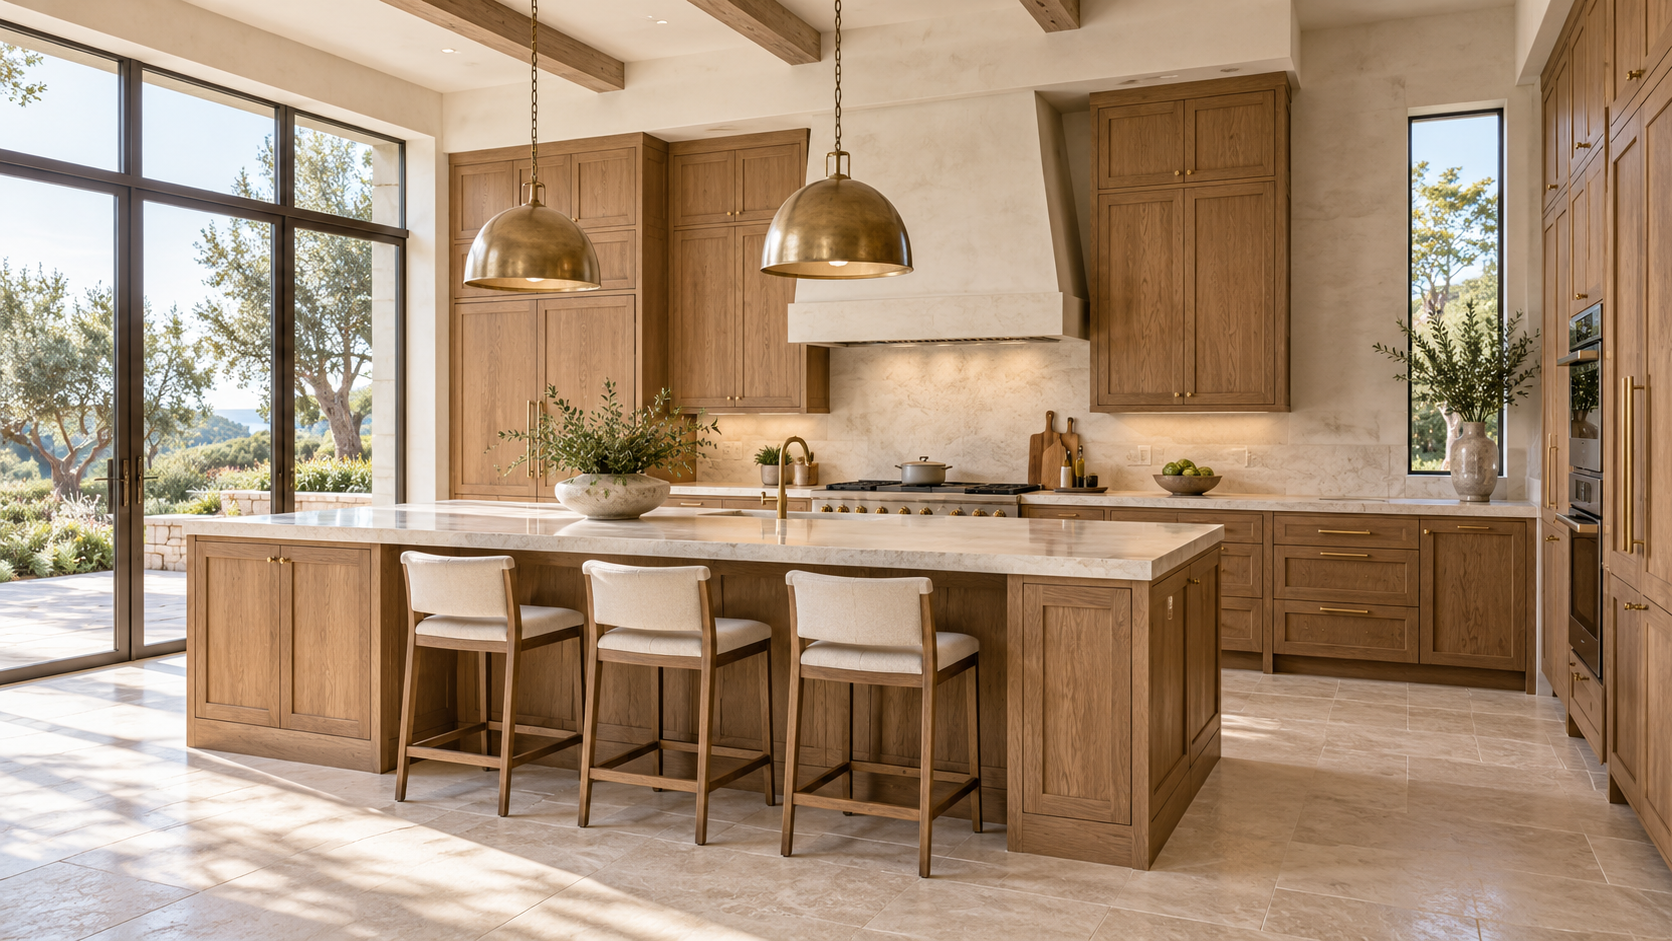
Now consider the seated side. A row of stools is only convincing if people can sit, pull back and pass behind one another. Discuss the countertop overhang and its support with the countertop fabricator. An open shelf, finished panel or accessible cabinet on this side should be a deliberate choice, with the construction and usable opening shown clearly.
Compose the view from the next room
Stand where you expect to see the kitchen most often. From that point, look at the island, hood, tall cabinets and windows as one composition. Repeated cabinet lines can make the room feel ordered, while an uninterrupted section of stone or a quieter finish gives the eye a place to rest.
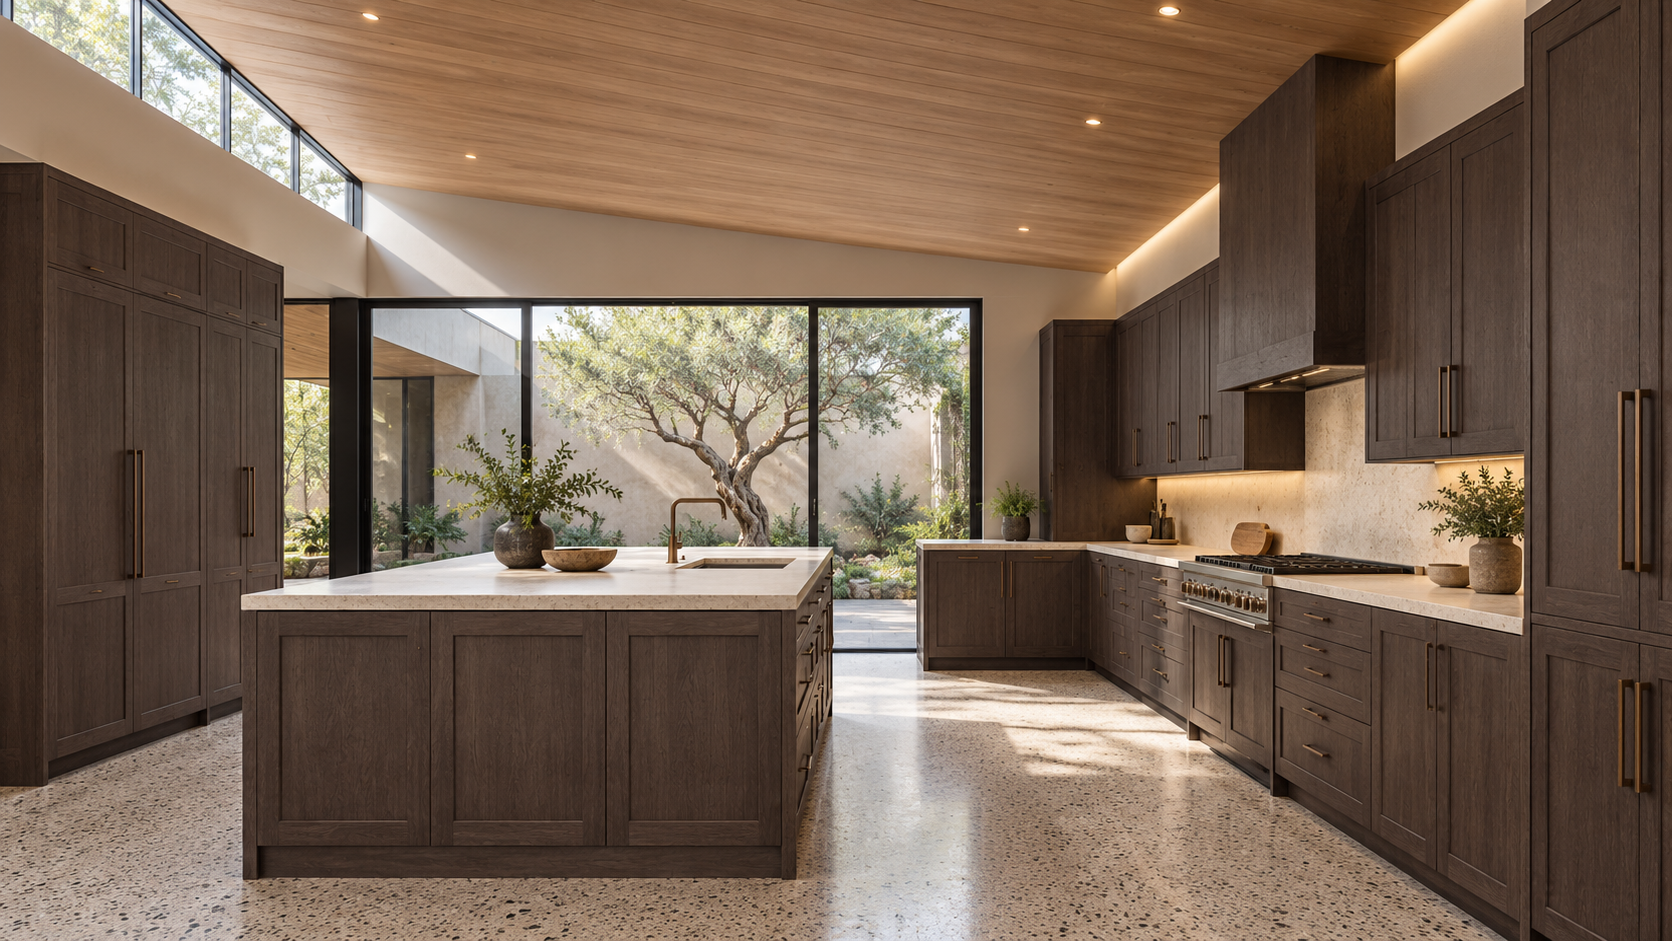
In the courtyard study, the deep wood tone gives the cabinet wall weight, while the island and garden keep the view open. The idea to borrow is the relationship between dark joinery, daylight and open space. You do not need to copy the room or increase the island until it fills every available inch.
Before you approve the layout
Review the plan and every cabinet elevation together. The same island should make sense from all four sides, with honest storage, supported surfaces and room to move. Bring this short list to the next design meeting:
- Actual appliance models and their opening clearances.
- A storage list matched to doors, drawers and cabinet interiors.
- Seating locations, countertop support and the route behind the stools.
- Finished end panels, fillers and the view from adjoining rooms.
- A clear account of cabinetry, countertops, appliances and installation in the project scope.