Where should a produce basket go in a kitchen cabinet plan?
Start with what the food requires, then decide whether a room-temperature basket belongs in the plan at all. Visibility and cleaning matter as much as the empty basket size.
Do not choose a produce basket and then fill it with whatever fruit and vegetables arrive home. First identify which items are suitable for the proposed storage conditions. A cabinet basket is not refrigerated storage, and a basket marketed for produce does not make every item suitable for an enclosed cabinet. Once that boundary is clear, plan a location where the contents can be seen, reached and the surrounding area cleaned.
Food requirements come before the accessory
FDA guidance calls for refrigerating perishable produce and produce purchased pre-cut or packaged. Use that guidance and the item’s applicable storage instructions to separate the refrigerated selection from anything considered for a room-temperature basket.
For the remaining selection, confirm its appropriate conditions before choosing the location. Do not assume that an open-wire accessory supplies the required environment inside a closed cabinet. Its openings describe the basket, not the temperature or conditions around it. The cabinet discussion should identify the intended contents and location, rather than rely on a decorative label such as produce storage.
Choose a depth you can inspect during ordinary use
A deep basket can hide items under the visible top layer. Consider whether the contents remain identifiable as the amount decreases and new groceries are added. If using separate groups, leave a clear reason for each group and follow the relevant storage requirements; appearance alone is not a basis for mixing different foods.
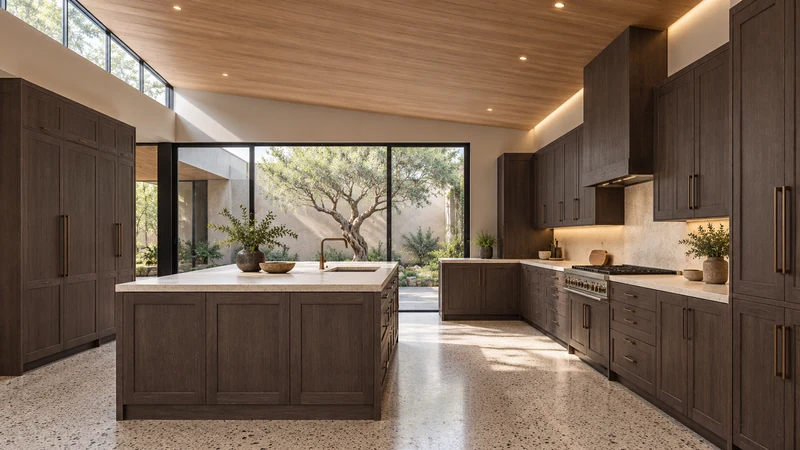
Design study Follow the grocery-to-preparation route when locating appropriate storage. This room image does not demonstrate a produce basket or food storage conditions.
Imagine a basket pushed to the back of a low cabinet. The upper contents are visible from above only after it is removed, so routine inspection becomes an extra task. A shallower arrangement or an accessible pullout may fit the routine better. Test from the actual standing position, not from a photograph taken with the entire cabinet open and empty.
Check the loaded basket and the area underneath
Decide whether the basket comes out for use or remains supported inside the cabinet. For lift-out storage, check the grip and route to an appropriate work surface with its ordinary load. For a sliding accessory, follow the specified installation and loading requirements and check that the full collection can be reached at its actual extension.
The basket should also be removable or otherwise accessible for its specified cleaning. Inspect how crumbs, loose skins or moisture would be noticed and cleaned from the cabinet below. A liner may help with a particular maintenance task, but it can also change the accessory’s intended conditions. Use only a suitable arrangement and follow the separate care instructions for basket and cabinet finish.
Plan the grocery check before assigning more capacity
Decide where newly purchased items are sorted into their appropriate storage locations. Adding everything to the old basket and sorting later can undermine the original plan. Keep the selection small enough to inspect through normal use and avoid a hidden overflow area that nobody checks.
Bring the intended food categories, relevant storage directions, basket dimensions and removal routine into the cabinet discussion. The result may be a suitable room-temperature basket, a different accessible location or no dedicated cabinet basket at all. Choosing not to install a specialized accessory is reasonable when the household’s actual produce belongs elsewhere.
Pure White
Cream White
Light Warm Gray
Gray
Navy
Black
Oak Tone
Dark Walnut Tone
Design study These finish studies are design references, not a list of currently orderable colors. Screens and lighting change the appearance; compare a physical sample before choosing.See all finish options →
Compare the working counter space with the steps needed to retrieve and put away the bread. The right location must also suit the bread and storage container instructions.
The sample shows the door frame, a separate center panel, the face frame and the cabinet box. Each component has its own place in this Shaker construction.
Shaker construction: door frame, center panel, face frame and cabinet box. The cutaway helps locate these parts; confirm each material in the specifications for the selected cabinet.
01 / Door frame
The Shaker door has rails and stiles around a separate center panel. The frame and center panel are different components; confirm their materials in the specifications for the selected cabinet.
02 / Face frame
The face frame surrounds the opening at the front of the cabinet box and sits behind the doors. The face frame, door frame and cabinet box are separate parts.
03 / Cabinet box
The sample exposes the cabinet sides, interior surfaces and layered edges. The image does not establish the wood species or material specification of a selected cabinet.