A serviceable drawer can be removed and securely reinstalled using a documented method for its actual hardware. Easy removal is only part of the requirement: the user also needs access to the release mechanism, room to support the drawer and a clear way to confirm that it has re-engaged. Review these details before ordering, while the choice of drawer system is still open.
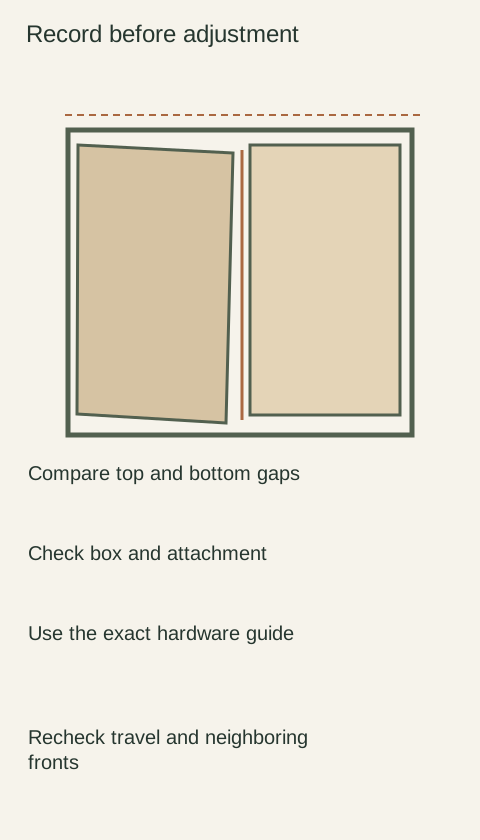
Diagram A returned drawer must be correctly retained as well as visually aligned. Use the actual hardware instructions for removal and re-engagement.
Identify the release method rather than guessing
Drawer systems use different ways to separate the box from its runners. Locate the instructions for the exact system, including any locking devices supplied with it. Do not assume that lifting, pulling harder or pressing a visible plastic part is correct merely because that worked on another cabinet.
For a specific MOVENTO set, Blum’s instructions describe release through locking devices and separately describe re-engagement when the drawer is inserted. This illustrates why removal and secure return belong together in the handoff. The sequence is specific to that system and should not be treated as directions for every concealed runner.
Have the supplier demonstrate the release on a representative assembled drawer, preferably before the cabinet is loaded. Observe whether the mechanism can be seen or reached in the installed arrangement. A component shown clearly on an upside-down showroom drawer may be harder to access once the front, surrounding trim and adjacent parts are in place.
Also consider the drawer’s size and the ability to support it after disengagement. Plan where an empty drawer can be placed without damaging its front or hardware. A release that requires no tool does not make a large or awkward drawer light enough to handle alone. The service plan should match the actual assembly and the person expected to perform the work.
Understand what removal exposes
Ask what ordinary maintenance requires removal and what should be handled without it. Access for a dropped item or cleaning behind the box is different from dismantling a closing mechanism. The fact that the drawer comes out does not mean the runner’s internal parts are intended to be opened or repaired by the homeowner.
Identify replaceable components and retain their exact references when provided: runners, locking devices, front connectors and related accessories. Confirm which side or version is required. A future request becomes much easier when it includes the original system information instead of a photograph of an unidentified plastic piece after it has broken.
A cleanup task reveals a weak handoff
Imagine a small item falling behind a drawer after installation. The owner finds an online video showing a similar-looking drawer being lifted off, but the supplied system uses a different release. Pulling harder does not help, and the owner has no original instructions or model record to consult.
A better purchase handoff would include the specific instructions and a demonstration of removal and reinstallation, with the release locations identified. If the owner cannot safely support the drawer or reach the controls, the record should state that assistance is needed. The aim is a predictable service task, not an expectation that every drawer must be removed unaided by every user.
Confirm retention after the drawer returns
Follow the manufacturer’s method for checking that the drawer has re-engaged before loading it again. Look for the confirmation specified for that system rather than assuming that a flush front proves secure attachment. If the drawer sits differently, moves unevenly or does not behave as instructed, stop and have the installation reviewed instead of forcing it into place.
Before approving the final order, request a concise service record: system identity, removal and insertion instructions, access requirements and the party responsible for assistance or replacement-part inquiries. This does not promise that parts will remain available indefinitely. It preserves enough information to investigate a future issue and helps distinguish routine drawer removal from work that involves adjustments, damaged connections or replacement of the complete hardware system.
Pure White
Cream White
Light Warm Gray
Gray
Navy
Black
Oak Tone
Dark Walnut Tone
Design study These finish studies are design references, not a list of currently orderable colors. Screens and lighting change the appearance; compare a physical sample before choosing.See all finish options →
A painted door, a wood-grain side and a plywood cabinet box can belong to the same cabinet. Here is how to read those parts, what the sample photos actually show, and which details to put on a quote.
The sample shows the door frame, a separate center panel, the face frame and the cabinet box. Each component has its own place in this Shaker construction.
Shaker construction: door frame, center panel, face frame and cabinet box. The cutaway helps locate these parts; confirm each material in the specifications for the selected cabinet.
01 / Door frame
The Shaker door has rails and stiles around a separate center panel. The frame and center panel are different components; confirm their materials in the specifications for the selected cabinet.
02 / Face frame
The face frame surrounds the opening at the front of the cabinet box and sits behind the doors. The face frame, door frame and cabinet box are separate parts.
03 / Cabinet box
The sample exposes the cabinet sides, interior surfaces and layered edges. The image does not establish the wood species or material specification of a selected cabinet.