A moving cabinet pull is a reason to inspect its attachment, not an invitation to keep tightening until it stops. The fastener might have loosened, but the screw, pull threads or mounting surface may also need attention. Identify what moves and check the product instructions before applying force. A correct result is a secure pull fitted to the actual front, without crushing the finish or leaving an unresolved connection hidden behind the handle.
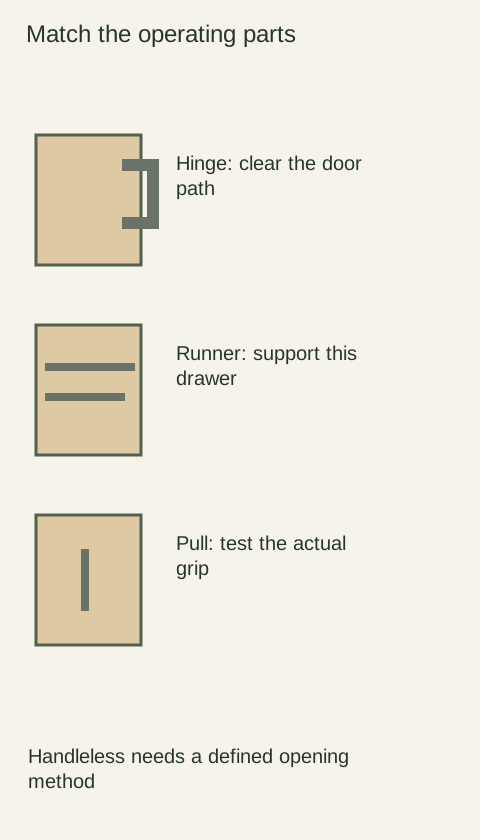
Diagram The pull illustration is an identification aid, not a screw-size, tightening-force or repair specification.
Describe what is moving
Note whether the whole pull rocks, a single end lifts or a knob rotates. Look at accessible mounting points and the surrounding face for a gap, visible damage or a screw head that appears displaced. Record whether the movement began after installation, after replacing hardware or after earlier normal use. These details help distinguish questions without proving the cause.
Stop relying on a visibly loose pull for repeated opening while its attachment is unresolved. Do not swing the door by the handle to demonstrate looseness or try to use the pull as support. If access to a fastener is hidden behind another installed component, arrange suitable access rather than dismantling an unfamiliar drawer or front solely to reach the screw.
Match the screw to the mounting arrangement
Find the pull's model and installation information. Liberty Hardware's guidance relates mounting-screw selection to the thickness of the cabinet or drawer face. The general lesson is to check the actual mounting thickness, not assume that a screw left over from another front is suitable. Its published numerical guidance is not a universal specification for every pull.
Ask the manufacturer or supplier to confirm the appropriate fastener for the actual front and hardware. Include any additional layer through which it passes. A screw looking similar does not establish the correct thread or usable length. Do not replace it with a longer or wider screw simply because that seems more secure; compatibility must be established for the connection being repaired.
Keep tightening within the intended procedure
If the identified instructions permit a simple tightening check and the parts appear intact, follow that procedure with the specified tool and limits. Avoid using a power driver or extra leverage as a substitute for understanding the connection. If the screw does not seat as expected, stops while the pull remains loose or keeps turning without holding, stop and report that behavior.
Those observations are more useful than the statement that the screw needs to be tighter. They may require checking the fastener, internal threads or the material around the mounting point. Do not add adhesive, stack improvised spacers or enlarge a hole to make an unidentified arrangement feel secure. Such changes can complicate a later appropriate repair and conceal the original condition.
Separate a replacement mistake from ordinary loosening
Imagine a new pull is installed using screws saved from a previous handle. One screw feels firmly stopped, yet that end of the pull still moves. More force is not the right next question. Confirm whether the chosen screw and the new pull are appropriate for the actual front thickness and attachment; a firm turning stop alone does not prove the pull has been clamped correctly.
In another case, an existing correctly identified pull has a visibly backed-out fastener and otherwise intact parts. Its instructions may provide an ordinary tightening response. These scenarios can look similar from the front but require different checks. Keep the replacement history and the observed screw behavior in the service description so the same generic advice is not applied to both.
Check the front and record the final fit
After the appropriate correction, verify the pull is seated as intended and ordinary operation no longer produces movement. Look at the surrounding finish and rear mounting area for changes introduced during the work. A stable pull accompanied by a crushed surface or a newly distorted front is not an acceptable substitute for a properly matched attachment.
Retain the pull model and confirmed fastener information for future maintenance. If loosening returns, document its pattern and seek assessment rather than repeatedly increasing force. Where the hole, threads or front are damaged, ask for a repair scope that addresses that specific condition. The goal is a sound attachment with an understood cause, not merely a handle that temporarily feels tighter.
Pure White
Cream White
Light Warm Gray
Gray
Navy
Black
Oak Tone
Dark Walnut Tone
Design study These finish studies are design references, not a list of currently orderable colors. Screens and lighting change the appearance; compare a physical sample before choosing.See all finish options →
Routine cleaning, a finish touch-up and a moving wood joint need different responses. Identify the surface and condition before applying a cleaner or repair product.
The sample shows the door frame, a separate center panel, the face frame and the cabinet box. Each component has its own place in this Shaker construction.
Shaker construction: door frame, center panel, face frame and cabinet box. The cutaway helps locate these parts; confirm each material in the specifications for the selected cabinet.
01 / Door frame
The Shaker door has rails and stiles around a separate center panel. The frame and center panel are different components; confirm their materials in the specifications for the selected cabinet.
02 / Face frame
The face frame surrounds the opening at the front of the cabinet box and sits behind the doors. The face frame, door frame and cabinet box are separate parts.
03 / Cabinet box
The sample exposes the cabinet sides, interior surfaces and layered edges. The image does not establish the wood species or material specification of a selected cabinet.