Planning pantry space for bulk groceries without crowding everyday food
The reserve supply and the working supply have different jobs. Plan the path between them before assigning every large package to the kitchen’s easiest shelves.
Buying a larger package changes more than the volume on a pantry shelf. It can add a reserve location, a refill step and a period when the old package and new purchase both need space. Keep the everyday working supply easy to reach, then plan the reserve around the way you replenish it. Otherwise the largest packages can take over the most convenient cabinet while the food you use every day gets pushed behind them.
Record the package you bring home, not only its contents
Use the actual outer package: a bag with a broad sealed top, a case of smaller units or a rigid container with a handle. The printed amount does not establish its cabinet footprint. A package that changes shape as it empties also needs support or a suitable container arrangement. Follow the product’s storage directions when choosing its location.
Separate purchases into those used directly from the large package and those that replenish a smaller working container. The distinction decides where they belong. A large bag opened occasionally for refills does not need the same daily access as a container used for every breakfast. Write down the reserve location so another household member can find it without searching every cabinet.
Allow for the day a replacement arrives
Imagine a partly used reserve bag and a newly purchased replacement arriving together. If the planned shelf accepts only the outline of the new bag, where does the opened remainder go? Temporarily placing it behind unrelated groceries can make it disappear from the routine. Test that overlap explicitly rather than assuming every purchase happens when the previous package is completely empty.
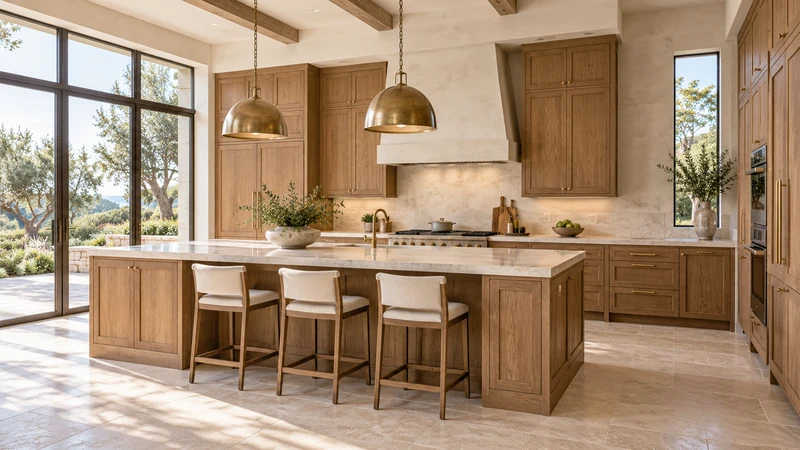
Design study Different storage areas can separate reserve packages from the daily selection. This exterior image does not establish the capacity or storage conditions of a pantry.
The solution may be a smaller purchase, a clearly assigned overflow position or a change in the replenishment trigger. More cabinetry is not the only response. Keep any overflow within a location suitable for the products and the supporting furniture. An extra bag sitting in a passage is not a completed storage plan.
Walk the refill route with the loaded package
Identify how the package comes from reserve storage to a suitable work surface, how the working container is filled and where the remaining package returns. Keep identification, dates and relevant instructions with the contents. Select suitable containers if transferring food, and follow both product and container directions rather than treating any attractive storage bin as appropriate.
The route should suit the person who will use it and the package when loaded. A high shelf may hold a package geometrically while making lifting and controlled pouring inconvenient. Consider a more accessible reserve position or a smaller handling unit. Check the selected shelf or pullout’s stated loading conditions; container capacity is not a cabinet load rating.
Make the reserve visible in the restocking decision
Use a simple record or consistent labeled position to show whether a reserve exists. The method should be easy to update when the package is opened or finished. An elaborate inventory that nobody maintains can be less useful than a clearly assigned location that is checked before shopping. Do not merge different package dates or instructions just to keep the storage visually uniform.
Bring the actual package outlines, expected replacement overlap and refill route into the cabinet discussion. Distinguish space needed for working food from space needed for reserve quantities. This makes it possible to compare a pantry configuration against a real routine, instead of adding shelves until the drawing appears to hold an unspecified bulk supply.
Pure White
Cream White
Light Warm Gray
Gray
Navy
Black
Oak Tone
Dark Walnut Tone
Design study These finish studies are design references, not a list of currently orderable colors. Screens and lighting change the appearance; compare a physical sample before choosing.See all finish options →
Depth can add rows without adding useful access. Compare straight rows, raised organizers and pullout storage with the actual cans and the shelf’s loading information.
Sometimes, but equal food volume does not mean equal shelf footprint. Compare the outside shape, lid and leftover package before buying matching containers.
The sample shows the door frame, a separate center panel, the face frame and the cabinet box. Each component has its own place in this Shaker construction.
Shaker construction: door frame, center panel, face frame and cabinet box. The cutaway helps locate these parts; confirm each material in the specifications for the selected cabinet.
01 / Door frame
The Shaker door has rails and stiles around a separate center panel. The frame and center panel are different components; confirm their materials in the specifications for the selected cabinet.
02 / Face frame
The face frame surrounds the opening at the front of the cabinet box and sits behind the doors. The face frame, door frame and cabinet box are separate parts.
03 / Cabinet box
The sample exposes the cabinet sides, interior surfaces and layered edges. The image does not establish the wood species or material specification of a selected cabinet.