Baking ingredient bins need room to scoop, not just room to stand
Choose whether the bin will be used inside the cabinet or lifted onto the counter. That choice changes the required opening, lid movement and working surface.
A flour bin can fit on a shelf and still be awkward to use. The closed container dimensions do not include an open lid, the hand holding a scoop or the path to a mixing bowl. Decide first whether you intend to scoop inside the cabinet or bring the bin onto the counter. Each method can work, but they ask different things of the cabinet and the person using it.
Choose the working method before the container size
If you want to scoop in place, check whether you can see the opening and move your hand through the complete measuring action. The scoop needs to enter, fill and come back out toward a suitable bowl or work surface. A low shelf may require an uncomfortable angle even when there is ample space above the closed lid.
If you prefer to lift the bin out, check the grip and carrying route with the amount you ordinarily store. A container that is easy to move empty may be inconvenient when filled. Give it a reachable landing area where the lid can open and the measuring work can happen without blocking the rest of the preparation. Do not count an occupied appliance surface as permanently available space.
Include the lid and the actual scoop
A hinged lid describes an arc; a fully removable lid needs a place to go. Check the specific container rather than assuming all lids open the same way. A handle, latch or front rail can also affect access. Test with the scoop you use, including a long handle that projects beyond the bin while your hand is inside.
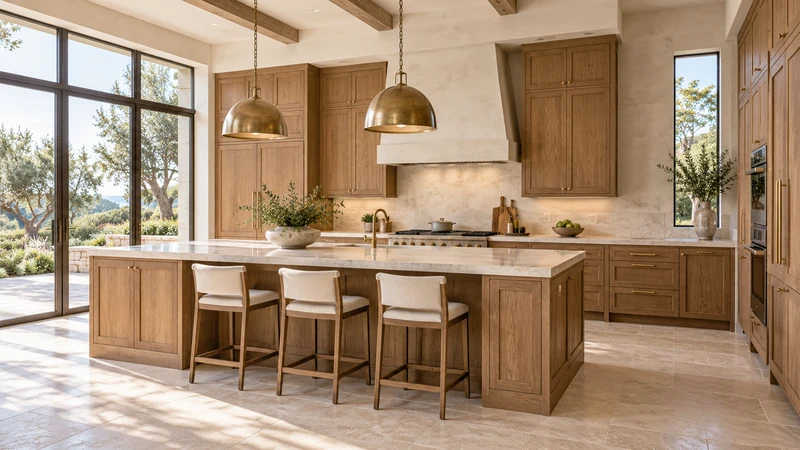
Design study A nearby working surface can support a lift-out baking routine. The image does not establish bin dimensions, lid travel or the contents of the cabinets.
Consider a baker who can open a bin under the shelf but cannot bring a filled scoop out level without striking that shelf. The practical options include changing the shelf arrangement, using a different compatible container or moving the bin to the counter for measuring. A larger bin with the same restricted opening would not address this particular problem.
Rehearse the refill, not only the daily scoop
A refill package has a different outline and handling motion from a scoop. Decide whether the bin will be removed before filling and where the original package will sit. Preserve ingredient identification, dates and relevant package instructions if transferring contents. Use a suitable food-storage container and follow the ingredient and container makers’ directions rather than treating a cabinet accessory as the food container itself.
Avoid a refill arrangement that depends on pouring blindly into a hidden rear opening. Bringing the bin to a clear work surface may make the process easier to control. Include the return trip with the newly filled container in the trial, and follow the selected shelf or drawer system’s load requirements. The volume printed on a bin does not establish the capacity of the furniture holding it.
Leave a way to clean the space around it
Check whether the bin and any liner can come out without dismantling the storage layout. Loose ingredient residue is easier to notice when the area remains accessible. Follow the cleaning instructions for the container, organizer and cabinet finish separately; their permitted methods may differ.
Write the cabinet requirement as a routine: storage position, use in place or lift out, lid opening, scoop path, refill surface and cleaning access. Include actual container dimensions and the intended loaded condition. That gives the cabinet discussion a useful target. A large pantry can still be frustrating if the essential measuring action has no room to happen.
Pure White
Cream White
Light Warm Gray
Gray
Navy
Black
Oak Tone
Dark Walnut Tone
Design study These finish studies are design references, not a list of currently orderable colors. Screens and lighting change the appearance; compare a physical sample before choosing.See all finish options →
Depth can add rows without adding useful access. Compare straight rows, raised organizers and pullout storage with the actual cans and the shelf’s loading information.
The sample shows the door frame, a separate center panel, the face frame and the cabinet box. Each component has its own place in this Shaker construction.
Shaker construction: door frame, center panel, face frame and cabinet box. The cutaway helps locate these parts; confirm each material in the specifications for the selected cabinet.
01 / Door frame
The Shaker door has rails and stiles around a separate center panel. The frame and center panel are different components; confirm their materials in the specifications for the selected cabinet.
02 / Face frame
The face frame surrounds the opening at the front of the cabinet box and sits behind the doors. The face frame, door frame and cabinet box are separate parts.
03 / Cabinet box
The sample exposes the cabinet sides, interior surfaces and layered edges. The image does not establish the wood species or material specification of a selected cabinet.