A vanity can fit against a bathroom wall and still have an unusable end drawer. Door casing projects beyond the wall surface, and a drawer front or pull may pass through that projection as the drawer opens. The conflict may only appear near the end of its travel. Compare the actual moving parts with the actual trim profile before choosing a cabinet position or assuming a filler will solve it.
Map the trim as an object
Record the casing's width, its projection from the wall and any thicker detail near the floor. Show where the cabinet front will sit relative to it. A photograph looking straight at the vanity wall may hide the trim depth, so add a view from above or the side. Include the room-door handle if it approaches the vanity when the door swings.
Do not confuse the casing with the door opening. The opening describes where people pass; the casing is a fixed object that may extend into the cabinet's working space. Also distinguish a retained decorative detail from a piece that the remodeling plan explicitly changes. A proposed cabinet should not depend on removing trim that the homeowner expects to keep.
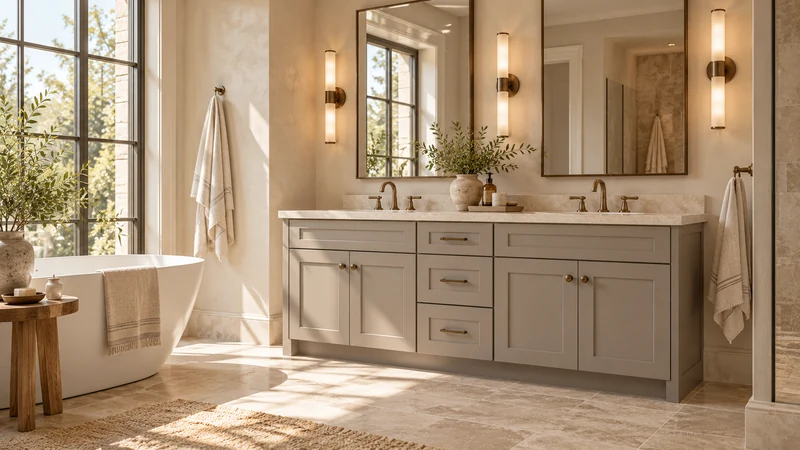
Design study The front view separates broad drawer fronts from side doors and their pulls. This design study does not show a door-casing test; draw the nearby trim and the moving front at actual size for your room.
Follow the drawer front and the box
Use the selected cabinet drawing to identify the drawer's location, width and opening movement. The box, front and pull are different outlines. A box may clear the trim while an overhanging front or projecting handle does not. For a door cabinet, draw the hinge-side rotation instead; changing a drawer to a door changes the motion rather than automatically eliminating the problem.
Test useful opening, not merely an initial crack. A drawer that opens enough to expose the front row of toiletries may still prevent removal of the organizer at the back. Include the hand and body position needed to retrieve the largest planned item. This turns an abstract clearance check into the task the cabinet is supposed to perform.
Try a full-size movement test
Imagine a hypothetical replacement with an end drawer beside a broad door casing. The closed front looks comfortable in the opening, but a cardboard outline moved forward along the proposed drawer path meets the casing before the organizer can be lifted out. Moving the outline sideways clears it, but that shift places the basin off its existing mirror axis. The result is a linked layout decision, not a reason to trim the drawer front on site.
For this test, mark the finished cabinet position and use the product's actual moving dimensions. Keep the mockup light and temporary. It can reveal an obvious collision, but it cannot prove hinge performance, structural suitability or installation tolerances. Have the supplier confirm the selected front and hardware arrangement once the room geometry is clear.
Compare fixes by what else they change
A permitted filler or a different cabinet location may move the front away from the casing. A cabinet with storage arranged differently may keep an important drawer farther from the obstacle. A revised trim detail may be possible as part of an agreed remodeling scope. Each option should be drawn, with its effect on the basin, top edge, mirror and room entrance visible.
Avoid solving the picture while losing the function. If a proposed filler consumes the space needed for the basin location, or a narrower cabinet cannot hold the intended supplies, show that tradeoff before approving it. Likewise, reversing the bathroom door is a separate room-design decision that requires appropriate review; it should not appear as an automatic remedy on a cabinet order.
Approve the open condition
The final drawing should show the fixed trim and the selected drawer or door in use. Mark which casing remains and which alterations are actually included. Keep the hardware choice with the cabinet record, because a later change of pull can reintroduce a collision even when the box stays in the same place.
Before ordering, confirm that the important stored items can be removed in the proposed arrangement. Before installation is finalized, review the opening with the installer using the actual components. A closed-front photograph is useful for appearance; an open-condition check is what establishes whether the end storage can do its job.
Pure White
Cream White
Light Warm Gray
Gray
Navy
Black
Oak Tone
Dark Walnut Tone
Design study These finish studies are design references, not a list of currently orderable colors. Screens and lighting change the appearance; compare a physical sample before choosing.See all finish options →
The sample shows the door frame, a separate center panel, the face frame and the cabinet box. Each component has its own place in this Shaker construction.
Shaker construction: door frame, center panel, face frame and cabinet box. The cutaway helps locate these parts; confirm each material in the specifications for the selected cabinet.
01 / Door frame
The Shaker door has rails and stiles around a separate center panel. The frame and center panel are different components; confirm their materials in the specifications for the selected cabinet.
02 / Face frame
The face frame surrounds the opening at the front of the cabinet box and sits behind the doors. The face frame, door frame and cabinet box are separate parts.
03 / Cabinet box
The sample exposes the cabinet sides, interior surfaces and layered edges. The image does not establish the wood species or material specification of a selected cabinet.