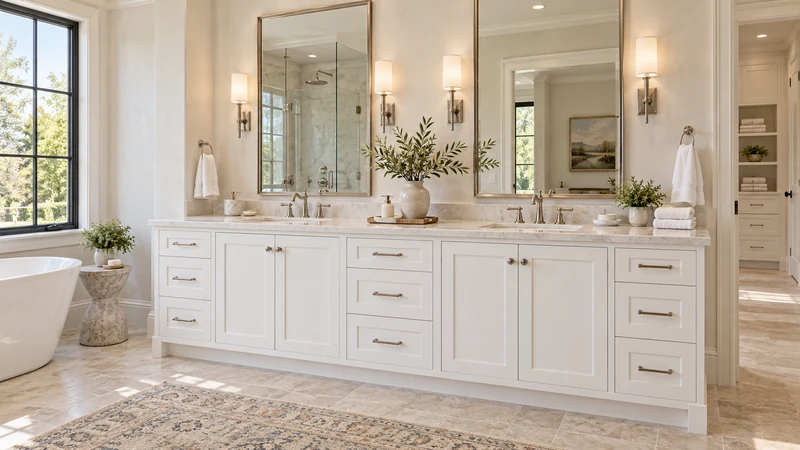
Compare the vanity front with the end of the return wall, then test approach, storage access and the side detail before choosing a recessed or projecting position.
A short wall returning beside a vanity can define a useful nook, but it can also hide the cabinet end and restrict the way someone approaches it. The important question is where the finished vanity front sits relative to the wall's end. A recessed position, an aligned position and a position projecting into the room create different use conditions even with the same cabinet. Draw these alternatives before selecting the final layout.
Record the wall's full outline
Measure the return from the same rear finished wall used for the vanity layout. Include its thickness, end trim, baseboard and any cap. Identify whether it continues to the ceiling or stops lower. The visible top or end of a partial wall may project beyond the flat face, so the cabinet should be compared with the completed outline rather than a simplified line.
Mark which parts are fixed in the project. A return may contain services or have another building function; its apparent size does not establish that it can be shortened. Treat wall alteration as a separate proposal requiring the relevant review. The cabinet comparison can proceed by working with the observed wall first, without assuming demolition will rescue an unsuitable arrangement.
Design study The exposed end of this vanity sits near a doorway and wall edge. The design study illustrates why the end condition deserves attention; it does not supply a measured return-wall layout.
Compare front positions from one reference
In a hypothetical layout, the return wall ends 24 inches from the rear wall, while the finished vanity front sits 22 inches from that wall. The cabinet front is recessed 2 inches behind the return's end. Moving the whole cabinet forward by 2 inches would align those fronts, but would also change its installed position and other connections. The example describes geometry, not a recommended placement.
Show the top and handles as well as the cabinet face. An apparently recessed cabinet may have a pull or top edge reaching past the wall. Conversely, a cabinet that aligns neatly in elevation may still feel enclosed when viewed from the approach. A plan and a simple side view reveal different parts of the decision.
Try the approach and end storage
Walk toward the proposed basin from the normal entry and place the user where washing occurs. Check whether the wall forces a sideways approach or interrupts access to a frequently used drawer. Open the end door or drawer on the drawing. Include its pull and the position needed to lift out the intended contents.
Keep the return's potential benefit in the comparison. It may provide a visual boundary between activities or a useful location for a permitted accessory. Those benefits should be described specifically, not assumed from the word nook. A wall that gives privacy may still make the nearest storage harder to use, so decide which function belongs at that end of the cabinet.
Plan the edge that will be visible
Decide whether the vanity end remains exposed, sits behind the wall or needs a selected side treatment. Compare the top outline and any splash separately. A side gap hidden from the doorway may remain visible and difficult to reach from the basin. Include the normal cleaning approach and whether the gap is intentionally closed or genuinely accessible.
A projecting cabinet can expose more of its side panel, while a recessed one may leave a pocket beside the front. Neither detail is automatically better. Ask the cabinet supplier and installer to confirm the permitted construction, and have the top supplier review the chosen finished boundary. Do not count on adding an unspecified filler after the cabinet arrives.
Choose the position with its consequences attached
For each viable option, record what happens to basin position, plumbing, mirror alignment and movement through the room. If moving the cabinet forward helps approach but consumes the passage, make that tradeoff visible. If retaining the recessed arrangement works, allocate the end storage to tasks that remain convenient there.
Keep the selected wall outline and cabinet location on the same approval drawing. Revisit the comparison if wall finishes, trim or cabinet hardware change. A well-resolved return wall gives the vanity a deliberate boundary without leaving its approach, hidden side or nearest compartment to be figured out during installation.
Pure White
Cream White
Light Warm Gray
Gray
Navy
Black
Oak Tone
Dark Walnut Tone
Design study These finish studies are design references, not a list of currently orderable colors. Screens and lighting change the appearance; compare a physical sample before choosing.See all finish options →
The sample shows the door frame, a separate center panel, the face frame and the cabinet box. Each component has its own place in this Shaker construction.
Shaker construction: door frame, center panel, face frame and cabinet box. The cutaway helps locate these parts; confirm each material in the specifications for the selected cabinet.
01 / Door frame
The Shaker door has rails and stiles around a separate center panel. The frame and center panel are different components; confirm their materials in the specifications for the selected cabinet.
02 / Face frame
The face frame surrounds the opening at the front of the cabinet box and sits behind the doors. The face frame, door frame and cabinet box are separate parts.
03 / Cabinet box
The sample exposes the cabinet sides, interior surfaces and layered edges. The image does not establish the wood species or material specification of a selected cabinet.