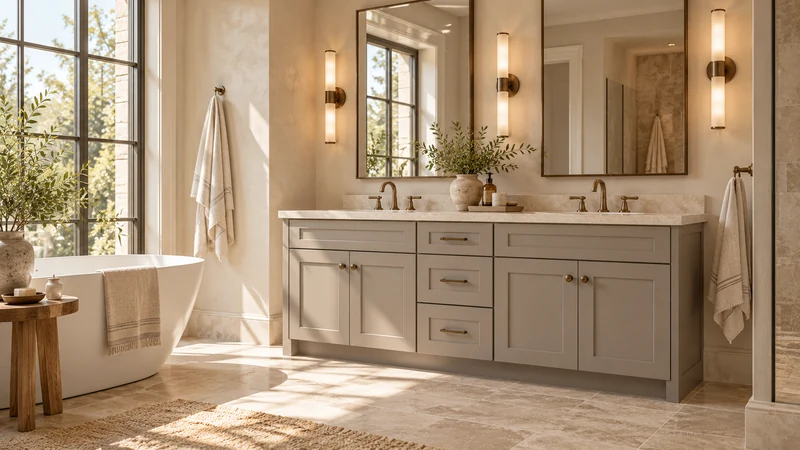
A small gap beside a vanity can look intentional from the doorway and still be difficult to live with. The useful question is not whether a shadow line looks neat, but whether the space can be reached, wiped and inspected after the top and hardware are installed. If it cannot, compare a genuinely accessible opening with an approved finished side condition. Do not leave the decision to whatever gap happens to remain after delivery.
Describe the gap at more than one height
Draw the cabinet side, top edge, wall and floor condition together. The opening visible beside the top may differ from the space beside the cabinet or below it. An overhanging top can narrow the entry from above, while trim or a projecting foot can interrupt access at the floor. Record these changes instead of treating the gap as a single width.
Check the wall's actual shape as well. A space that admits a hand near the front may become inaccessible toward the rear. The issue here is the maintenance route, not simply whether the cabinet fits. Include any adjacent towel, toilet accessory or door that would prevent someone from standing where they need to stand to reach the gap.
Design study The exposed end, top edge and floor relationship are visible in this design study. They show the different levels to inspect; the image does not establish a cleanable wall gap.
Test the route with the intended cleaning method
Use a safe mockup of the cabinet side and top overhang, then try the cloth or cleaning tool you expect to use in accordance with the relevant care instructions. Can it reach the rear corner and floor? Can you see whether the surface is clean? A tool that slides into the opening but cannot be moved or withdrawn usefully does not establish a workable cleaning routine.
Think about a dropped object as well. A small everyday item can disappear behind the side or feet even when the visible front strip is easy to wipe. Test retrieval without assuming the installed cabinet will be moved. If the proposed solution depends on a special tool, decide where that tool will be kept and whether the household is willing to use it regularly.
Understand what closing the side involves
A deliberately closed side may require a cabinet layout, filler or finishing detail that the selected system supports. Ask the supplier and installer how that detail relates to the cabinet side, top and floor. A strip that closes the front view does not necessarily close the space behind it. Conversely, closing an area without considering a required installation or service opening can create a new problem.
Keep the top-to-wall junction separate from the cabinet-to-wall space. They may need different details, and the top provider should confirm the former. Do not assume that filling every visible line with sealant turns an unresolved assembly into a finished solution. The aim is a specified relationship among the parts, with access retained wherever the chosen products and installation require it.
Compare an actual household compromise
In a hypothetical bathroom, the planned gap admits a cloth at the front, but the top edge prevents reaching the back and a foot blocks the floor corner. Keeping that gap would preserve a furniture-like outline while accepting an awkward cleaning task. A slightly different cabinet position or width might create an opening that the household can actually reach; an approved side detail might instead remove the inaccessible pocket from ordinary use.
Evaluate those alternatives with the rest of the room. Widening a gap by shifting the cabinet could change the basin's position or the clearance at the opposite end. Closing the side could change the top order or require an additional finishing component. The decision should include those consequences, rather than treating the side gap as an isolated decorative choice.
Put the selected condition on the order review
Label each cabinet end as exposed, accessible beside the wall or finished to the wall. For an open condition, record how cleaning and object retrieval work. For a closed condition, identify the responsible supplier or trade and the detail still needing confirmation. Include photographs of the actual wall and floor so the proposed finish is evaluated against the site.
Before ordering, recheck the chosen top and cabinet together. A change in overhang, feet or side trim can alter the access that made the original choice acceptable. A useful gap is one the household can maintain; a finished junction is one whose construction and service implications have been resolved. Either can work when it is selected deliberately.
Pure White
Cream White
Light Warm Gray
Gray
Navy
Black
Oak Tone
Dark Walnut Tone
Design study These finish studies are design references, not a list of currently orderable colors. Screens and lighting change the appearance; compare a physical sample before choosing.See all finish options →
The sample shows the door frame, a separate center panel, the face frame and the cabinet box. Each component has its own place in this Shaker construction.
Shaker construction: door frame, center panel, face frame and cabinet box. The cutaway helps locate these parts; confirm each material in the specifications for the selected cabinet.
01 / Door frame
The Shaker door has rails and stiles around a separate center panel. The frame and center panel are different components; confirm their materials in the specifications for the selected cabinet.
02 / Face frame
The face frame surrounds the opening at the front of the cabinet box and sits behind the doors. The face frame, door frame and cabinet box are separate parts.
03 / Cabinet box
The sample exposes the cabinet sides, interior surfaces and layered edges. The image does not establish the wood species or material specification of a selected cabinet.