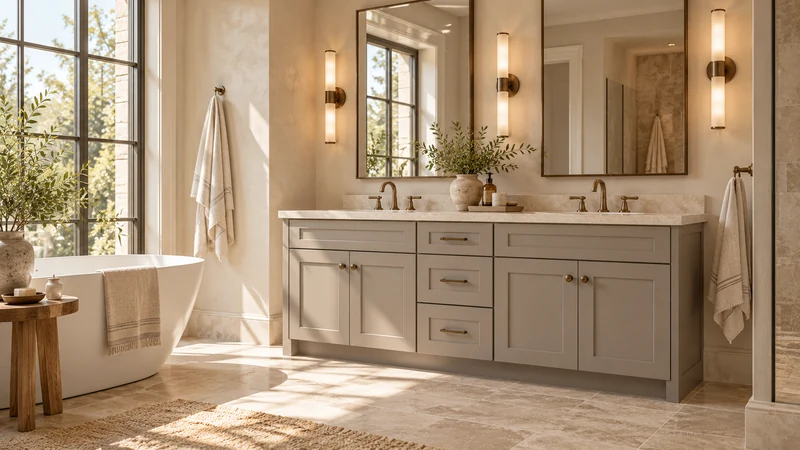
Baseboard can keep a vanity away from the wall even when the cabinet width fits perfectly. It may meet a rear leg, a side panel or a continuous base, and a taller cap can affect the cabinet differently from the lower trim. Compare the selected cabinet's bottom and back profile with the actual molding. The right choice depends on the intended finished position and the work included in the bathroom project.
Draw the molding in section
Record how high the baseboard reaches and how far each part projects from the finished wall. Include shoe molding or another separate strip at the floor. Photograph the profile at an exposed end if one is available. A front photograph can show height while hiding the projection that causes the cabinet to sit forward.
Next, obtain the cabinet's rear and lower geometry. A furniture-style vanity may have legs and open space in one location but a rail in another. A continuous side panel has a different relationship to the molding. Do not assume an open-looking base clears the entire profile, or that a recessed back panel means the feet can reach the wall without interference.
Design study The floor-standing vanity and wall trim meet near the exposed end. The design study cannot show whether hidden trim clears the cabinet; compare the real lower and rear profiles before selecting that condition.
Understand what a rear offset changes
In a hypothetical drawing, a cabinet's finished front is intended to sit 21 inches from the wall. If an unresolved molding interference moves the whole cabinet forward by 0.75 inch, that front would instead sit 21.75 inches from the wall. This example shows the effect of a displacement; it does not recommend leaving the cabinet offset or establish a permitted mounting condition.
Carry any proposed offset into the top, basin, plumbing and room approach. A top measured for a different rear position may no longer have the intended relationship to the wall. The attachment also needs the selected product's approved detail. A visually hidden gap is still a real change to the assembly and should not be accepted just because it is difficult to see.
Compare the finished alternatives
Keeping the molding may be practical when the selected construction accommodates it and the approved installation remains possible. Ending or changing the molding at the cabinet is a different finish choice. Moving to a cabinet with a different lower profile may avoid altering trim that matters to the room. Draw these alternatives instead of choosing solely from the appearance of the cabinet front.
For each option, show what remains visible at the sides. A cut end, an unpainted wall strip or an uncovered floor edge may require planned finishing. Do not assume a large vanity will hide every disturbed surface. Include who handles those details and whether the work is actually part of the project, especially when the cabinet installer and finish carpenter are different people.
Keep cabinet alteration out of the assumptions
A notch in a leg, rail or side panel is an alteration to the cabinet, not simply a trim decision. Obtain the manufacturer's or supplier's applicable approval before treating such a change as an option. A generic photograph of a notched cabinet does not establish that the selected unit can be changed in the same way.
Similarly, removing baseboard is not automatically the right answer. The project team should evaluate the wall, floor and adjoining trim that will remain. Describe the intended result rather than issuing an unreviewed cutting instruction. The useful decision is which finished boundary the cabinet will meet, with a permitted construction and a defined scope for any necessary preparation.
Confirm the position before the top is finalized
Mark the selected cabinet location from the finished wall after the trim decision has been resolved. Check the furthest front projection and the side reveal again. Include the selected pulls and the top outline, since a small rear displacement can matter at an already tight doorway or shower approach.
Keep a side-view detail with the cabinet order and give the same information to the installer and top supplier. Identify retained molding, planned finish work and the accepted rear condition. This prevents an apparently minor baseboard issue from becoming a late decision that shifts the whole vanity after its other parts have already been selected.
Pure White
Cream White
Light Warm Gray
Gray
Navy
Black
Oak Tone
Dark Walnut Tone
Design study These finish studies are design references, not a list of currently orderable colors. Screens and lighting change the appearance; compare a physical sample before choosing.See all finish options →
The sample shows the door frame, a separate center panel, the face frame and the cabinet box. Each component has its own place in this Shaker construction.
Shaker construction: door frame, center panel, face frame and cabinet box. The cutaway helps locate these parts; confirm each material in the specifications for the selected cabinet.
01 / Door frame
The Shaker door has rails and stiles around a separate center panel. The frame and center panel are different components; confirm their materials in the specifications for the selected cabinet.
02 / Face frame
The face frame surrounds the opening at the front of the cabinet box and sits behind the doors. The face frame, door frame and cabinet box are separate parts.
03 / Cabinet box
The sample exposes the cabinet sides, interior surfaces and layered edges. The image does not establish the wood species or material specification of a selected cabinet.