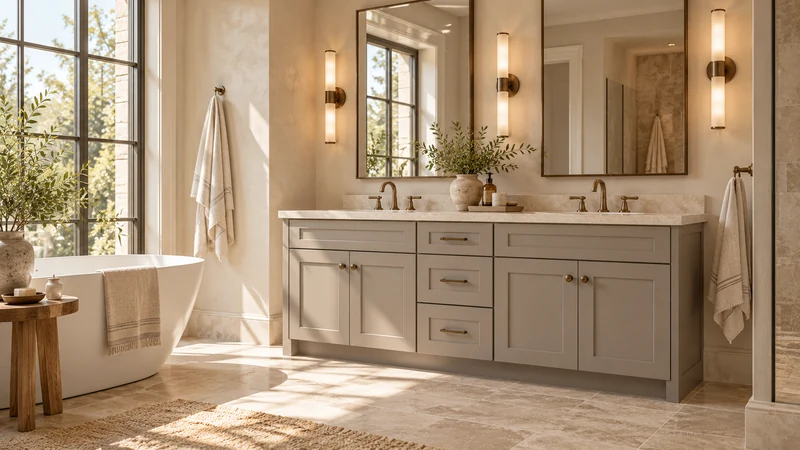
A bathroom corner that looks square may leave a tapered gap beside a straight vanity. The useful response is to measure and draw that taper before ordering, rather than rotate the cabinet until one edge appears tight. The cabinet front still needs a deliberate position in the room, and the top needs an outline that suits the finished surfaces. Those decisions should be coordinated without treating them as the same cut or adjustment.
Set a cabinet line before measuring gaps
Mark where the completed cabinet front is intended to sit. Relate that line to the bathroom entrance, basin position and nearby fixtures. Then record the side-wall distance at the rear and front of the proposed cabinet. Also check relevant heights: a wall that leans can produce a different gap at the top than near the base. Keep each measurement attached to its location.
Distinguish an out-of-square corner from a bowed wall or a projecting tile edge. These conditions can look similar in a photograph but produce different outlines. A straight reference held by the project team can help document the wall without assuming the cabinet itself is the measuring tool. If finishes will change, identify which observations need to be repeated after that work.
Design study The study shows a straight vanity front meeting surrounding finishes. It does not verify that these walls are square; use a measured reference line to distinguish a tapered side gap from the intended cabinet edge.
Read the taper instead of averaging it
In a hypothetical survey, the gap beside a proposed straight cabinet line is 0.25 inch at the rear and 0.75 inch at the front. It widens by 0.5 inch along that side. The result describes a taper, not a uniform installation allowance. It does not establish that the cabinet can be installed with those gaps, or that a particular filler is suitable.
Do not replace the changing gap with an average and order from that single figure. A side detail must address the actual shape while respecting the cabinet's construction and required operation. Give the measurements and the reference line to the installer and supplier. Let them identify an allowed solution rather than assuming that a standard straight trim piece will hide every condition.
Compare alignment choices in the whole room
Rotating the cabinet to follow a side wall changes its relationship to the rear wall, entry and other fixtures. The front may no longer sit where the basin user expects it. Draw that alternative before accepting it. Include drawer movement and the point where a top edge approaches a door or shower entrance.
Holding the cabinet on the intended room line may produce a varying side gap that needs a planned finish detail. Correcting the wall may be another remodeling option. These are different scopes, with different effects on retained finishes and fixture locations. Compare them openly; “make it fit” leaves the most visible decision to someone who may not know the household's priorities.
Give the top supplier the finished condition
The top can have a different relationship to the wall than the cabinet below it. Show its intended edge and any splash separately. A wall-following top outline should not be guessed from the cabinet's nominal size or from the gap measured at the floor. The person responsible for the top needs to know which wall surfaces and cabinet positions are final.
Avoid letting a top decision conceal an unresolved cabinet problem. A wider top may cover a gap from above while leaving an awkward side opening or obstructing a neighboring movement. Conversely, a tidy cabinet-side detail does not determine the correct top template. Keep the supplier's measurements and the cabinet arrangement connected, but approve each for its own purpose.
Leave a usable field record
Save the marked front line, measurement locations, photos and selected side treatment together. Record who will verify the condition before the cabinet and top commitments become final. A note describing the corner as crooked is less useful than a drawing showing where the gap changes and which surfaces remain.
At the next site review, compare the intended front line with the basin, mirror and room approach. Recheck after any wall or floor work that changes the references. The aim is a vanity that occupies a purposeful position, with its taper handled deliberately rather than hidden by an unexplained field alteration.
Pure White
Cream White
Light Warm Gray
Gray
Navy
Black
Oak Tone
Dark Walnut Tone
Design study These finish studies are design references, not a list of currently orderable colors. Screens and lighting change the appearance; compare a physical sample before choosing.See all finish options →
The sample shows the door frame, a separate center panel, the face frame and the cabinet box. Each component has its own place in this Shaker construction.
Shaker construction: door frame, center panel, face frame and cabinet box. The cutaway helps locate these parts; confirm each material in the specifications for the selected cabinet.
01 / Door frame
The Shaker door has rails and stiles around a separate center panel. The frame and center panel are different components; confirm their materials in the specifications for the selected cabinet.
02 / Face frame
The face frame surrounds the opening at the front of the cabinet box and sits behind the doors. The face frame, door frame and cabinet box are separate parts.
03 / Cabinet box
The sample exposes the cabinet sides, interior surfaces and layered edges. The image does not establish the wood species or material specification of a selected cabinet.