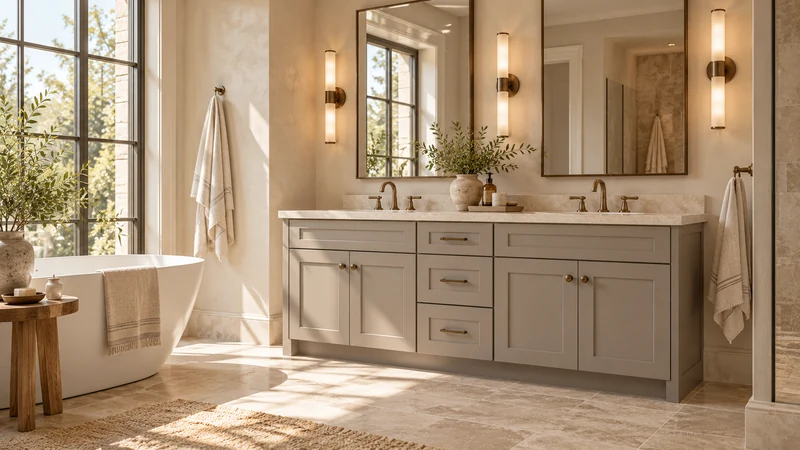
A side splash is a vertical piece along the side of a vanity top where that edge meets a wall. Whether it belongs in the project depends on the room and the intended wall finish, not simply on the cabinet style. It can provide a defined transition and a surface for routine wipe-down, but its presence alone does not establish a complete water-management detail. Plan the top, wall and junction together before deciding what to order.
Identify which edges actually meet a wall
Draw the installed top perimeter and mark each edge separately: rear wall, side wall, exposed end or short return. A vanity can meet a wall at one side and remain open at the other. The pieces do not need to be assumed symmetrical merely because the cabinet fronts are symmetrical. An exposed end has a different finishing question from a wall junction.
Use the finished top outline, including its projection beyond the cabinet. A side wall may stop before that front edge, or trim may interrupt the place where a side piece would run. Record the vertical features as well as the plan. The cabinet's nominal width and depth do not explain how the final top meets those details.
Design study The vanity’s exposed end and rear wall have different relationships to the top. This design study illustrates why each edge needs its own finish review, not identical side pieces by default.
Decide what the side detail should accomplish
Observe the basin's position and the household's washing and cleaning routine. Identify the wall area that is likely to need wiping and the finish planned there. A separate side piece, a coordinated wall finish or another supported detail may address the junction differently. Discuss the selected materials and assembly with the appropriate top and wall-finish providers rather than assuming a decorative strip answers every requirement.
Also consider the visual endpoint. A side piece can frame the top but add another visible upper edge and joint. If the wall already has a planned finish, decide how the two treatments meet. The question is not whether more pieces look more complete; it is whether the selected relationship is intentional, maintainable and suitable for the actual installation.
Check what the piece occupies
Show the side splash in elevation and section, including its thickness, height and relationship to the top. If it sits on the top, it occupies part of that surface. Check nearby faucet controls, basin rim and the place where everyday items sit. A top that fits the cabinet may still need its usable surface reviewed after the side piece is added.
Review where the rear and side pieces meet, and who is responsible for the junction. Do not assume that generic pieces from different sources share the same profile or can be joined without further work. Nor should an unresolved wall gap be treated as automatically solved by ordering a side splash. The selected product and installation detail must address the actual condition.
Resolve a short-wall example
In a hypothetical bathroom, the vanity top extends farther forward than the short wall beside it. A side splash ordered to follow the full top depth would continue beyond that wall, leaving its end and other faces exposed. That may not match the intended appearance or the finishing available on the chosen piece. The side-wall length therefore matters independently of cabinet depth.
Compare an appropriately coordinated termination, a different wall-finish arrangement or another supported top detail. Do not simply assume the installer can cut the supplied piece without affecting its finish or suitability. Mark the chosen endpoint on the drawing and confirm it with the responsible supplier before the component is ordered. This resolves a real purchase decision that a generic “add side splash” note misses.
Record the selected wall-to-top relationship
Specify the condition at each end, the intended height and endpoint of any side piece, and the relationship with the rear detail. Include the final wall finish and any trim that interrupts it. Confirm which supplier provides each component and which trade completes the junction. This is interface coordination; a cabinet purchase does not by itself include the top or finishing pieces.
Recheck after changes to cabinet position, top projection or wall finish. A piece that worked in the first drawing may no longer terminate appropriately. The useful result is a clear side-wall plan with suitable products and a defined installation detail, whether that plan includes a separate side splash or a different coordinated finish.
Pure White
Cream White
Light Warm Gray
Gray
Navy
Black
Oak Tone
Dark Walnut Tone
Design study These finish studies are design references, not a list of currently orderable colors. Screens and lighting change the appearance; compare a physical sample before choosing.See all finish options →
The sample shows the door frame, a separate center panel, the face frame and the cabinet box. Each component has its own place in this Shaker construction.
Shaker construction: door frame, center panel, face frame and cabinet box. The cutaway helps locate these parts; confirm each material in the specifications for the selected cabinet.
01 / Door frame
The Shaker door has rails and stiles around a separate center panel. The frame and center panel are different components; confirm their materials in the specifications for the selected cabinet.
02 / Face frame
The face frame surrounds the opening at the front of the cabinet box and sits behind the doors. The face frame, door frame and cabinet box are separate parts.
03 / Cabinet box
The sample exposes the cabinet sides, interior surfaces and layered edges. The image does not establish the wood species or material specification of a selected cabinet.