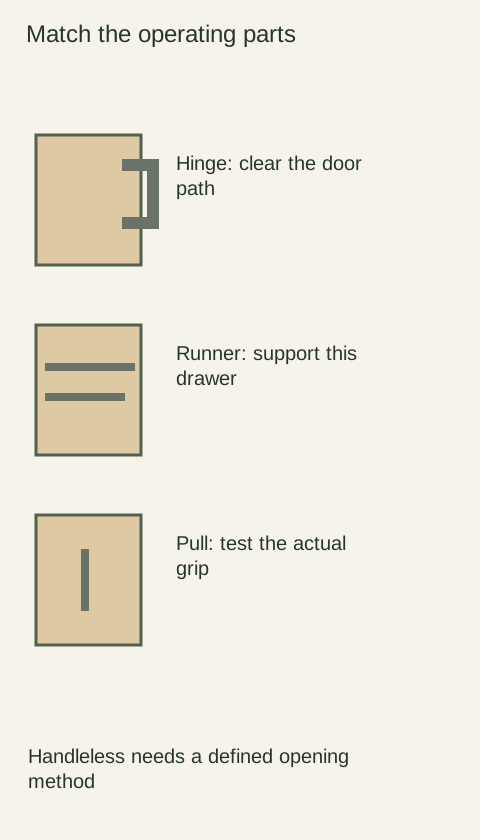
To reuse existing pull holes, match the distance between their centers before choosing a replacement by appearance. Overall handle length is a different measurement. Also check whether the new mounting bases cover existing marks and whether its fasteners suit the actual door or drawer front. A pull can look right in a listing and still fail one of these checks.
Diagram Use the selected pull’s dimension drawing for mounting centers, overall length and base coverage; this concept diagram is not a drilling template.
Find the dimension that controls the fit
Liberty Hardware distinguishes overall length from center-to-center spacing, the distance between the mounting holes on the pull. Its replacement guidance uses that spacing to select a compatible size. Read the dimension label or technical drawing rather than assuming the largest number in a product title refers to the holes.
Where practical, have a representative pull removed without damaging the finish so the hole centers and old mounting footprint can be seen. Measure along the line joining the hole centers, keeping the ruler square to the surface. Check the spacing on the removed pull as a cross-check. A worn or enlarged hole may make the center uncertain; record that condition instead of rounding the result into a convenient catalog size.
Preserve units and check more than a representative front
Record the measurement with its unit and retain the manufacturer’s stated dimension when comparing candidates. Do not replace a measured metric dimension with a nearby rounded inch description simply because the figures look familiar. If a listing provides both, use its drawing to confirm that they identify the same mounting spacing rather than different aspects of the handle.
Survey each distinct type of front before assuming the whole project uses the same holes. Older cabinetry may have been modified, and large drawers may use a different pull from doors. Mark the groups in the order notes. A sample that fits the most convenient drawer does not prove that every remaining front was drilled identically.
Look beneath the old mounting bases
Compare the new base footprint with the marks left by the old pull. Matching hole centers does not guarantee that the replacement covers a finish shadow, indentation or chipped area. Inspect the surrounding finish under normal light and decide whether the visible result is acceptable before ordering the full quantity.
Check the grip and end positions on the front as well. A replacement with the same hole spacing may extend farther beyond its posts or project differently from the surface. These differences can affect appearance and contact with neighboring parts. They do not change the hole measurement, but they can still make an otherwise dimensionally compatible replacement unsuitable.
A longer-looking pull can use the same holes
Imagine replacing a short arched pull with a straight bar whose ends extend beyond the mounting posts. The new handle looks much longer, yet its mounting centers match the original holes. Another handle with nearly the same overall length has wider-spaced posts and would not fit. Comparing only the visible length would reverse the useful choices.
Now suppose the compatible bar has smaller bases that expose dark outlines left by the old pull. The decision is no longer just a fit question. Evaluate another base shape, an appropriate approved backplate or a planned finish repair with the responsible professional. Do not hide that unresolved appearance issue inside an order described as a straightforward hardware swap.
Approve the sample and fastening arrangement together
Have the representative replacement checked with the actual front thickness and the fasteners specified for that pull. Drawer fronts may involve a different assembled thickness from doors. Old screws are not automatically suitable for the new threaded posts, and supplied screws are not a universal fit for every cabinet. Confirm the required type and length rather than forcing a connection that does not seat correctly.
Keep the accepted model, finish, center spacing and tested front group in the purchase record. Include photographs of the base coverage and installed appearance. If the existing spacing remains uncertain, resolve it before enlarging holes or ordering the full set. A successful sample fit should leave a clear record of what was checked, making the remaining order repeatable without guessing at dimensions or concealing damaged surfaces.
Pure White
Cream White
Light Warm Gray
Gray
Navy
Black
Oak Tone
Dark Walnut Tone
Design study These finish studies are design references, not a list of currently orderable colors. Screens and lighting change the appearance; compare a physical sample before choosing.See all finish options →
A painted door, a wood-grain side and a plywood cabinet box can belong to the same cabinet. Here is how to read those parts, what the sample photos actually show, and which details to put on a quote.
The sample shows the door frame, a separate center panel, the face frame and the cabinet box. Each component has its own place in this Shaker construction.
Shaker construction: door frame, center panel, face frame and cabinet box. The cutaway helps locate these parts; confirm each material in the specifications for the selected cabinet.
01 / Door frame
The Shaker door has rails and stiles around a separate center panel. The frame and center panel are different components; confirm their materials in the specifications for the selected cabinet.
02 / Face frame
The face frame surrounds the opening at the front of the cabinet box and sits behind the doors. The face frame, door frame and cabinet box are separate parts.
03 / Cabinet box
The sample exposes the cabinet sides, interior surfaces and layered edges. The image does not establish the wood species or material specification of a selected cabinet.