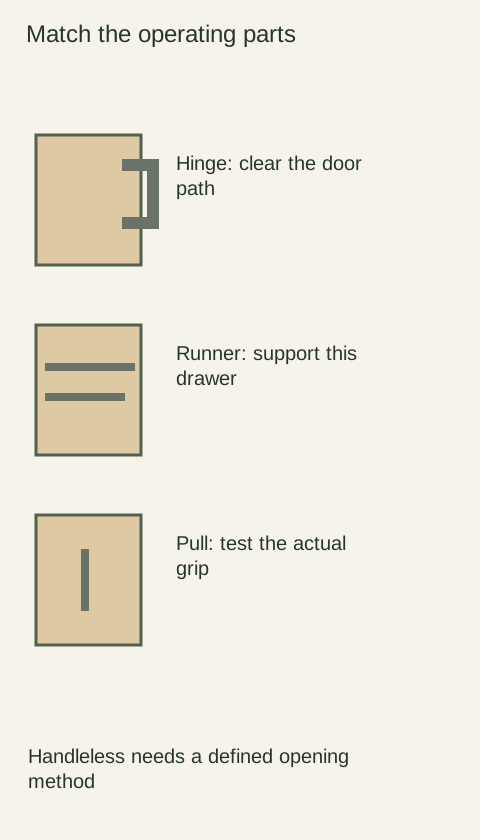
A hinge’s opening angle does not tell you how much clear space remains inside the cabinet opening. A door can swing smoothly and still obstruct a drawer behind it, while a wider-opening hinge may encounter a nearby surface before reaching its intended position. Evaluate the complete movement and the opening you actually need, using the proposed door and cabinet construction.
Diagram Concept diagram: opening behavior depends on the complete hardware and cabinet arrangement; it is not a clearance drawing for a particular product.
Separate rotation from clear access
Opening angle describes how far the door rotates. Protrusion concerns where the open door and hardware sit relative to the opening. Blum describes opening angle and zero protrusion as separate attributes of a particular thin-front hinge. That distinction is useful when reading specifications, but it does not make that hinge suitable for every door or installation.
Look along the hinge side with the door held in its normal open position. Notice the door’s inside edge, the hinge arm and anything that must pass them. A clear-looking center opening is not enough when the moving item is almost as wide as the cabinet interior. The relevant question is whether its complete path is clear, not whether your hand fits through the middle.
Include the parts that determine the geometry
A useful review identifies the hinge model, mounting plate, door thickness and how the door sits on the cabinet. Overlay describes a door covering part of the cabinet front; an inset door sits within the opening. These arrangements should not be treated as interchangeable merely because the exposed hinge bodies look similar in a photograph.
Record any opening restrictor and the proposed handle as well. A restrictor may deliberately stop the door sooner, and the handle may contact an adjacent surface before the door edge does. Have the supplier or installer review the actual combination. Do not assume a hinge with a larger advertised angle can be substituted while keeping every other component and drilling detail unchanged.
Demonstrate the movement you are buying
On an assembled sample, open the door naturally and operate the component behind it through its full intended travel. Watch the hinge-side corner as well as the front edge. Check whether the door must be pushed farther by hand, held out of the way or opened past a nearby obstruction to make the motion possible.
Use a drawing when a representative sample is unavailable. The drawing should show the door in the usable open position and the outline of the item passing through the opening. Identify what is confirmed by the hinge documentation and what still needs an assembled check. A catalog illustration of the hinge alone cannot establish clearance for a different cabinet, door thickness or pull.
An example of smooth movement with poor access
Imagine a cabinet whose outer door opens without rubbing, but an interior drawer catches the inside corner of that door. The owner initially describes the hinge as stiff. Lubricating it would not resolve the geometric conflict, and forcing the drawer past the edge could damage the surfaces without creating usable clearance.
The purchasing decision should pause at the obstruction: document the contact point and the door’s available position, then obtain a compatible solution for the actual assembly. That might involve a different approved hinge arrangement or a revision to the component behind the door. The example does not establish which change is appropriate; it shows why a smooth hinge demonstration is an incomplete acceptance test.
Put usable access into the handoff
Describe the required action in the order notes: the specified interior component must operate with the outer door in its available open position. Attach the reviewed drawing or sample reference and preserve the exact hardware identifiers. This is more useful than a note saying only “wide-opening hinges,” which leaves both the configuration and the acceptance condition uncertain.
At delivery or installation review, compare the supplied components with that record before experimenting with adjustments. Do not remove a restrictor, force the door against its stop or loosen structural attachments to gain clearance. If the actual motion differs, photograph the contact and have the responsible installer review it. The goal is confirmed access through the complete opening, with the intended hardware operating as specified.
Pure White
Cream White
Light Warm Gray
Gray
Navy
Black
Oak Tone
Dark Walnut Tone
Design study These finish studies are design references, not a list of currently orderable colors. Screens and lighting change the appearance; compare a physical sample before choosing.See all finish options →
A painted door, a wood-grain side and a plywood cabinet box can belong to the same cabinet. Here is how to read those parts, what the sample photos actually show, and which details to put on a quote.
The sample shows the door frame, a separate center panel, the face frame and the cabinet box. Each component has its own place in this Shaker construction.
Shaker construction: door frame, center panel, face frame and cabinet box. The cutaway helps locate these parts; confirm each material in the specifications for the selected cabinet.
01 / Door frame
The Shaker door has rails and stiles around a separate center panel. The frame and center panel are different components; confirm their materials in the specifications for the selected cabinet.
02 / Face frame
The face frame surrounds the opening at the front of the cabinet box and sits behind the doors. The face frame, door frame and cabinet box are separate parts.
03 / Cabinet box
The sample exposes the cabinet sides, interior surfaces and layered edges. The image does not establish the wood species or material specification of a selected cabinet.